How would you like to make the cake that’s the best in the world, according to Pierre Hermé, named the world’s best pastry chef in 2016? Are you thinking that it’s going to be some super-complex recipe, with difficult to find ingredients, hard to follow instructions, and specialized equipment, that would be far beyond your capabilities? Well, it’s not true. This cake is simple, contains just five ingredients, and you can mix it up with a spatula and a fork. It’s true.
This is really the easiest cake we’ve ever made, but it’s not going to be a light, fluffy cake. No, not at all. And, when it comes out of the oven, you’ll be afraid you have a disaster, but nope. You’ll have a great tasting dessert. But, first, we need to tell you, just in case you don’t know French, that mi-cuit means half-cooked, or half-baked, which is how the cake will appear after it’s, well, done.
And, if you truly have the best cake in the world, you should get credit. We found this recipe in Let’s Eat France, by François-Régis Gaudry & Friends, where they stated it came from Suzy Palatin. We added the touch of dusting the cake with cocoa or powdered sugar.

The Mi-Cuit
Ingredients
- 250 g dark chocolate, preferably 70% cacao, finely chopped (9 ounces)
- 250 g unsalted butter (18 Tbs) plus more for greasing
- 250 g sugar (1 1/4 cups)
- 70 g all-purpose flour (1/2 cup) plus more for flouring
- 4 eggs lightly beaten
- cocoa powder or confectioners' sugar for dusting
Instructions
- Preheat oven to 400°F. Butter and flour a 9-inch springform pan.
- Place chocolate in a large bowl and microwave for 3 minutes.
- Add butter and microwave 1 minute more.
- Stir until smooth.
- Stir in sugar.
- Stir in flour.
- Stir in eggs.
- Pour batter into prepared pan. Place on a baking sheet to catch any leaking butter, and place in oven. Reduce heat to 350°F.
- Bake 25 minutes. The cake will still be liquidy in the center.
- Let cool completely before unmolding.
Ingredient discussion:
Okay, you know our rule: the fewer ingredients, the better quality they should be. So, for the chocolate, we used Callabaut 70% dark chocolate, and, for the eggs, free rangers from truly free-ranging hens.
Procedure in detail:
Preheat oven to 400°F. Butter a 9-inch springform pan and coat with flour. The easiest way to do that is, after buttering the pan, put about 2 tablespoons of flour into the pan and shake, tap, and move the flour around until everything is well coated. Even with all the butter in this recipe, you’ll want the pan buttered and floured.
Microwave chocolate. The instructions we have say to microwave the chocolate for 3 minutes, and that’s what we did, and everything was fine. We know, however, that microwaves differ in power, and we don’t want you to burn your chocolate, so we’ll describe what our chocolate looked like when the 3 minutes were up. Every bit of the chocolate was slumped, and it probably would have been easy to stir everything into a liquid pool of chocolate. Also, our glass bowl was hot enough that we needed a hot pad to lift it. If you prefer, you can microwave your chocolate in smaller increments of time, checking the progress as you go.
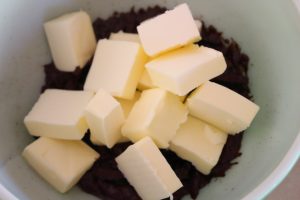
Add butter. Add the butter to the chocolate; we cut ours into pieces, but it’s probably not necessary. Microwave for 1 minute more. The residual heat from the chocolate should melt the butter somewhat, and the microwave will finish it off.
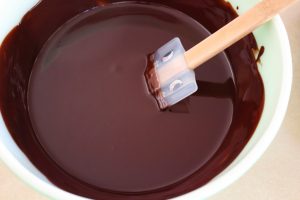
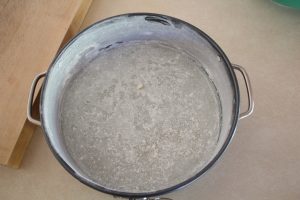
Stir. Use a rubber spatula to stir together the chocolate and butter until it’s completely smooth. As you work, you’ll notice the chocolate cooling down; by the time you’re finished, the mixture should be about room temperature, which is exactly what you want, so the eggs don’t cook when you add them.
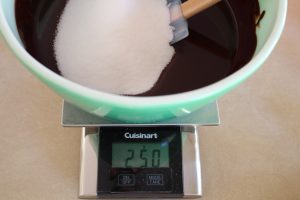
Add sugar. Pour in the sugar and stir. It won’t dissolve completely, so the mixture will seem a bit grainy as you stir, but, not to worry; it’ll be fine. Just make sure you don’t have any lumps of sugar anywhere and you’ll have a good cake.
Add flour. Stir in the flour; it’s not much, but make sure that you don’t have lumps or dry spots of flour anywhere. It’s starting to look like cake batter now, isn’t it?

Add eggs. If you haven’t done so already, crack the eggs into a small bowl and use a fork to break them up. Don’t worry about making the eggs uniform; just give them a good quick whisking. Pour the beaten eggs into the batter and stir it in. At first, it may seem as if the eggs don’t want to mix in, but they will. Just keep stirring until you have a nice uniform cake batter.
Fill pan. Pour the batter into the prepared pan and place it on a baking sheet to catch anything that leaks out of the springform pan (all springform pans leak). If you don’t, you might end up with a puddle of smoking, burnt butter on the bottom of your oven. Not good.
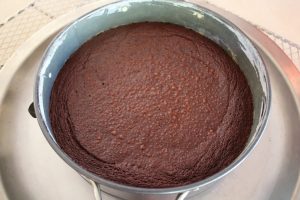
Bake. Place the cake in the oven and immediately lower the temperature to 350°F. Bake for 25 minutes. Yes, we know it doesn’t seem done when you take it out, but trust us: take it out.
Cool. Set the cake on a rack and cool completely. It will take several hours, so be patient.
Unmold. This was the hardest part. Run a knife around the edge of the cake and release the springform pan. We found it helpful to refrigerate the cake for about 45 minutes, but you might not have to do that. Place a serving plate on top of the pan and deftly flip over the cake. Carefully pry up the base of the springform pan. We found it helpful to use a wide bench scraper in prying the base away from the cake.
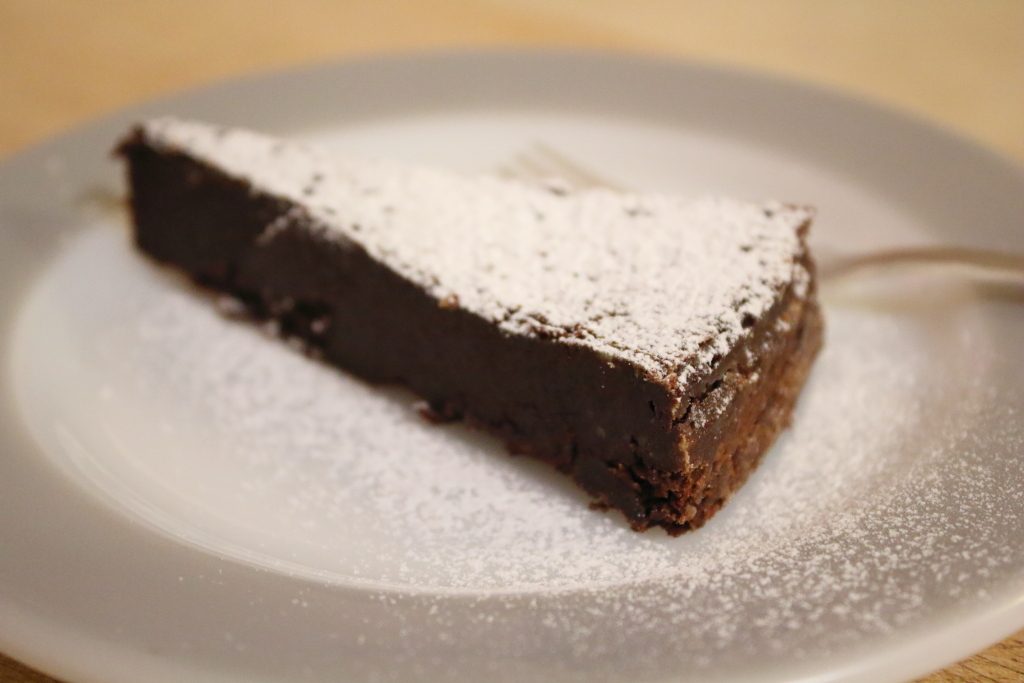
Serve. We sliced our cake, then dusted it with cocoa powder. The next time we had a slice, we tried powdered sugar dusted on top.
Well, it’s a tall order to say a cake is the best in the world, so we can’t necessarily agree with that statement, but we will say that this is a super dense, super chocolatey, super rich cake. For the amount of effort needed, this is one really, really excellent cake. Five stars, easy.

Going to try this today! Yum