This past Sunday, we wanted to have a dinner that was a bit different from the usual. Oh, we know how everyone gets in a rut, with the same Porcini Risotto and freshly-baked bread week after week. Sometimes you need to just break out and try something new. So, last night was the night, and, if you follow along, by next Sunday, you’ll have a new dinner to put on your table. Sounds good.
We are great fans of the public library and regularly check out books, including cookbooks. It’s a great way to spend some time perusing a cookbook for new ideas and cuisines. One of our most recent borrowings was From a Polish Country House Kitchen by Anne Applebaum and Danielle Crittenden. If you are thinking all meat, sauerkraut, and turnips, you are wrong. Instead, this cookbook has some interesting-sounding dishes from which to choose. We decided to try making pierogis, since they are the definitive Polish dish.
In writing this up, we’ll break it into two posts: this one will cover making the dough and forming, cooking, and serving the pierogis, and tomorrow we’ll cover making a traditional filling.
Basic Pierogi Dough
Ingredients
- 3 cups all-purpose flour
- 1 egg
- 1 tsp salt
- 2 tsp vegetable oil
- 1/2 to 3/4 cup warm water
- your choice of pierogi filling
- 3 Tbs butter
Instructions
- Dump flour on counter. Make a well in the center, and add the salt, the oil, and egg.
- Using a fork, start mixing the egg, allowing the flour to incorporate a little at a time, until the mixture is dry and crumbly.
- Add the water a bit at a time, and mix it in as you mixed in the egg. Each time, allow the mixture to become dry and crumbly before adding more water.
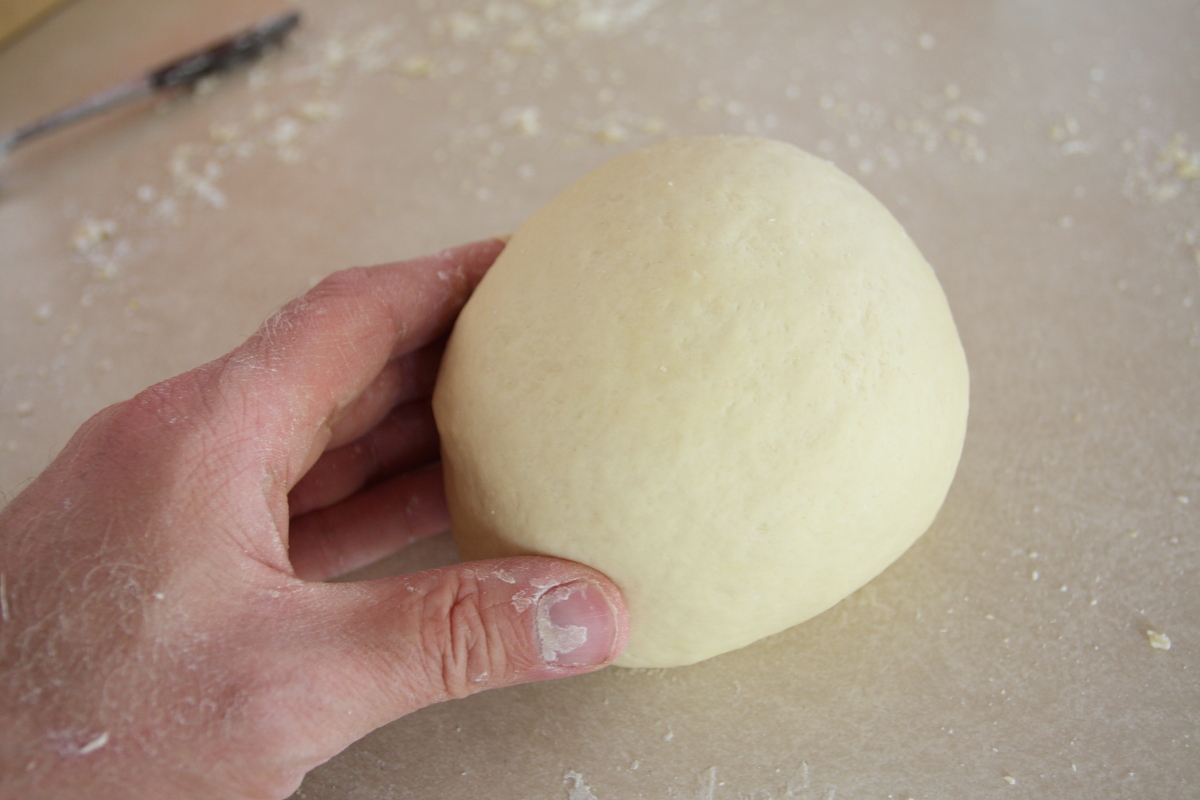
- The mixture will have come together into a dough. Knead the dough until it is soft and smooth, about 6-10 minutes.
- Wrap it in plastic wrap and let the dough rest about an hour
- Roll out the dough on a lightly floured surface to about 1/8 of an inch thick and use a cookie cutter or the rim of a glass to cut out circles of dough 2 1/2 - 3 1/2 inches in diameter.
- Place about 2-3 teaspoons of your filling in the center of each circle, fold over, and crimp with a fork.
- Bring a large pot of water to a boil over high heat. Meanwhile, melt butter in a skillet over medium-low heat. Working with about eight pierogi at a time, place them in the boiling water, let it come back to a boil, and boil the pierogi for 5 minutes after they float to the surface.
- Once boiled, remove pierogi with a slotted spoon and fry in melted butter until browned on each side, about 2-3 minutes per side.
Ingredient discussion:
Note that these ingredients are pretty much the same as those in basic pasta dough. The only difference is that this recipe has a higher proportion of flour. And, as it turns out, pierogis are essentially large raviolis, but with a slightly less egg-y pasta dough, and a different filling. We’ll provide a traditional filling recipe tomorrow.
Procedure in detail:
Dump flour out on counter. Since we are making traditional pierogis, we are making this in the traditional way — no bowl, so, yes, heap up the flour on your counter.
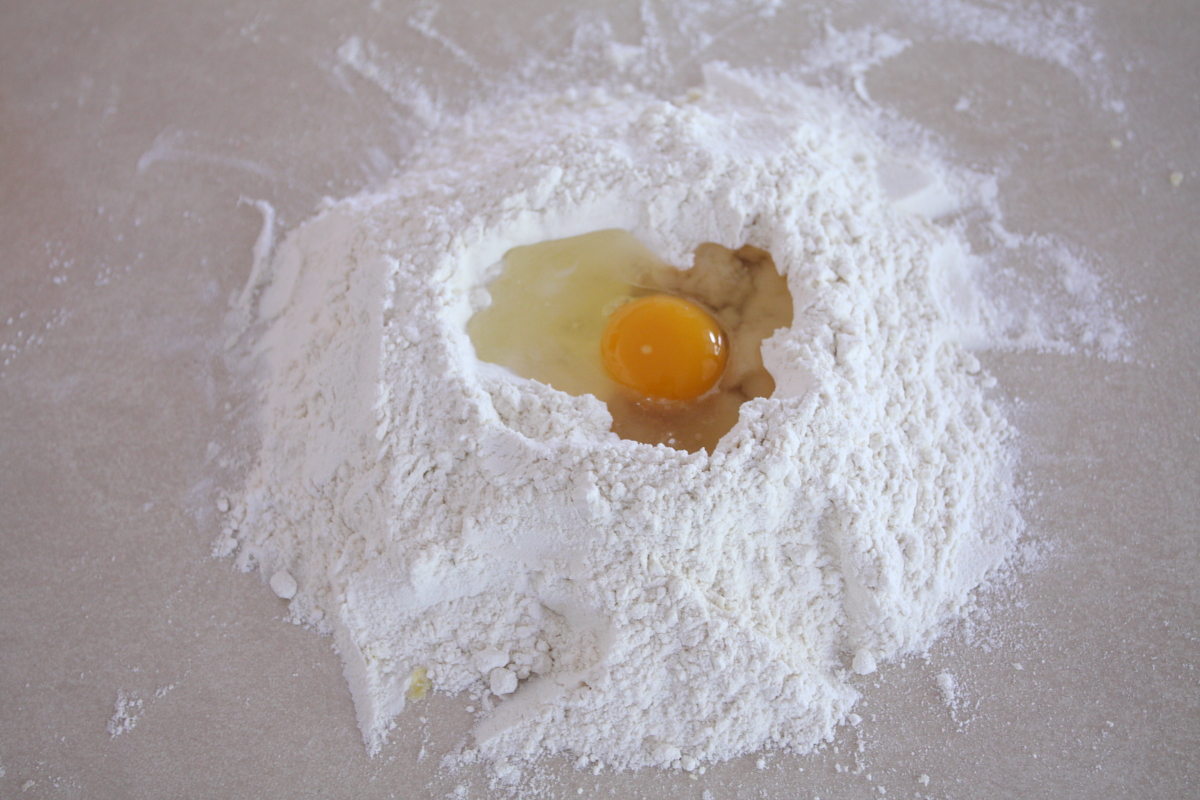
Add salt, egg, and oil. Make a well in the center, and add the salt, the oil, and crack in the egg. Since we are going old school, we didn’t bother measuring; you can do that if it makes you more comfortable.
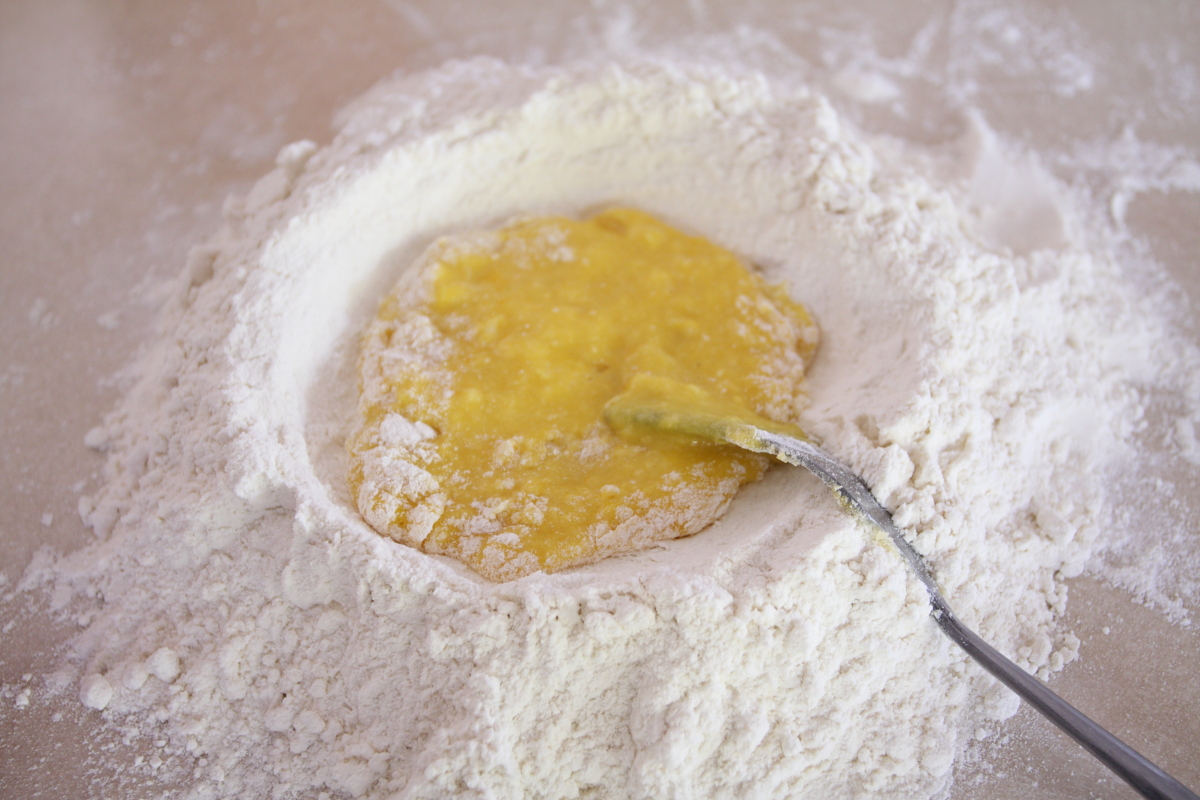
Fork egg. Using a fork, start mixing the egg. Keep mixing, but try not to incorporate too much flour at this point. Just keep mixing; no matter how hard you try, flour falls in, right? Good. That’s what you want. Keep mixing, allowing the flour to incorporate a little at a time, until the mixture is dry and crumbly.
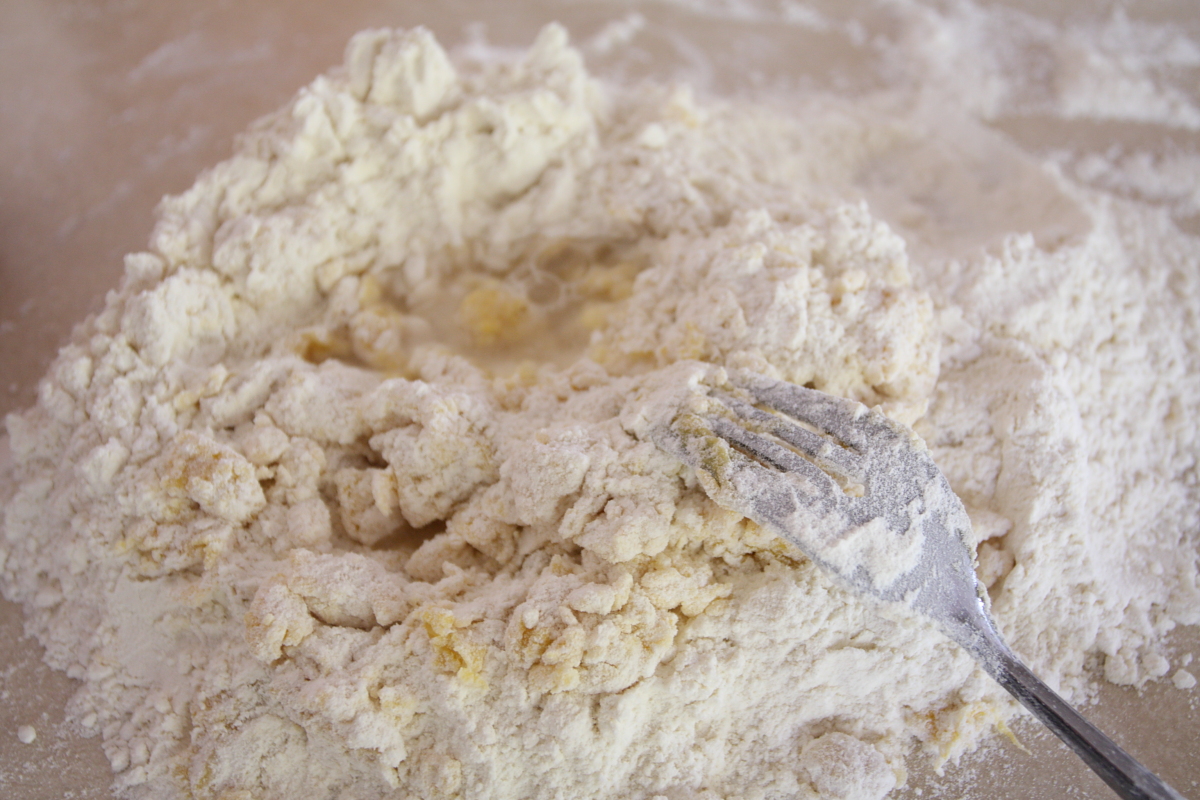
Add water. Add the water a bit at a time, and mix it in as you mixed in the egg. Each time, allow the mixture to become dry and crumbly before adding more water. By the time you’ve add most of the water, the mixture will have come together into a dough. Switch to your hands and mix and knead the dough until you have a soft, but not sticky, dough.

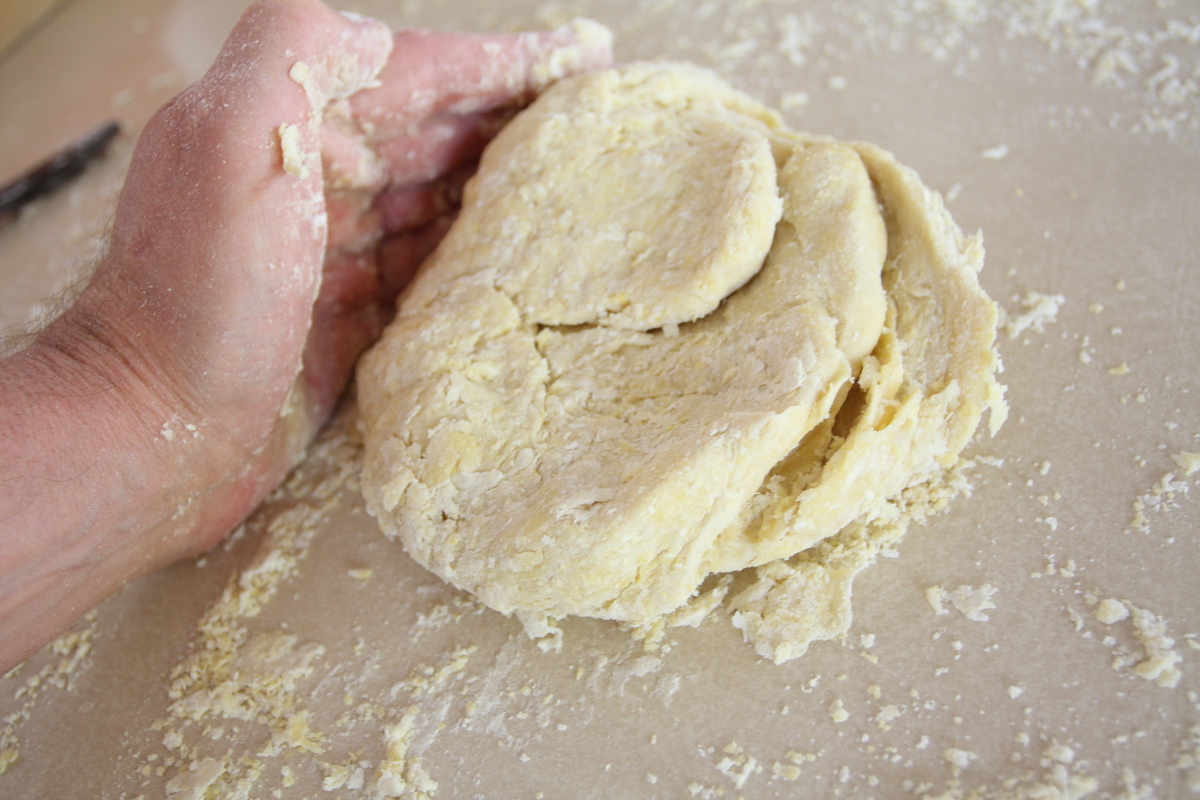
Knead. Now comes the only difficult part, and it’s not that bad. Knead the dough until it is soft and smooth, about 6-10 minutes. We kneaded about 400 strokes and our dough was ready. At this stage, you are better off kneading the dough too much, rather than too little.
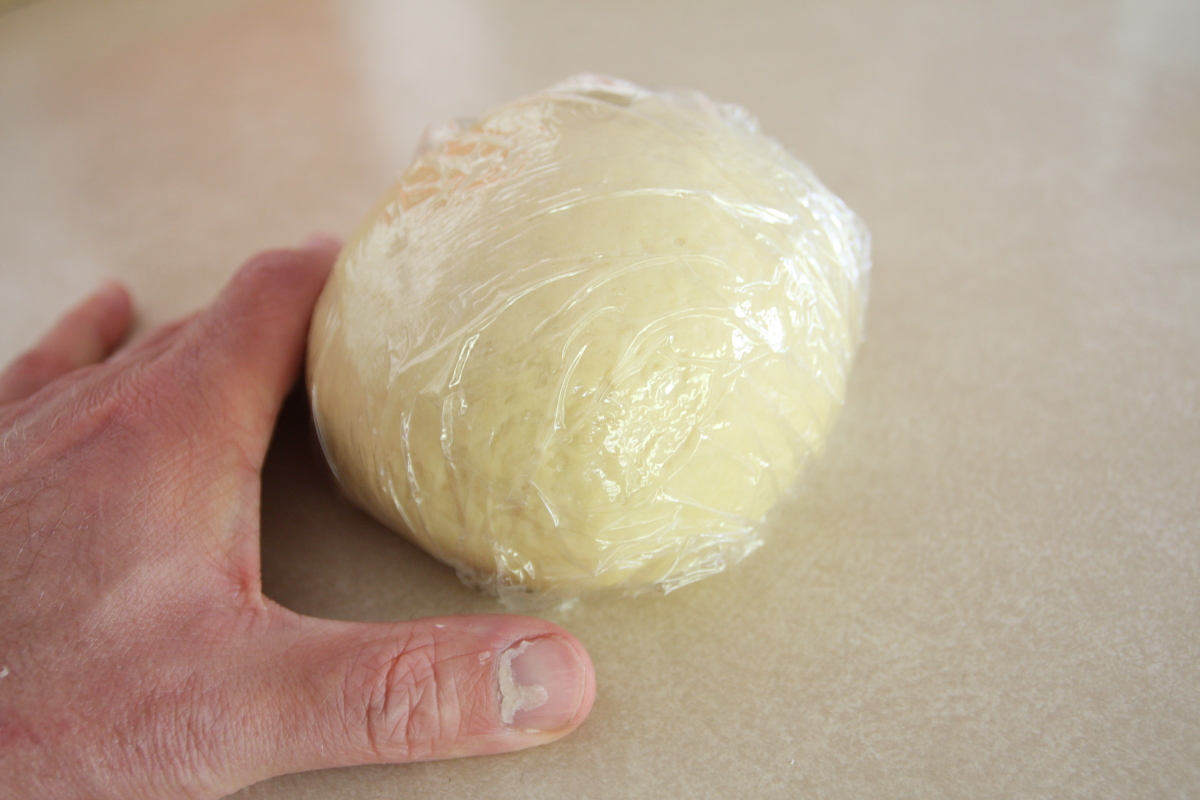
Rest. Your arms are tired, so rest, and give the dough a rest, too. Wrap it in plastic and let the dough rest about an hour (or longer; we let ours rest about 4 hours to fit our schedule and to make the filling). You could even let it rest in the refrigerator overnight; just bring it out to warm about an hour before using.
Roll out. Now that your filling is ready and the dough has rested, roll out the dough on a lightly-floured surface to about 1/8 of an inch thick. Since the dough has rested, the gluten has relaxed, making it easy to roll without springing back too much.
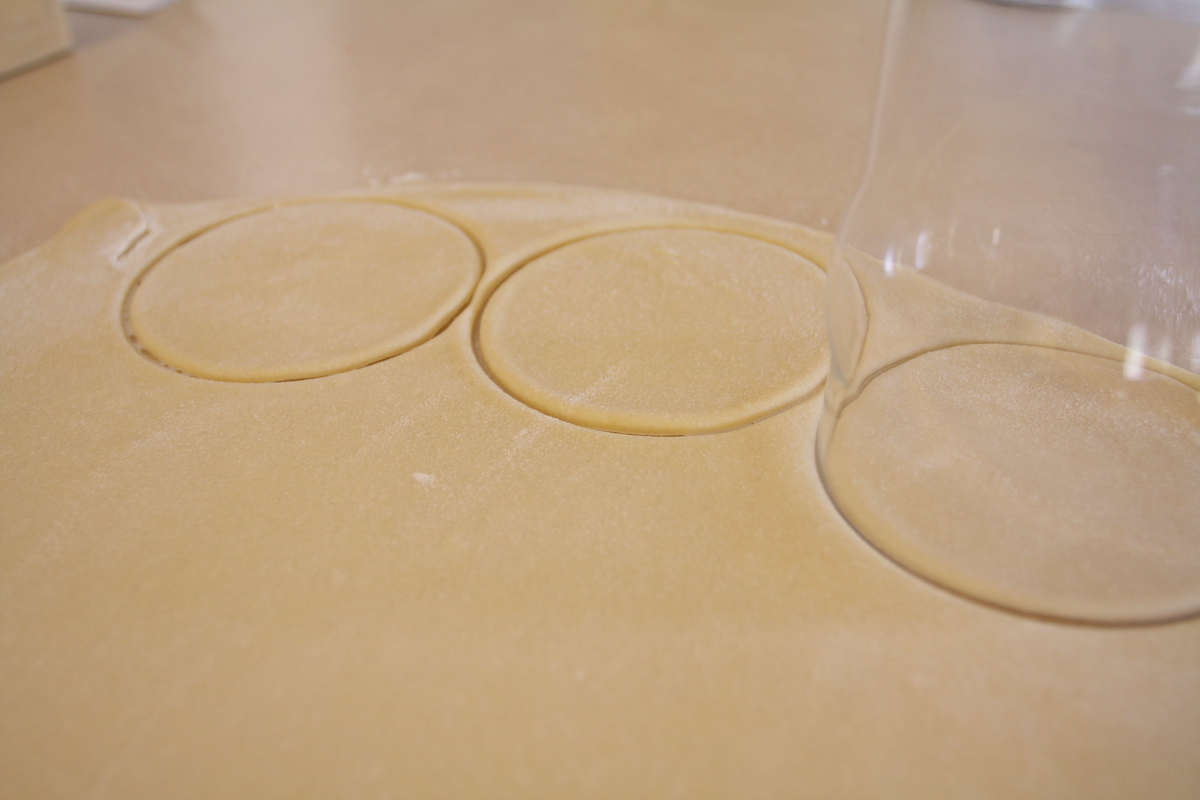
Cut circles. Use a cookie cutter or the rim of a glass to cut out circles of dough 2 1/2 – 3 1/2 inches in diameter. Just press the glass through and give it a wiggle to loosen the dough.
Fill. Place about 2-3 teaspoons of your filling in the center of each circle — you can use a bit more filling than you think because the dough will stretch.
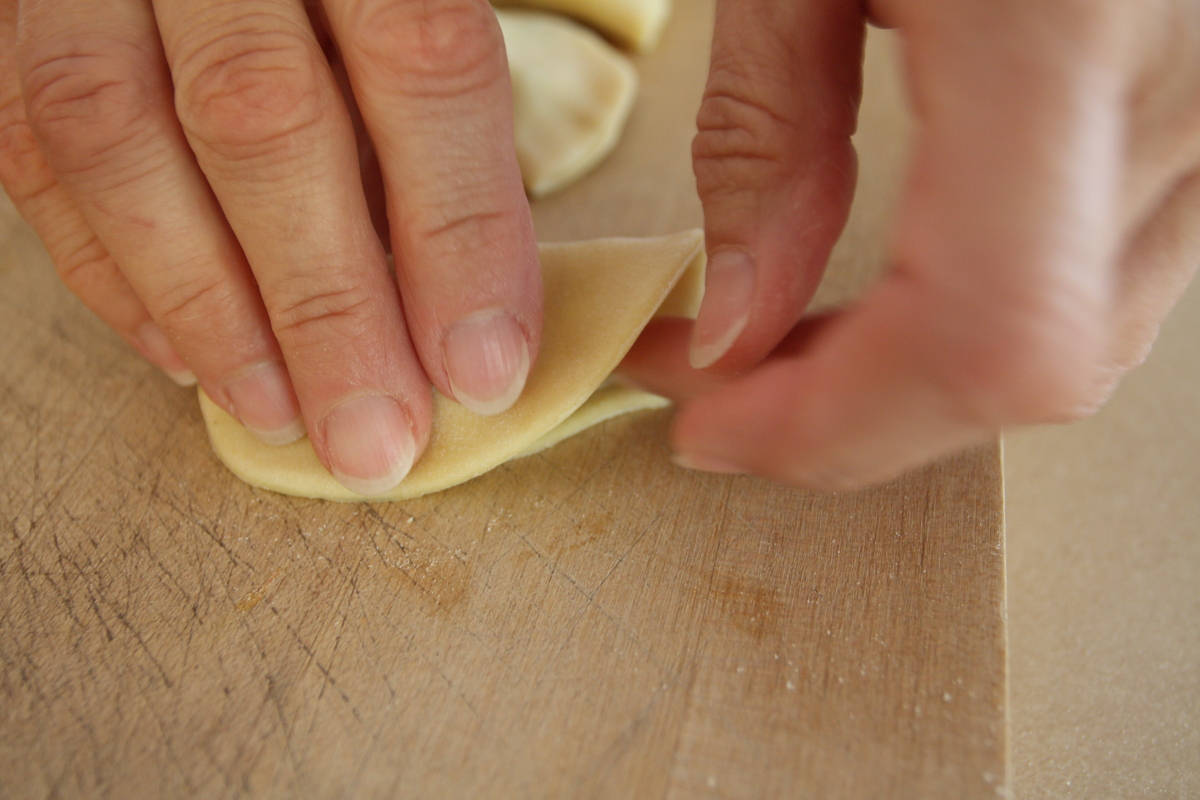
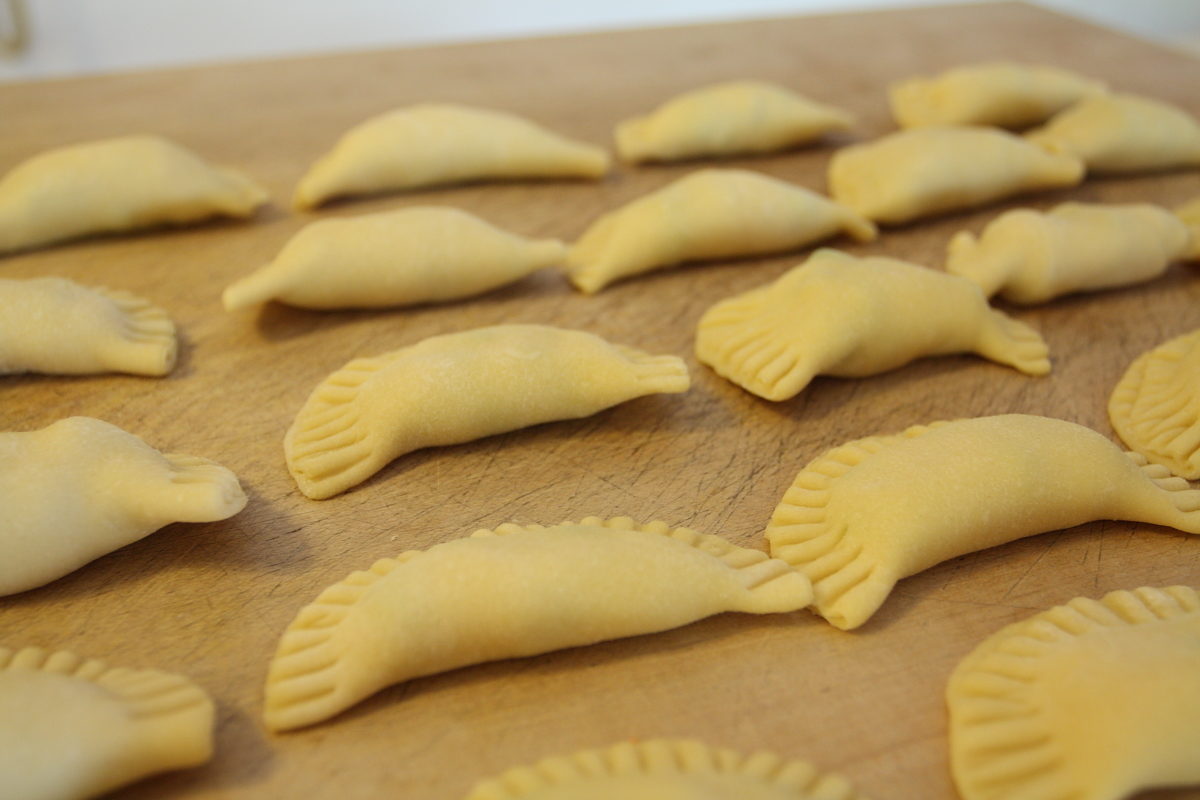
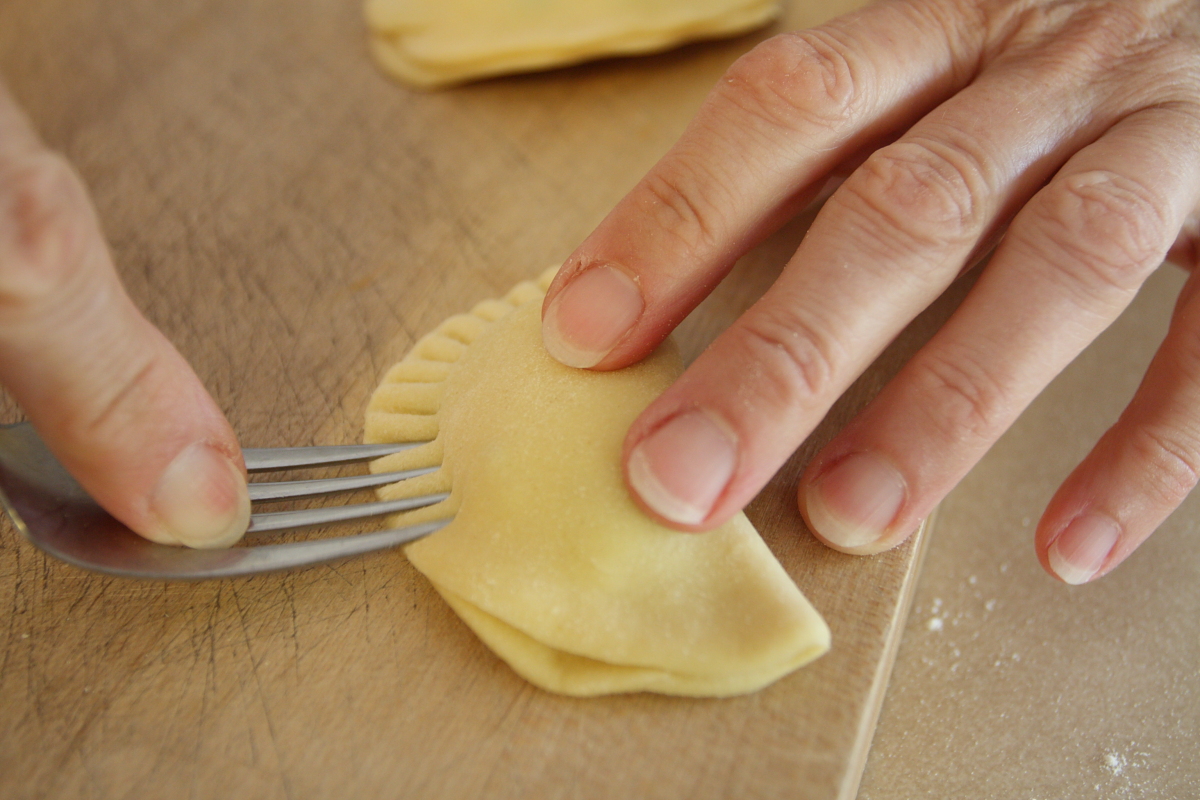
Fold and crimp. Pick up each disk with filling and fold the dough over to form a half-moon, pinching the edges closed with your fingers. Place the pierogi on the counter and crimp with the tines of a fork to make sure the seal is tight. Once you’ve as many pierogis as you have dough circles, gather up the scraps of dough, re-roll, and repeat.

Boil. Bring a large pot of water to a boil over high heat. Meanwhile, melt butter in a skillet over medium-low heat. Working with about eight pierogi at a time, place them in the boiling water, let it come back to a boil, and boil the pierogi for 5 minutes after they float to the surface.
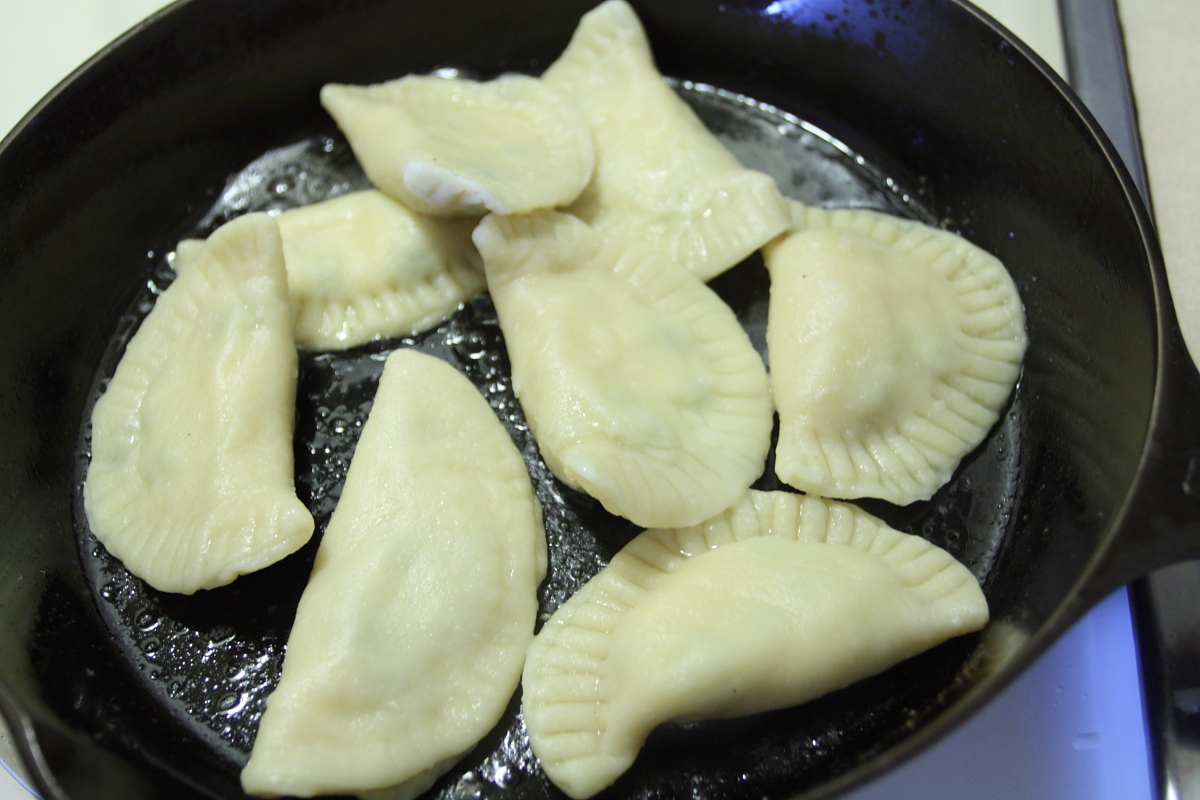
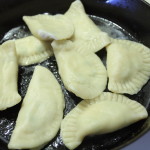
Fry. Once boiled, remove pierogi with a slotted spoon, and fry in the melted butter until browned on each side. We found that this took about 2-3 minutes per side, so we could have a batch boiling and a batch frying.
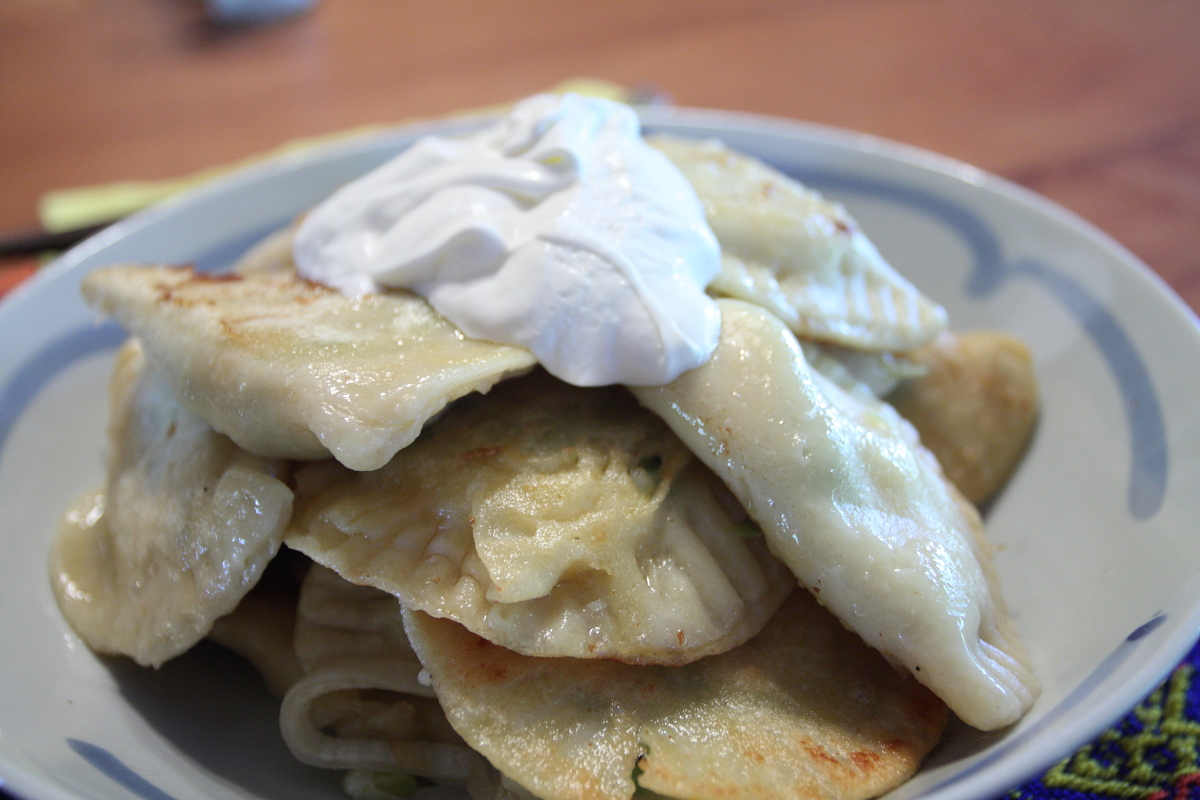
Serve. Traditionally, savory pierogis are served with fried onions and sour cream, and, while they would be fine to eat without, we think the sour cream adds a nice touch and works a bit like a sauce. And yes, we did use scratched sour cream.
These pierogis were great; ours filled with a traditional potato, cheese, and pea filling, making for a rather mild-tasting, but delicious, down-home dish. Next time, we might try the wild mushroom and sauerkraut filling recipe in From a Polish Country House Kitchen. Sure, they were a bit of trouble to make, but they were worth the effort. You can even make it easier by making the pierogis in several steps over a day or two. First the dough, then the filling on one day, then fill and cook the next. And, while we didn’t try it, we think you could place the pierogis on a baking sheet and freeze and bag them (before or after boiling) for later use, making it possible to have pierogis as a quick and easy meal. Overall, five stars, because we’ll definitely use pierogis from time to time to keep us out of that cooking rut.
