
It doesn’t look as if we’ve created many posts lately, but, we did finish the Black Forest Cake. With that going on, when we were thinking of snacks for our downtown walk on Monday night, we wanted something fairly easy, and something we could mainly make ahead. We couldn’t think of anything easier than some sort of scone.
These are really a modification of the Bouchon Cheddar Scones that everyone loves. We replaced the cheese with some chopped walnuts and made up a quick glaze from maple syrup and confectioners’ sugar, and we were done. It might seem as if this is a difficult recipe when you look at the ingredients measurements; however, if you use a scale, it’s just as easy to measure out 107 grams of something as it is to measure out 100 grams, so don’t let that scare you.
Maple-Walnut Scones
Ingredients
- 107 g all-purpose flour (3/4 cup + 1 tsp)
- 196 g cake flour (1 1/2 cups + 1 Tbs)
- 8.1 g baking powder (1 1/2 tsp + 1/8 tsp)
- 1.6 g baking soda (3/8 tsp)
- 27 g granulated sugar (2 Tbs + 3/4 tsp)
- 3.6 g kosher salt (1 tsp)
- 132 g cold unsalted butter, cut into 1/4-inch cubes (9 Tbs + 1 tsp)
- 71 g heavy cream, plus more for brushing (1/4 cup + 1 Tbs)
- 69 g crème fraîche or homemade sour cream (1/4 cup + 1 Tbs ) see note
- 100 g chopped walnuts (3/4 cup)
- 100 g confectioners' sugar (3/4 cup + 2 Tbs)
- About 5 Tbs maple syrup
Instructions
- Sift the flours, baking powder, baking soda, and sugar into the bowl of a stand mixer fitted with the paddle attachment. Add kosher salt and mix for about 15 seconds.
- Add butter pieces and pulse to start combining, then mix on low until butter is completely incorporated, about 3 minutes. If there are visible butter pieces remaining, break them up and mix them in using your fingers.
- With mixer on low, slowly add cream and crème fraîche. Mix until all ingredients are moistened and dough forms around the paddle, about 30 seconds.
- Add walnuts and pulse until mixed.
- Turn out dough onto a work surface, and, using the heel of your hand and a dough scraper, press the dough together, and form a 7x9-inch rectangle. Wrap in plastic, and refrigerate for 2 hours.
- Cut dough lengthwise to form 12 approximately 2x2-inch squares, then cut each square into 2 triangles. Place on a baking sheet lined with a silicone baking mat or parchment, wrap in plastic, and freeze at least 2 hours, and preferably overnight.
- (Once frozen, the scones can be placed in a plastic bag and kept frozen for a month.)
- Preheat oven to 350°F. Place a rack in the center of the oven and line a baking sheet with parchment.
- Arrange frozen scones on baking sheet, leaving about an inch of space between them.
- Bake 33 to 36 minutes, rotating top to bottom and front to back halfway through, or until scones are golden brown.
- Let scones cool on the baking sheet before serving.
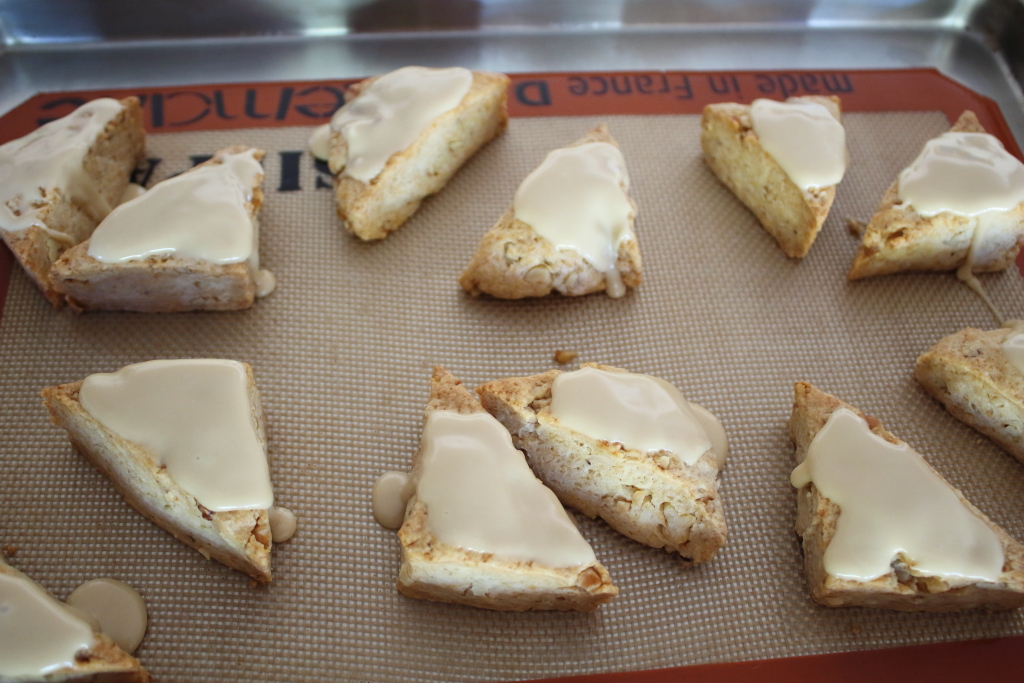
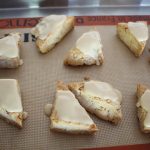
- In a small bowl, mix together confectioners' sugar and maple syrup to form a glaze. Adjust the amount of maple syrup to make a thick paste. Brush over scones before serving.
Notes
Ingredient discussion:
For much of our baking we use a scale and think it’s the best thing since, well, ever. It saves on cleanup, it’s more precise, leading to more consistent results, and it’s easier than using measuring cups. Plus, it’s possible to buy one for less than $20. For example, to measure the flours for sifting, we place the sifter in a bowl, place it on the scale, tare it to read 0 grams, add 107 g of all-purpose, hit tare again, and add 196 g of cake flour. Add the rest and you’re ready to sift. Crème fraîche sure sounds fancy, doesn’t it? Well, it’s really nothing more than cultured heavy cream, which you can easily make at home. Simply follow the instructions for our Scratched Sour Cream.
Procedure in detail:
Mise en Place. This recipe can be put together quickly, and some of the ingredients should be kept chilled, so we like to put everything in its place before starting. That means we sifted together the flours, baking powder, baking soda, sugar into the mixing bowl and added the salt. Next, we measured and cut the butter into cubes, placing them back into the refrigerator to stay cold. In a small measuring cup, we combined the crème fraîche and heavy cream and put that in the refrigerator. Finally, we chopped the walnuts. Now, we’re ready to go.
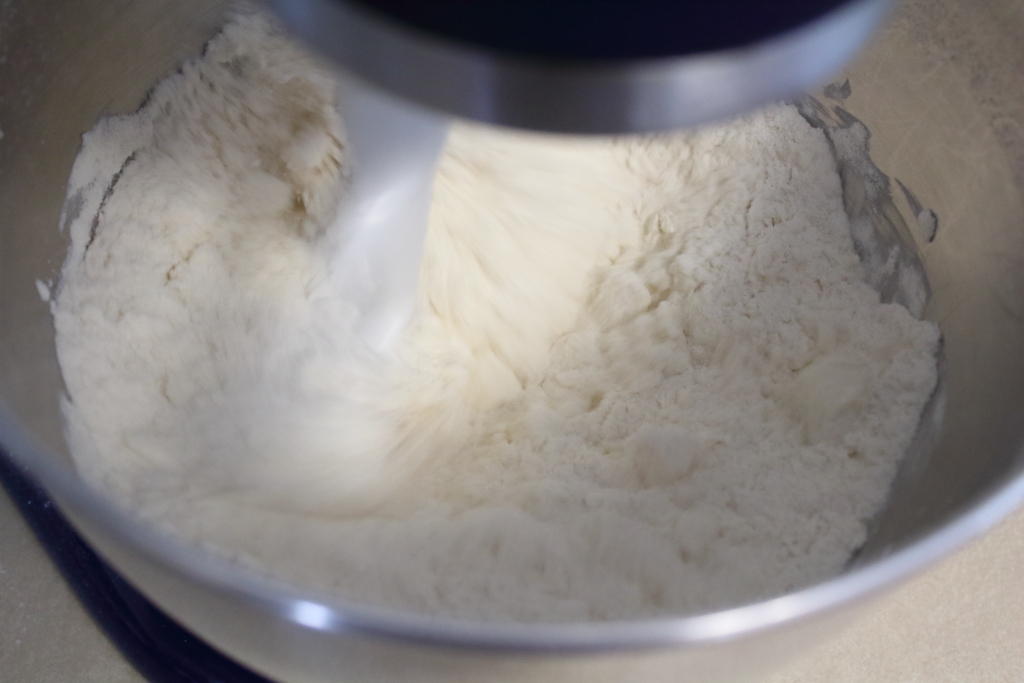
Mix dry ingredients. Place all the dry ingredients in the mixer fitted with the paddle attachment, and start mixing them together for about 15 to 30 seconds. This will make sure that the salt is well distributed.
Add butter. Add the butter cubes and let the mixer run until fully incorporated, about 3 minutes. The mixture will look like coarse sand; there shouldn’t be any visible chunks of butter in the mixture. If so, stop the mixer and break up the butter pieces using your fingers.
Add liquid ingredients. With the mixer running, slowly pour in the heavy cream mixture. Let the mixer run just until the dough comes together around the paddle. It won’t be sticky, but it will cling to the paddle attachment.
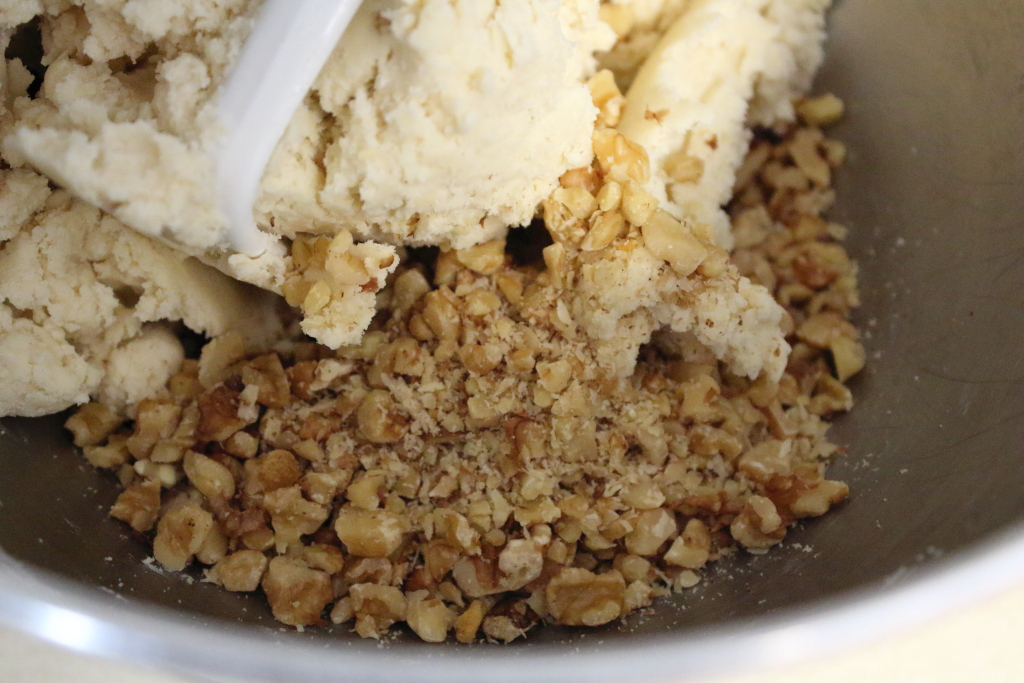
Pulse in nuts. Add the walnuts and pulse the mixer about 15 times to incorporate. If there are a few walnut pieces not mixed in, don’t worry; you’ll fix that in a bit.
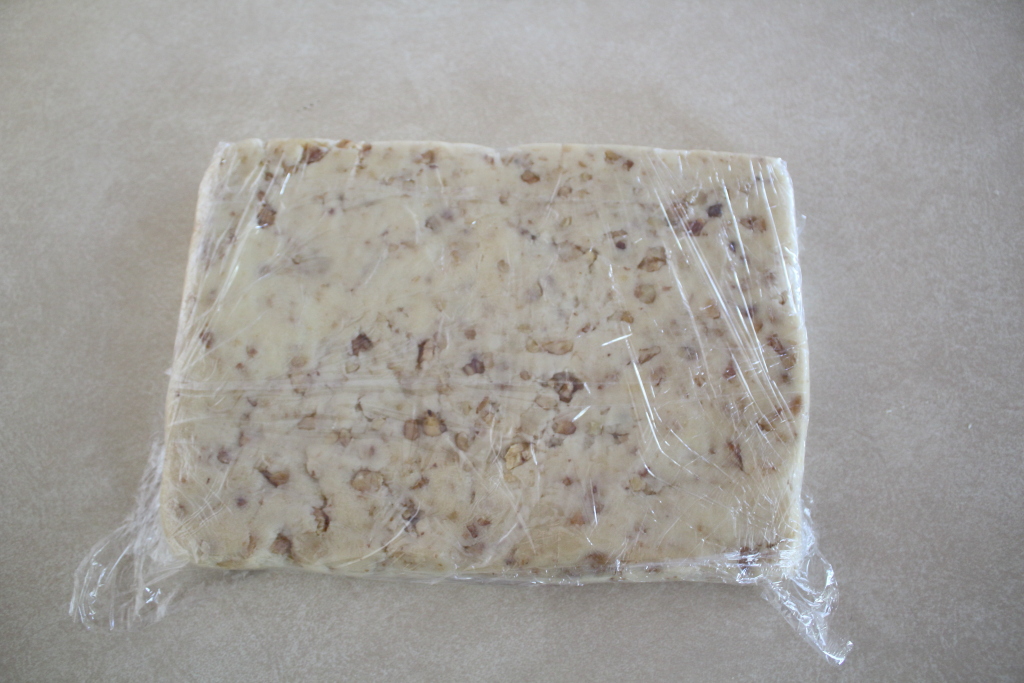
Shape and refrigerate. Turn the mixture out onto a clean work surface and use the heel of your hand to smear/press the dough and incorporate any remaining nuts, folding the dough over as necessary. With your hands, shape the dough into a rectangle about 7×9 inches in size. Wrap in plastic and refrigerate for 2 hours.
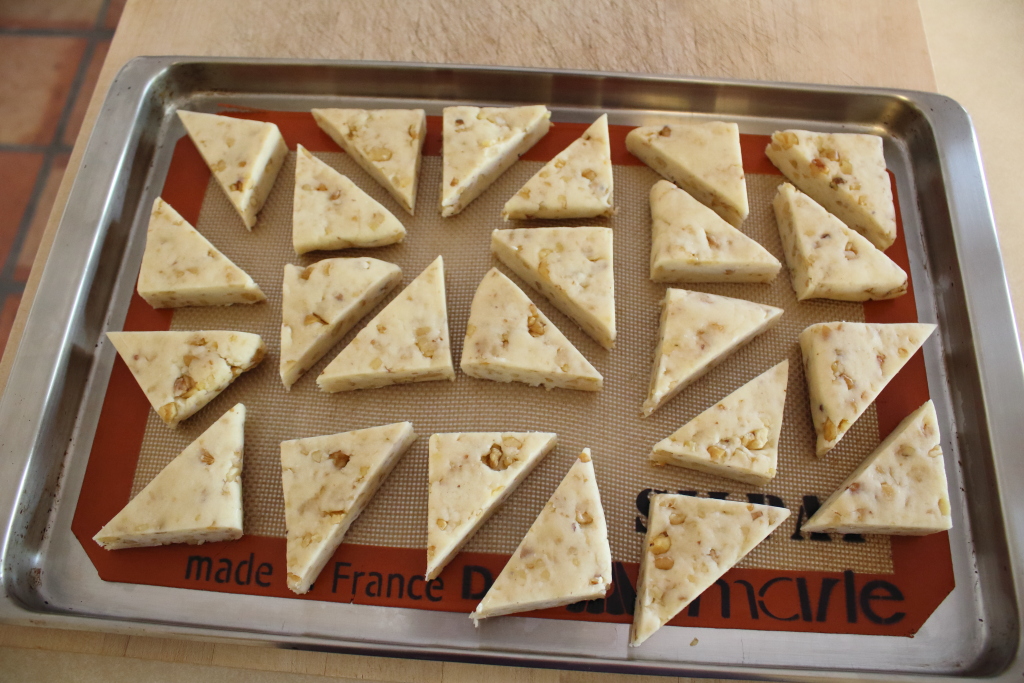
Cut and freeze. Take out the dough and cut into 12 squares, each about 2×2 inches in size. Simply cut the long edge into four rectangles, then cut across to form 12 squares. Next, cut each square in half to form triangles and place on a baking sheet lined with a silicone baking mat or parchment. Place in the freezer for at least 2 hours. Once frozen you can transfer to a freezer bag for longer storage.
Preheat oven to 350°F.
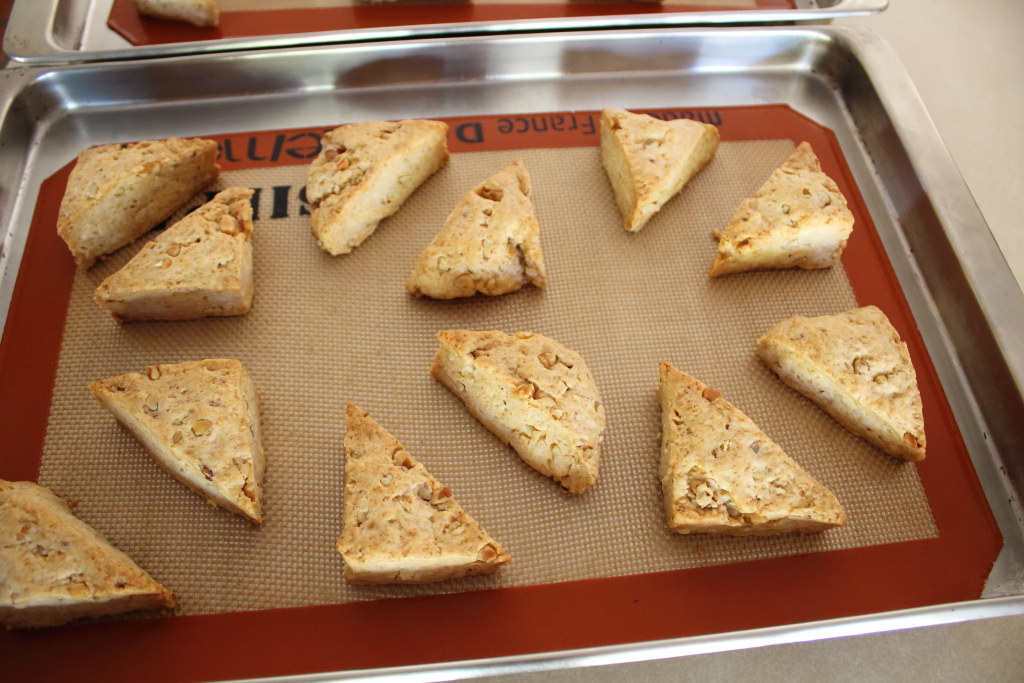
Bake. Place the scones on baking sheets lined with parchment or silicone baking mats, leaving an inch of space between each scone. Bake for 33-36 minutes, rotating the sheets from top to bottom and front to back halfway through. The scones will be golden brown and nicely puffed.
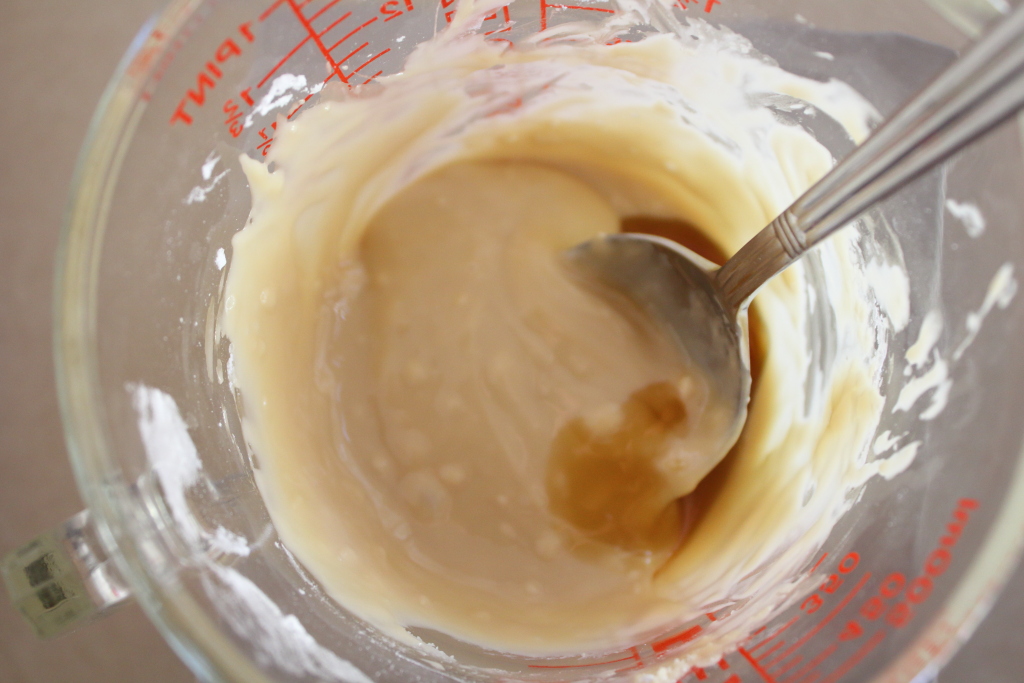
Make maple glaze. While the scones are baking, mix together the confectioners’ sugar and enough maple syrup to form a thick but spreadable glaze.
Apply glaze. Let the baked scones cool for 5 minutes, then apply glaze with a spoon or brush to coat the top. Either serve warm or let cool completely before serving.
This recipe for scones is one of the best we’ve used. We’ve varied the ingredients from savory to sweet, and they just always turn out perfectly. We love the fact that you freeze the scones before baking, so you can just bake them up whenever you want a scone or two. Or, you can bake them all up at once. Your choice. And, the flavor and texture are the best we’ve had. Easy five stars.
