Since those Parmegiano Popovers didn’t quite live up to our expectations, we thought we’d try another cheesy bread-like recipe that we were sure would: a recipe for Cheddar scones that comes from Bouchon Bakery, by Thomas Keller and Sebastian Rouxel. Now, if you’ve used Chef Keller’s recipes before, you know that he’s quite particular about the amounts of ingredients, and you might think that it’s overkill. After all, 107 grams of flour?
But, we’re here to tell you that every recipe that we’ve tried was spot on. They’ve worked exactly as described, and the end results are always worth the effort. But, that really doesn’t surprise us; after all, Chef Keller has perfected these recipes for his bakeries and restaurants, where everything needs to be just perfect. But, what does surprise us is how the instructions often take everything we’ve heard or learned about making a particular item and tosses it right out the window.
For example, over the years, we’ve heard that you need a delicate hand to make great pie crust, and so much of the texture relies on the baker. Nonsense; Chef’s Keller’s pie crust recipe uses a stand mixer. And it results in a perfect crust every time. For muffins, we’ve read time and time again that the secret to tender, light muffins is to just barely mix the dry ingredients with the liquid ingredients and bake the resulting batter immediately. Nonsense; Chef’s Keller’s muffin recipe mixes everything in a stand mixer and the batter stands in the refrigerator overnight before baking.
Finally, we’ll let you know that the original recipe called for minced chives (10 g) and applewood smoked bacon (77g cooked and chopped into 1/8-inch pieces). We had neither in the house, but we were determined to try these scones, anyway.
Bouchon Cheddar Scones
Ingredients
- 107 g all-purpose flour (3/4 cup + 1 tsp)
- 196 g cake flour (1 1/2 cups + 1 Tbs)
- 8.1 g baking powder (1 1/2 tsp + 1/8 tsp)
- 1.6 g baking soda (3/8 tsp)
- 27 g granulated sugar (2 Tbs + 3/4 tsp)
- 3.6 g kosher salt (1 tsp)
- 132 g cold unsalted butter, cut into 1/4-inch cubes (9 Tbs + 1 tsp)
- 71 g heavy cream, plus more for brushing (1/4 cup + 1 Tbs)
- 69 g crème fraîche or homemade sour cream (1/4 cup + 1 Tbs) (see note)
- 144 g grated white Cheddar cheese (2 cups)
- 36 g grated white Cheddar cheese for topping (1/2 cup)
- Freshly-ground black pepper
Instructions
- Sift the flours, baking powder, baking soda, and sugar into the bowl of a stand mixer fitted with the paddle attachment. Add kosher salt and mix for about 15 seconds.
- Add butter pieces and pulse to start combining, then mix on low until butter is completely incorporated, about 3 minutes. If there are visible butter pieces remaining, break them up and mix in with your fingers.
- With mixer on low, slowly add cream and crème fraîche. Mix until all ingredients are moistened and dough forms around the paddle, about 30 seconds.
- Add cheese and pulse until mixed.
- Turn dough out onto a work surface, and, using the heel of your hand and a dough scraper, press the dough together and form a 7x9-inch rectangle. Wrap in plastic, and refrigerate for 2 hours.
- Cut dough lengthwise to form two 9x3 1/2 inch strips, then cut each strip into 6 bars, each 3 1/2 x 1 1/2 inches in size. Place on a baking sheet lined with a silicone baking mat or parchment, wrap in plastic, and freeze at least 2 hours, preferably overnight.
- (Once frozen, the scones can be placed in a plastic bag and kept frozen for a month.)
- Preheat oven to 350°F. Place a rack in the center of the oven and line a baking sheet with parchment.
- Arrange frozen scones on baking sheet, leaving about an inch of space between them. Brush with heavy cream and top with grated cheese and black pepper.
- Bake 33 to 36 minutes, rotating front to back halfway through, or until scones are golden brown.
- Let scones cool on the baking sheet before serving.
Notes
Ingredient discussion:
If you’re daunted by the precise amounts for each ingredient, buy a digital scale. Then it’s just as easy to measure 107 grams of flour as it is to measure a cup. Really. The original recipe called for crème fraîche, but we find that we come very, very close with our scratched sour cream. Do not use store-bought sour cream, as it’s way too sour and not at all like fresh sour cream or crème fraîche. We think you’d be better off just using heavy cream. Yes, use cake flour; it’s lower in gluten, so your scones will be nice and tender. As far as cheese goes, use a sharp Cheddar, but we also think these would be good with other cheeses, too. Try them first with Cheddar, then start using some of your favorite cheeses.
Procedure in detail:


Mise en place. With all these precise measurements, you’ll want to get everything ready before starting. We did it in this order. First, we measured and cut the butter into cubes and placed them in the fridge to keep chilled. Second, we measured the flours, baking powder, baking soda, and sugar into our sifter set in the mixing bowl of a stand mixer and sifted. Third, we grated the cheese. Finally, we measured the cream and homemade sour cream. Believe it or not, just getting these things ready means you’re halfway done.


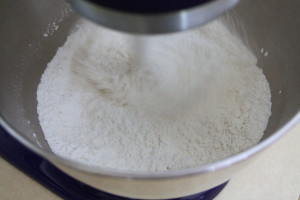
Add salt and mix. Place the bowl of flour on the stand mixer fitted with the paddle attachment. Add the salt and run the mixer on low for about 15 seconds mix the dry ingredients. We add the kosher salt now because the large crystals don’t go through the sifter.
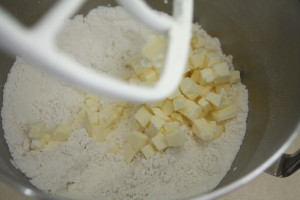
Add butter. Take the pieces of butter from the refrigerator and scrape them into the flour mixture. Now quickly pulse the mixer off and on to start incorporating the butter. Pulsing like this will make it less likely that flour will shoot over the top of the bowl and onto the counter (and the floor). Once you think the flour won’t shoot out, turn the mixer on low and let it run for about 3 minutes until all the butter is incorporated. If there are any pieces of butter still visible, break them apart and incorporate them into the flour with your fingers.
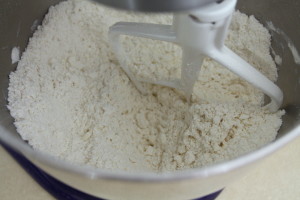
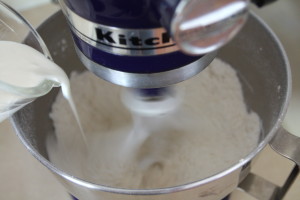
Add cream and crème fraîche. With the mixer on low, slowly pour in the cream and crème fraîche and continue to mix until all the dry ingredients have been moistened and dough forms around the paddle, about 30 seconds.
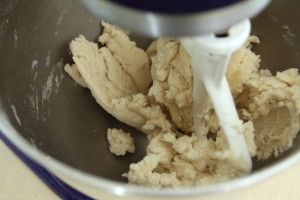
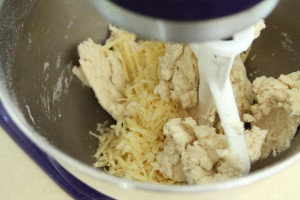
Add cheese. Add the grated cheese and pulse the mixer on and off until the cheese is just mixed in.
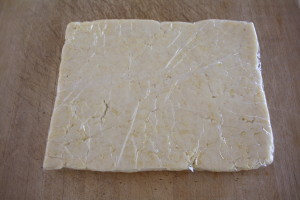
Shape. Scrape the dough out of the bowl and onto a clean work surface. Using the heel of your hand and a dough scraper, shape the dough into a rectangle that’s roughly 7×9 inches in size.
Refrigerate. Wrap the dough in plastic and place it in the refrigerator to chill for about 2 hours.
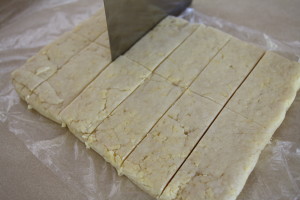
Cut. Once the dough is chilled, take it out and place it back on the work surface. Cut the dough in half length-wise to make two rectangles, each about 3 1/2 x 9 inches. Then cut each rectangle cross-wise into six equal pieces that are about 3 1/2 by 1 1/2 inches in size. Transfer each to a baking sheet lined with parchment or a silicone baking mat, leaving space between each scone.
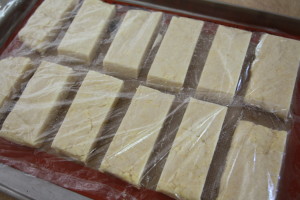
Freeze. Wrap everything in plastic and place in the freezer until solid, at least 2 hours, but preferably overnight. Yep, scones for breakfast! After the 2 hours, you can transfer the scones to a plastic bag and they’ll keep in the freezer for up to a month.
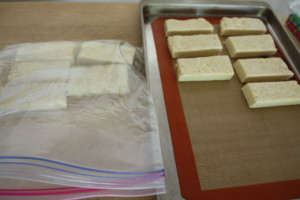
Preheat oven to 350°F. Move a rack to the center of the oven and line a baking sheet with parchment (preferred) or a silicone baking mat.
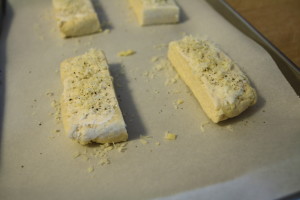
Top. Place scones on the prepared baking sheet, leaving about an inch of space between them, brush the tops with heavy cream, then sprinkle on grated cheese and a bit of black pepper.
Bake. Slide into the oven and bake until golden brown and puffed, about 33 to 36 minutes.
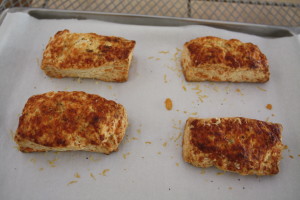
Cool. Let the scones cool completely on the baking sheet before serving (if you can wait that long; we couldn’t).
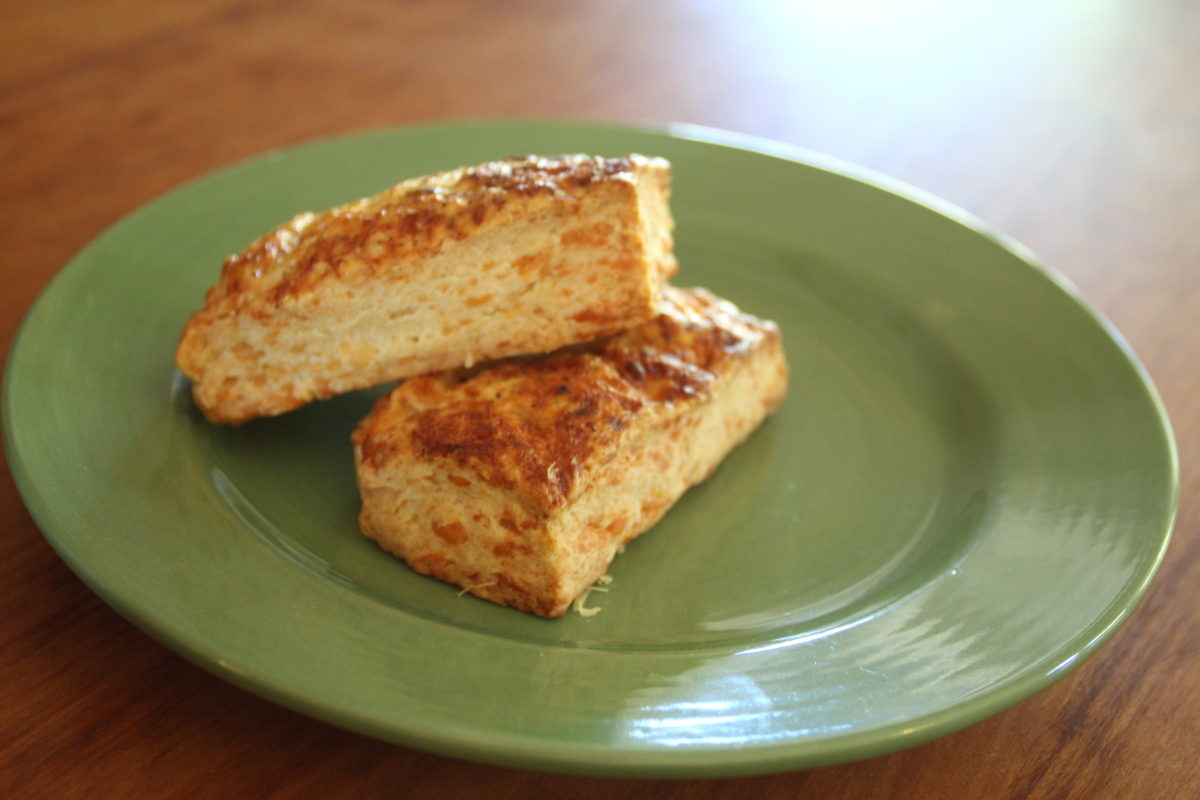
Once again, a recipe that turns everything we thought we knew about scones upside down. We thought the dough had to go together with a light hand, then be cut and immediately baked. But, this recipe has you freeze the scones before baking. Who knew? And, as expected, they turned out perfectly. Crispy on the exterior, and tender on the inside, with just enough cheese to make it seem as though it would string out from the center (we ate ours warm) like mozzarella on pizza. And, they’re easy to make up, too. Sure, it seems like a lot of work, measuring so precisely, but it really isn’t, and, if you want great scones, it’s worth it. While eating these, we thought of several variations: adding nuts, other cheeses, even sprinkling the tops with a small amount of smoked paprika (or cayenne, for those who want to go bold), which shows how versatile this recipe is. An easy five stars.
