
Okay, your Palet d’Or has frozen overnight and you’re excited about finishing it today, so, let’s get cracking and Scratchin’.
We need only need to do a few things to finish our cake: unmold the cake, make and apply the glaze, and add the gold leaf. Then it’s off to the refrigerator to thaw.
Note that we aren’t re-posting all the instructions today; we’ll just pick up where we left off.
Procedure in detail:
Prepare glazing station. Place a piece of parchment on a baking sheet and set a rack on top. Choose a rack that will be easy to clean — we went with the roasting rack that came with a 9×13 inch pan.
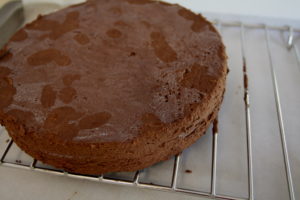
Unmold cake. We’re going to do this first because we know that the cake can just go back into the freezer to wait patiently while we make the glaze. So, take the cake out of the freezer and start warming the ring, using your hands. Cold, eh? Yes, keep warming, and warming. Now, try lifting up slightly to see if the cake will come loose. You might have to press the cake down lightly as you pull up on the ring, but you’ll be able to get it. Ideally, the edges will be smooth (ours were a bit ragged, so, next time we might line the ring with parchment); if need be, smooth them with a knife of offset spatula. Now, place the cake on the rack and put it back into the freezer. You do not want the cream to melt.
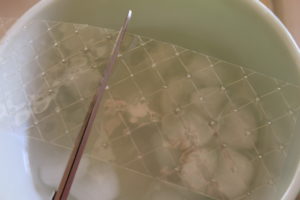
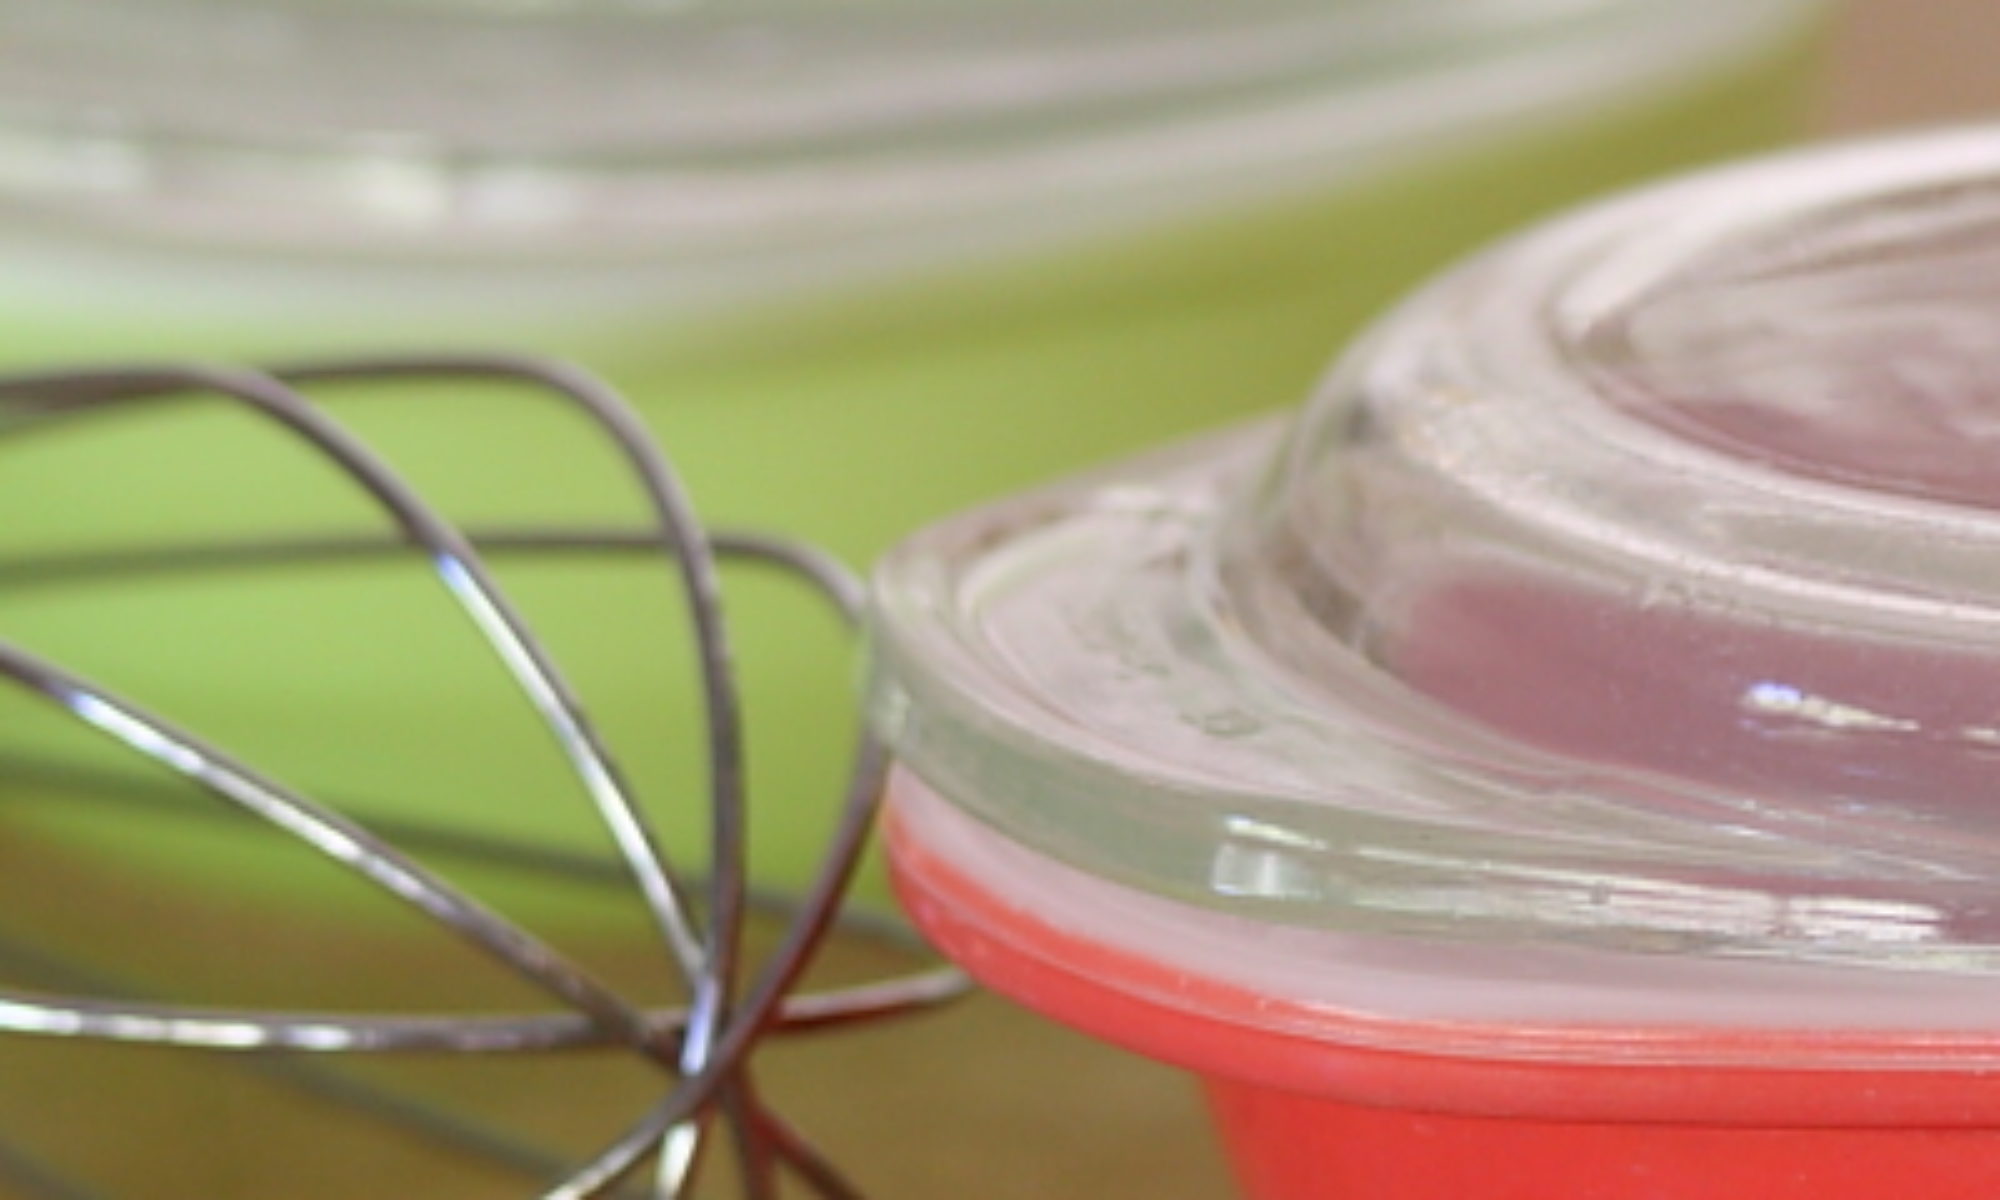
Bloom gelatin. Fill a bowl with ice water and place the gelatin sheets in it to soak. Don’t worry, they don’t dissolve in ice water; they just soak up some of the water so they’ll dissolve completely in the hot glaze. If needed, you can cut the sheets in half to make them fit. Set aside.
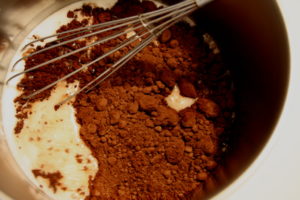
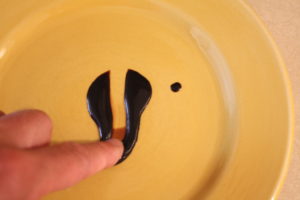
Cook glaze. Place the heavy cream, sugar, and water in a medium saucepan over medium-high heat and bring to a boil. Whisk in the cocoa, reduce heat to a gentle boil, and cook for 15 minutes. Naturally, give the glaze a stir from time to time to prevent sticking and burning. After 15 minutes, place a spoonful of the glaze on a plate and run your finger through it. It should leave a trail that doesn’t close, plus, you get to taste the glaze. Remove from heat.
Add gelatin. Remove the sheets of gelatin from the ice water and squeeze out the excess water. Isn’t sheet gelatin odd? We thought so, too. Place the gelatin in the hot glaze and whisk until smooth and dissolved.
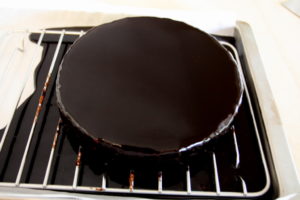
Glaze. This is a bit tricky: we did it by pouring the glaze through a fine-mesh strainer directly onto the cake. Having done that, though, we’d recommend pouring the glaze through a fine-mesh strainer into a measuring cup with a spout, and then pouring it onto the cake. Either way, remove the cake from the freezer and start glazing about 2 inches from the edge, watching so you coat the entire top and the sides. Tap the pan lightly on the counter to smooth the glaze.
Set. Let the cake stand for about 5 minutes so the glaze can set up a bit. Use a wide spatula or cake lifter to transfer the cake to a nice plate. Be careful here, as the chocolate cream wants to stick. You might try buttering or oiling the spatula or whatever you use.
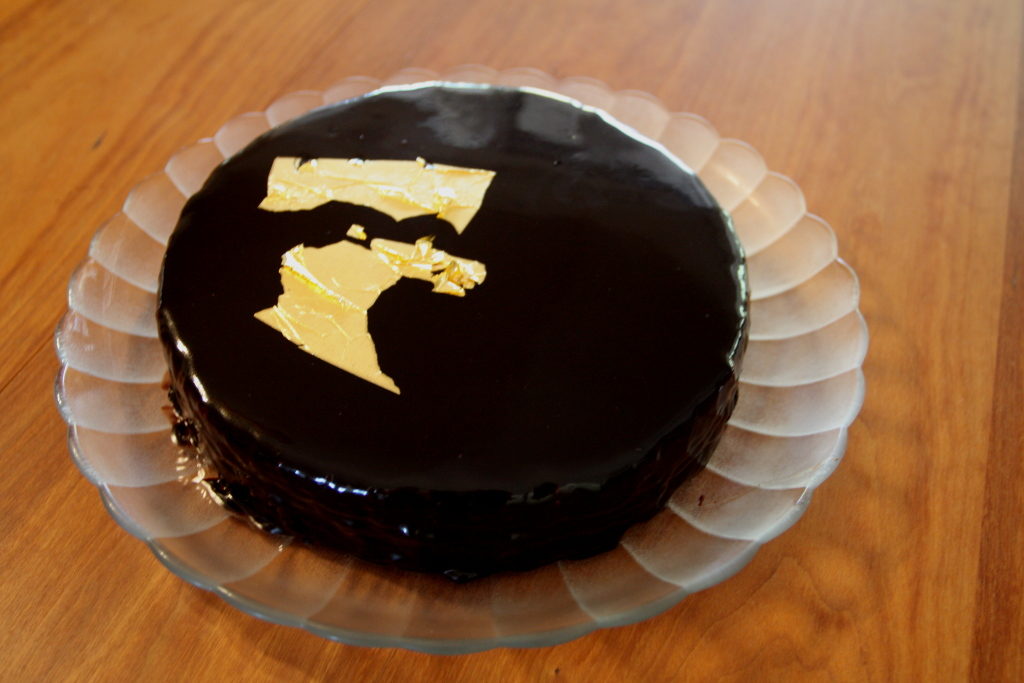
Apply gold. This is optional and we can’t blame you if you didn’t buy gold leaf just for a cake. If you did, turn off all sources of a breeze (A/C or heat), and use a small paring knife to lift a piece of the gold leaf and place it on the cake. Done!
Refrigerate. Place the cake in the refrigerator to thaw for a few hours before you slice and enjoy. To slice, use a very thin knife heated with hot water and dried. Or, perhaps, use some dental floss to cut through the cake.
With the first piece, we thought that this cake might be just a tad too sweet for our tastes, but, upon reflection and tasting a second slice (the next day, of course), we think that it’s about perfect. It retains a slight bitterness from the dark chocolate, which is nice. And, the different textures and intensities of the chocolate flavor add a lot of interest. The cake, with that thin layer of chocolate, has a crisp, snappy layer, the chocolate cream is smooth and silky, and the glaze is similar to a thick chocolate syrup — not super-sweet, though. This is a nearly perfect cake for those chocolate lovers among us. Even though it’s a time-consuming cake to make, the taste and the way it looks will make you want to create a Palet d’Or for every special occasion. Five stars!

Great technique! I did the recipe last week without having visited your site. I like the tips of adding parchment to the cake ring as well as oiling the cake lifter. I also liked the tip of smoothing the edges after removing the cake ring. This tip will most certainly help with getting the glaze to apply cleanly to the sides.
Thanks !!
I really appreciate your review here! I am taking a stab at this entremet (my first!) this week. I plan on making the cake (granted, I may just make a classic chocolate genoise, and not their prescribed Devil’s Food cake – it seem like it would be too…cake-y?) and the mousse in one day and chilling overnight, assembling on day 2, and glazing on day 3. Then eating on day 3 and beyond! Ha! I do like the idea of lining the cake ring with parchment – will most definitely do that in efforts to get that smooth, clean mousse surface before glazing! 🙂
I’ve tried lining with parchment, and I just couldn’t get it to wrap smoothly around the ring. It just wrinkled in spots making for a uneven edge. It still tastes great, of course, but it is really difficult for me to get a smooth edge. Perhaps a sheet of acetate inside the ring would work.
If you figure out something, feel free to post back what worked or didn’t.
All the best,
Shawn
You could try using acetate strips instead of parchment paper! It’s smooth and won’t wrinkle when you wrap it around the ring.