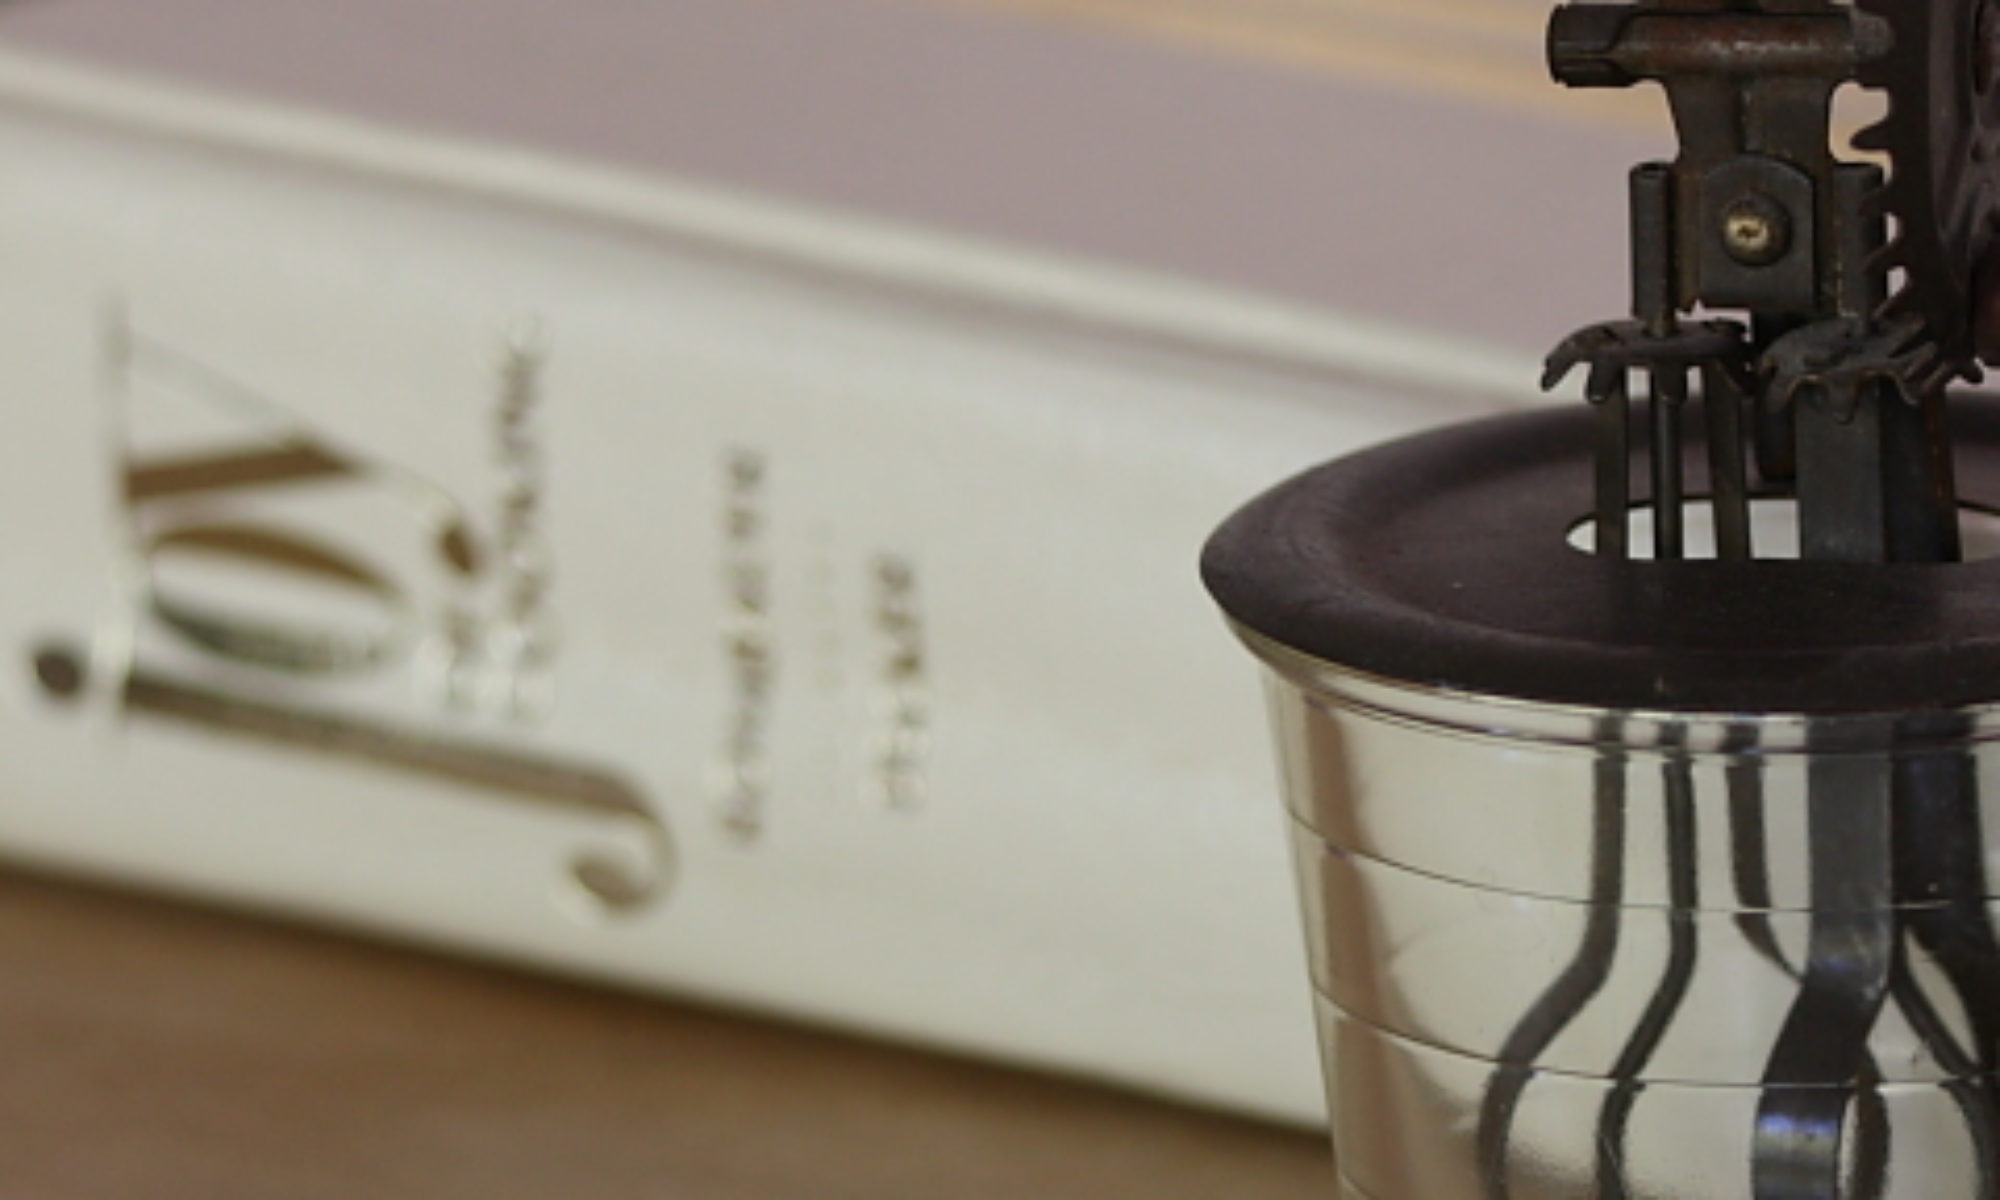

We’ve had madeleine pans (or perhaps more correctly, plaques) for years, but we’ve only made madeleines once or twice. Why? Who knows? Perhaps because they seem too fussy, filling all those little shell-shaped divots on the pan. Regardless the reason, we knew we’d have to correct the lack of having some little tea cakes to munch on, soon. And, as it turns out, we were able to correct most of the fuss of filling the pans, too.
Behind the scenes here at Scratchin’ Central, we actually tested two different recipes for madeleines, one from Thomas Keller’s Bouchon Bakery, and one from an index card recipe that Williams-Sonoma sent along with the pans, years ago. Actually, they sent two; one was for traditional madeleines and the other was for chocolate madeleines. Guess which of those we used? The recipe from Thomas Keller was for a traditional version, and it differed just a bit in the measurements. We modified that one, by doubling it, which will make it a touch easier to make in the home.
Traditional Madeleines and More
Ingredients
- 136 g all-purpose flour (scant cup)
- 1 tsp baking powder
- 1/2 tsp kosher salt
- 3 large eggs
- 110 g granulated sugar (1/2 cup + 1 Tbs)
- 132 g unsalted butter, room temperature, plus more for greasing (9 Tbs)
- 18 g honey (1 Tbs)
- 18 g dark brown sugar (4 tsp)
- Zest of 1/2 lemon
Instructions
- In a medium bowl, sift together flour and baking powder. Add salt and whisk to mix. Set aside.
- In a stand mixer fitter with the whisk attachment, mix eggs and sugar on medium speed for 1 minute. Increase speed to high and whip until doubled in volume, about 4 minutes.
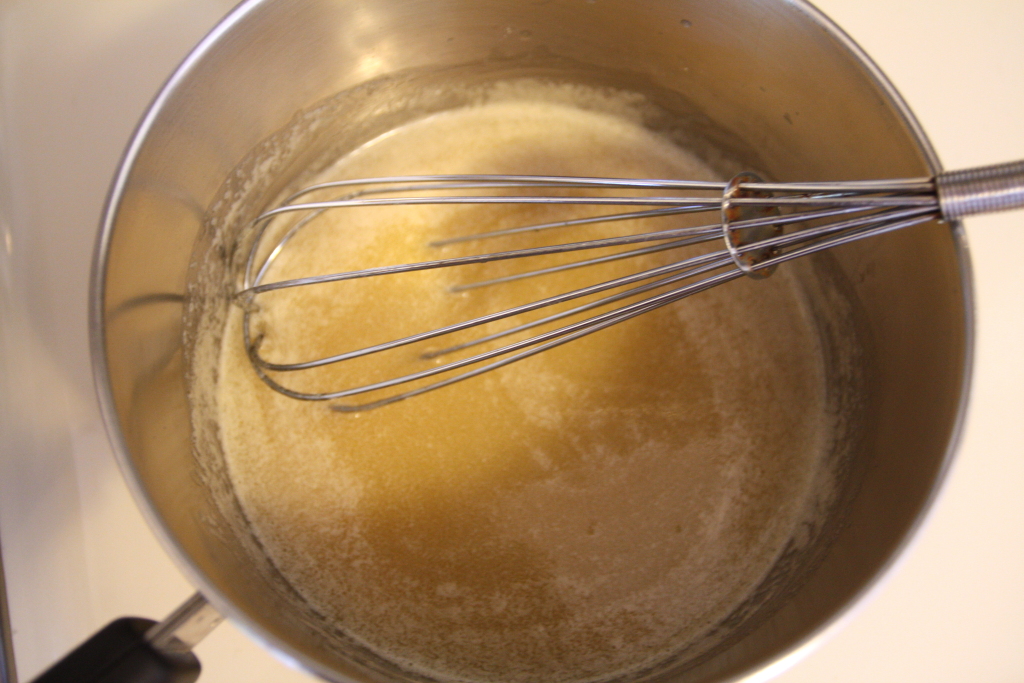
- Meanwhile, in a small saucepan over medium-high heat, melt butter with sugar and honey, whisking to dissolve sugar, about 1 minute. Remove from heat.
- Remove bowl from mixer and fold in flour mixture in two additions. Scrape the bottom of the bowl to ensure all dry ingredients are incorporated.
- Drizzle butter mixture over batter, add lemon zest, and fold in. Transfer to a bowl, press plastic wrap over the surface and refrigerate overnight.
- Preheat oven to 350°F. Generously butter madeleine pans. Place pans in freezer for several minutes to firm up butter before filling shells.
- Transfer batter to a piping bag, and fill each shell about 3/4 full.
- Bake 11 to 13 minutes, until tops are lightly browned, and a skewer inserted into the center comes out clean.
- Remove from pans immediately and cool completely on a rack.
Ingredient discussion:
The original recipe (1/2 the amount listed above) called for 83 grams of eggs, which is just a bit over one and one-half eggs. We figured we’d double the amounts in the original so we could use three eggs. Full disclosure, we did weigh the eggs, and three eggs came to 174 grams, just slightly over the 166 grams needed if we followed the recipe exactly. (Another disclosure, we did scoop out just a bit of egg to make the weight match — it was less than a tablespoon of egg). So, with all that egg discussion, what kind did we use? Yes, eggs from true free-range hens, happy hens, because that makes us happy, too, and provides the best eggs. Of course, only use unsalted butter, because no one likes salty cake. The lemon zest is our variation; the original recipe called for 1 to 2 drops lemon oil.
Variant: Finally, the “more” part from the title. We indicated that we also made chocolate madeleines, and, while we used a (slightly) different recipe, we suggest that if you want chocolate, substitute 35 grams (1/3 cup) of cocoa for 35 grams (1/4 cup) of flour before sifting. And use 1 teaspoon of vanilla extract in place of the lemon zest.
Procedure in detail:
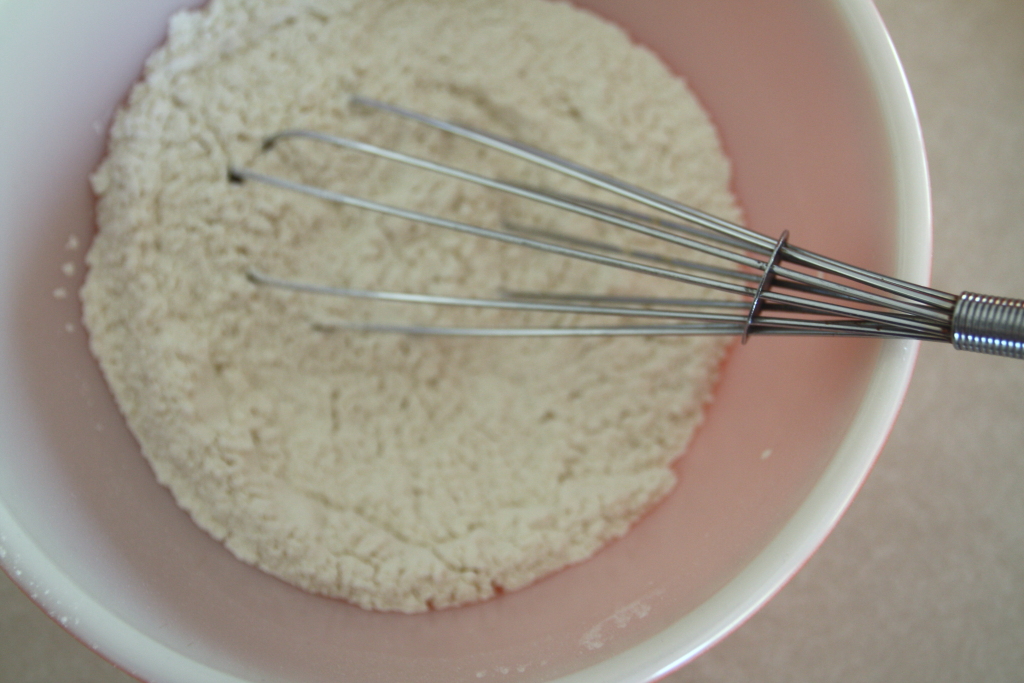
Sift drys. Okay, time to break out the sifter. Yes, we know it’s way, way, back in the cupboard. And don’t say that the bag of flour indicates it’s pre-sifted, because there are two reasons one sifts dry ingredients: to remove lumps, and to fluff. Saying pre-sifted means without lumps; you want to fluff. So sift the flour (and cocoa, if using) and baking powder together into a medium bowl. Then whisk in the salt. Why not sift the salt? If you tried it, you’d know the crystals are too big to fit through the screen.

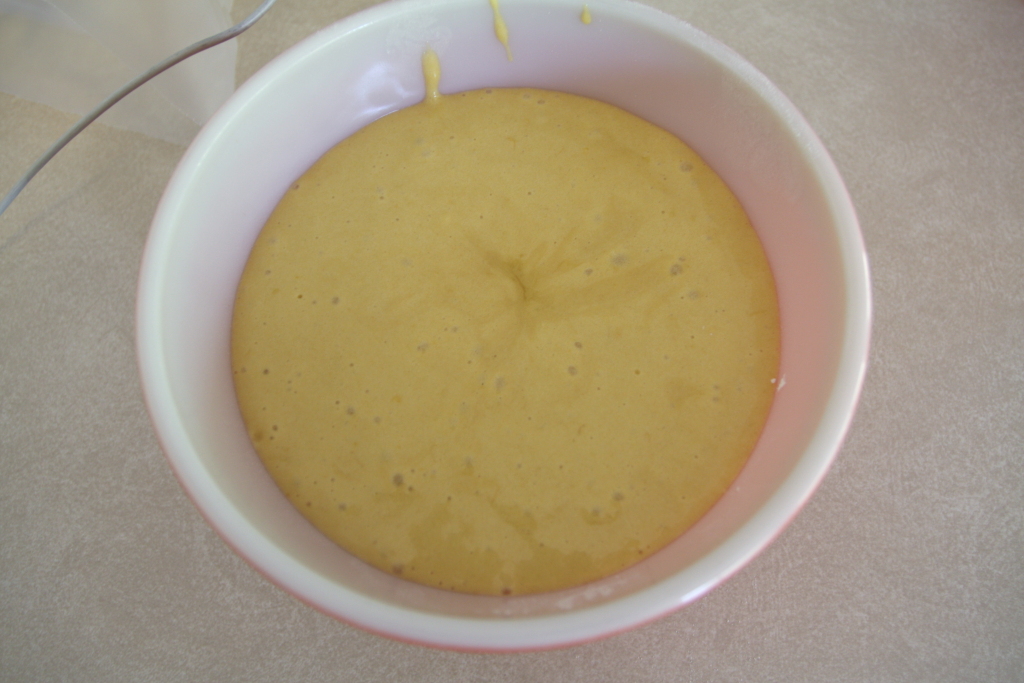
Beat eggs and sugar. In the bowl of a stand mixer fitted with the whisk attachment, beat the eggs and sugar on medium for 1 minute. This will begin the mixing and start the eggs aerating so they won’t splash out of the bowl. After the initial mixing, crank the mixer up to high (see, no splashing), and whip until doubled in volume, about 4 minutes.
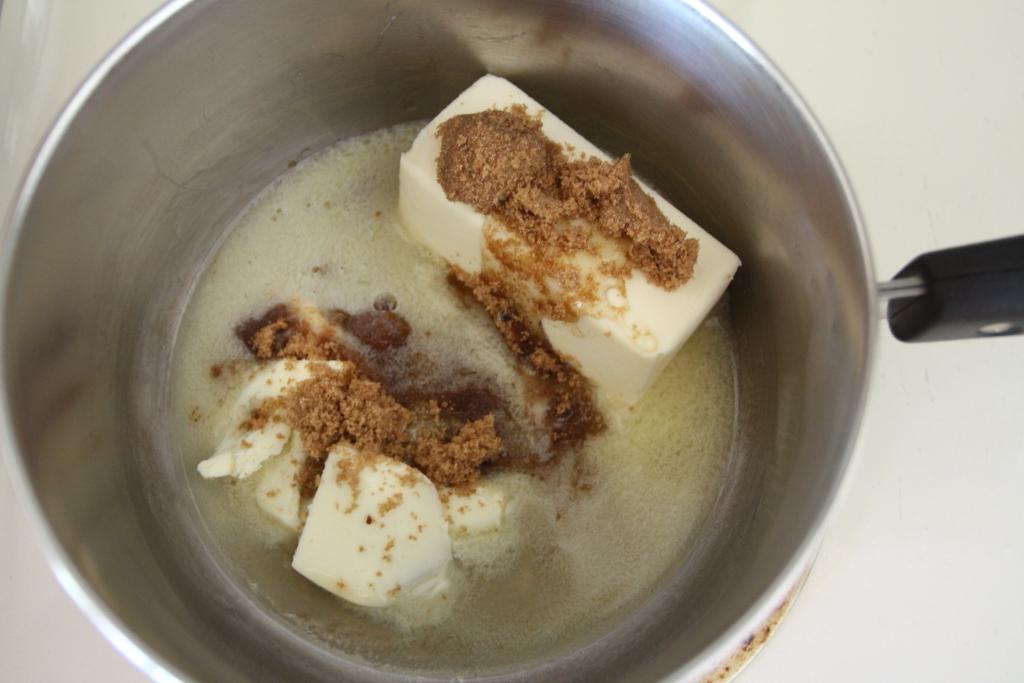
Melt butter and sugars. The mixer is whirling away, so, rather than watching it, place the butter, brown sugar, and honey in a small saucepan over medium high heat to melt. Once melted, give everything a good whisking to make sure the sugar and honey are dissolved and remove from heat.
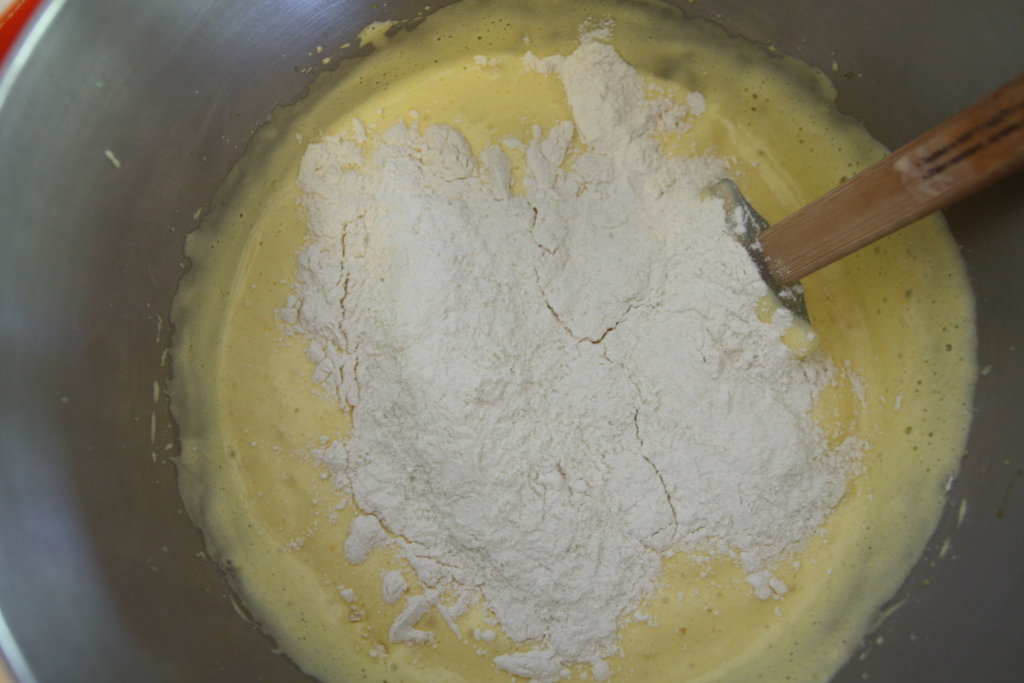
Fold in flour mixture. Remove the bowl from the mixer, and, using a spatula, fold the flour mixture into the eggs in two additions. Make sure to scrape the bottom of the bowl, because flour likes to hide down there and not get mixed in. That tricky flour; don’t let it get away with hiding.
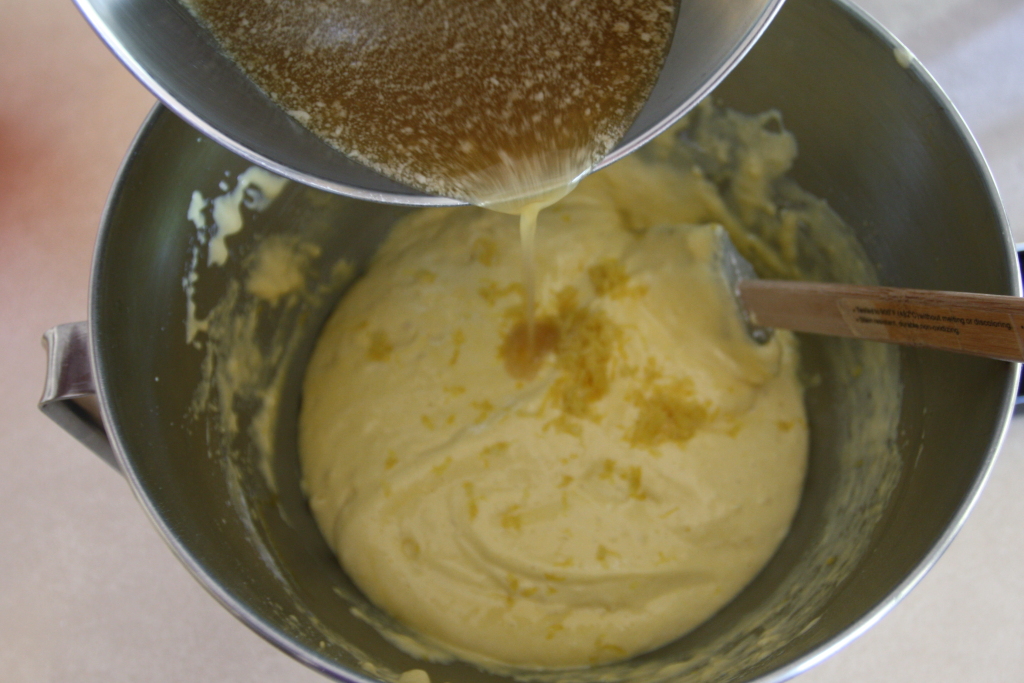
Fold in butter and zest. Drizzle the melted butter over the top, add the lemon zest, and fold, fold, fold, until all the butter is folded in. Like the flour, some butter likes to hang around in a small pool at the bottom of the bowl. Don’t let it get away with that; fold it all in.
Rest. Not you; you still have a bit more to do. Transfer the batter to a bowl and press a piece of plastic wrap right onto the surface. Refrigerate overnight to allow the flour to hydrate. Now you can rest.
Preheat oven to 350°F. Generously butter madeleine pans. Be generous. Very. When you’ve finished buttering the pans, place them in the freezer for several minutes to firm up the butter prior to adding the batter.
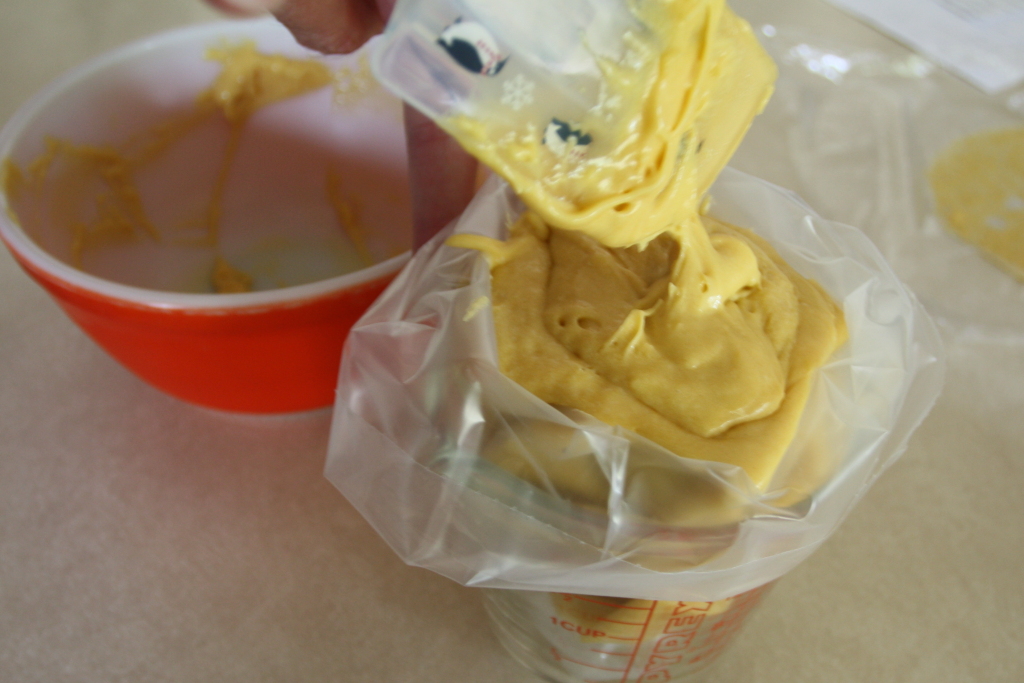
Transfer batter. Transfer batter to a piping bag fitted with a plain tip. We used a 1/4-inch tip, because that’s what we had, but anything around that size will work. If you don’t have a piping bag, you’ll just fill each madeleine cup with a heaping tablespoon of batter, so it’s not really a necessity, but the piping bag makes filling the cups a whole lot easier and far less messy. Trust us.
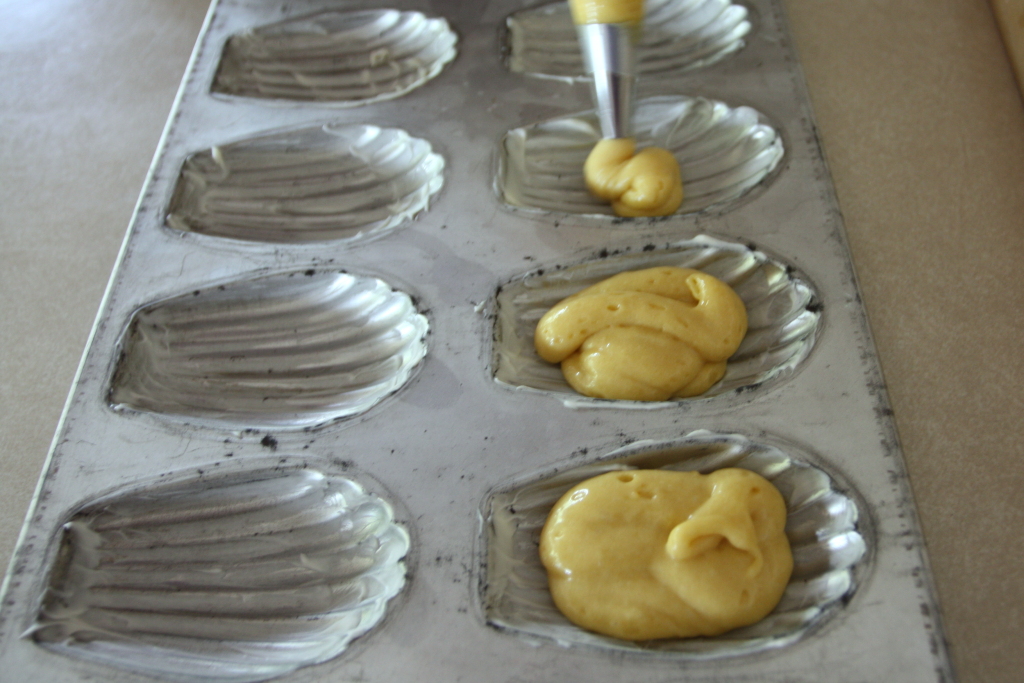
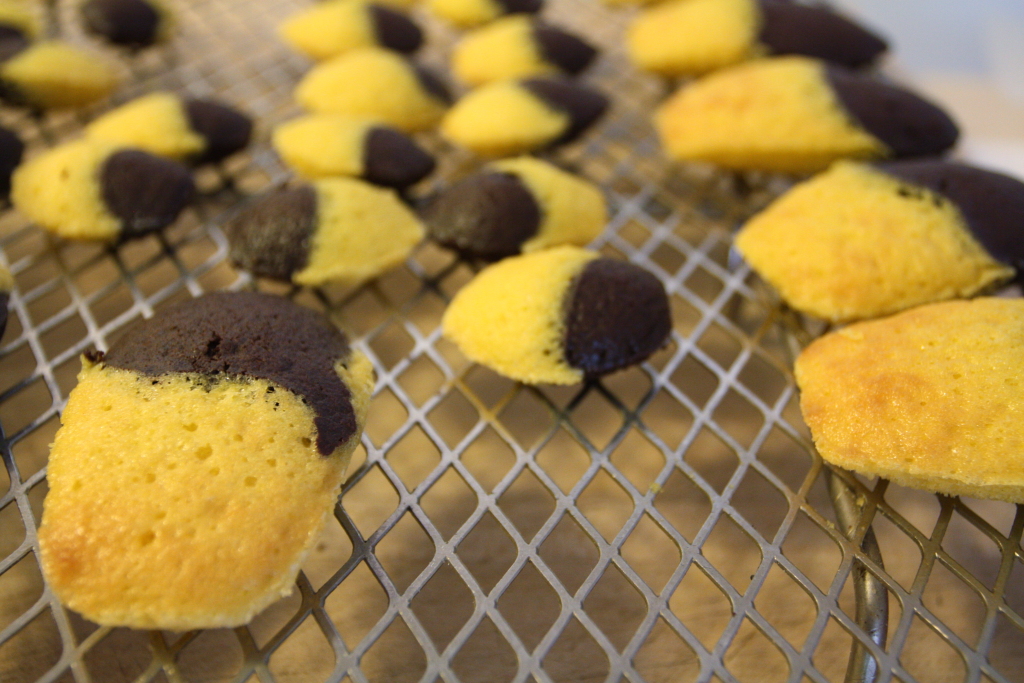
Fill cups. Fill each of the madeleine cups about 3/4 full. Chef Keller suggests using 20 g of batter for each cup, so you could set your pan on a scale and measure as you go. Full disclosure: we did try it for the chocolate madeleines, just to be sure it worked. If you happen to make both chocolate and traditional batter, you can make half-and-half madeleines by piping a bit of each batter into each cup. Pretty fancy, huh?
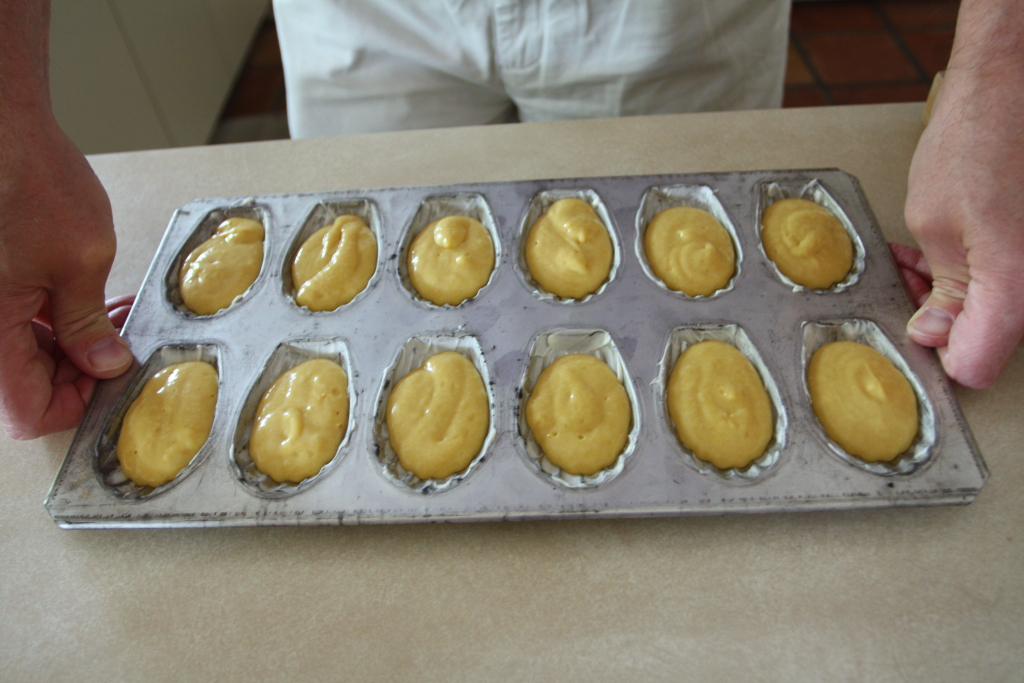
Bake. Slide into the oven and bake 11 to 13 minutes, or until the tops begin to brown around the edges and a skewer inserted into the middle comes out clean.
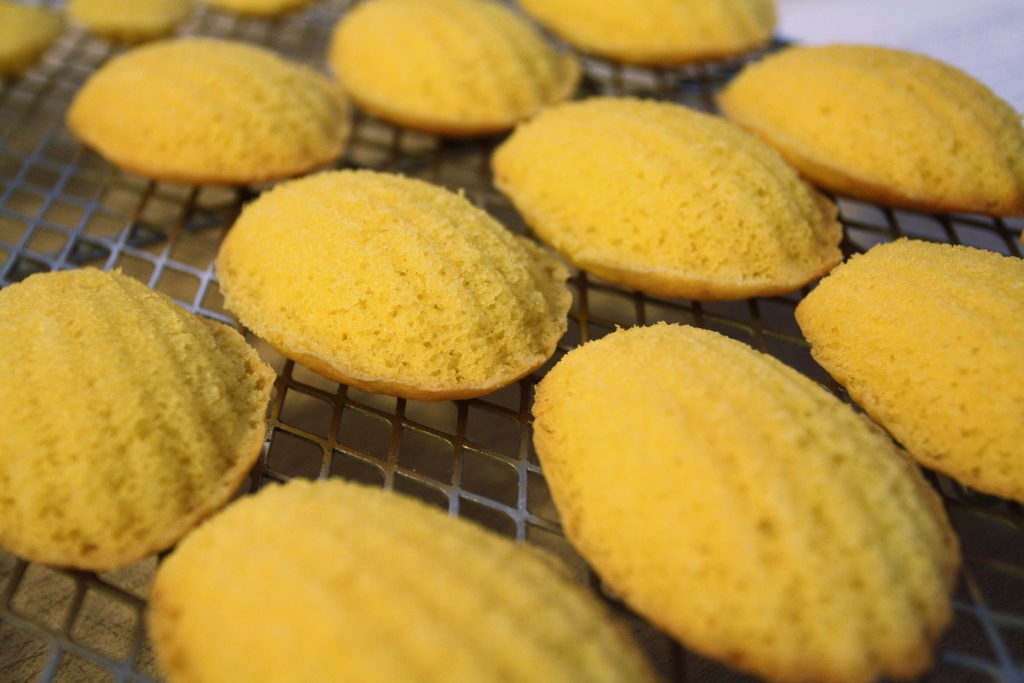
Cool. Immediately remove the cakes to a baking rack to cool completely. Oh, all right, try one. You’re the baker, you can, and should.
Of the two recipes (Thomas Keller’s and Williams-Sonoma), we preferred dealing with the careful measuring of Keller’s recipe. It resulted in a lighter, moister madeleine, and we’ll be using that version from now on. The chocolate versions were drier, partly due to the cocoa, and partly due to the slightly smaller amount of butter; when we made them, we were a bit worried because the batter collapsed somewhat when we added the flour/cocoa mixture. It puffed up admirably during baking, though. We especially liked the chocolate-lemon half-and-half madeleines. They looked cute, something like bumblebees in the tin, and the lemon chocolate combination was perfect. The lemon flavor was very mild, mainly a hint of lemon, while the chocolate had a slight bitterness that made for a great contrast. Five stars.
