
Just the other day, we were looking around for more pasta shapes that can be made by hand when we came across this video. It showed how to make four different shapes, and only one of them required rolling out the pasta dough with a rolling pin. We think that rolling out the pasta dough is what that scares people away from making their own pasta at home; that’s a shame, because scratching up a batch of pasta dough takes under 10 minutes of work. And being able to make a few shapes completely by hand means we can make fresh pasta anywhere.
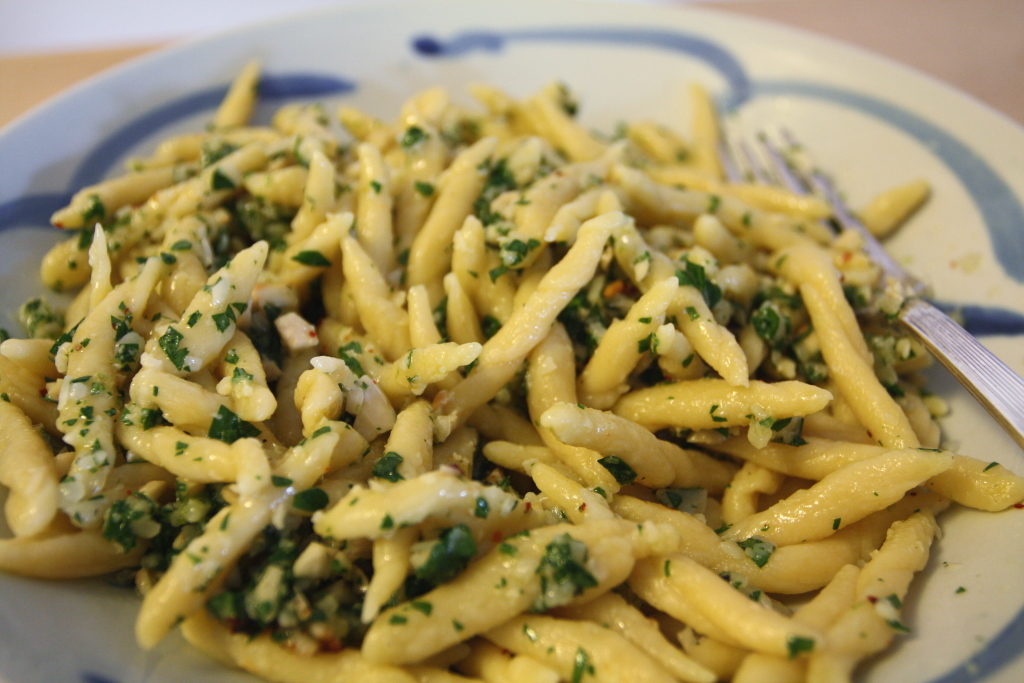
So, we watched the video and these little trofie pasta shapes seemed super simple and fast. Just the right shape to make when you don’t want to bother rolling and cutting dough. We figured, why not try them next time we make up pasta? Now we needed a sauce and we’d be set. According to the video, traditionally trofie is served with pesto, which we love, but we didn’t have enough basil on hand. Don’t worry, that didn’t stop us; tomorrow’s post will show you how to make a non-traditional pesto that we invented just for this pasta. Until then, let’s scratch out a new pasta shape.
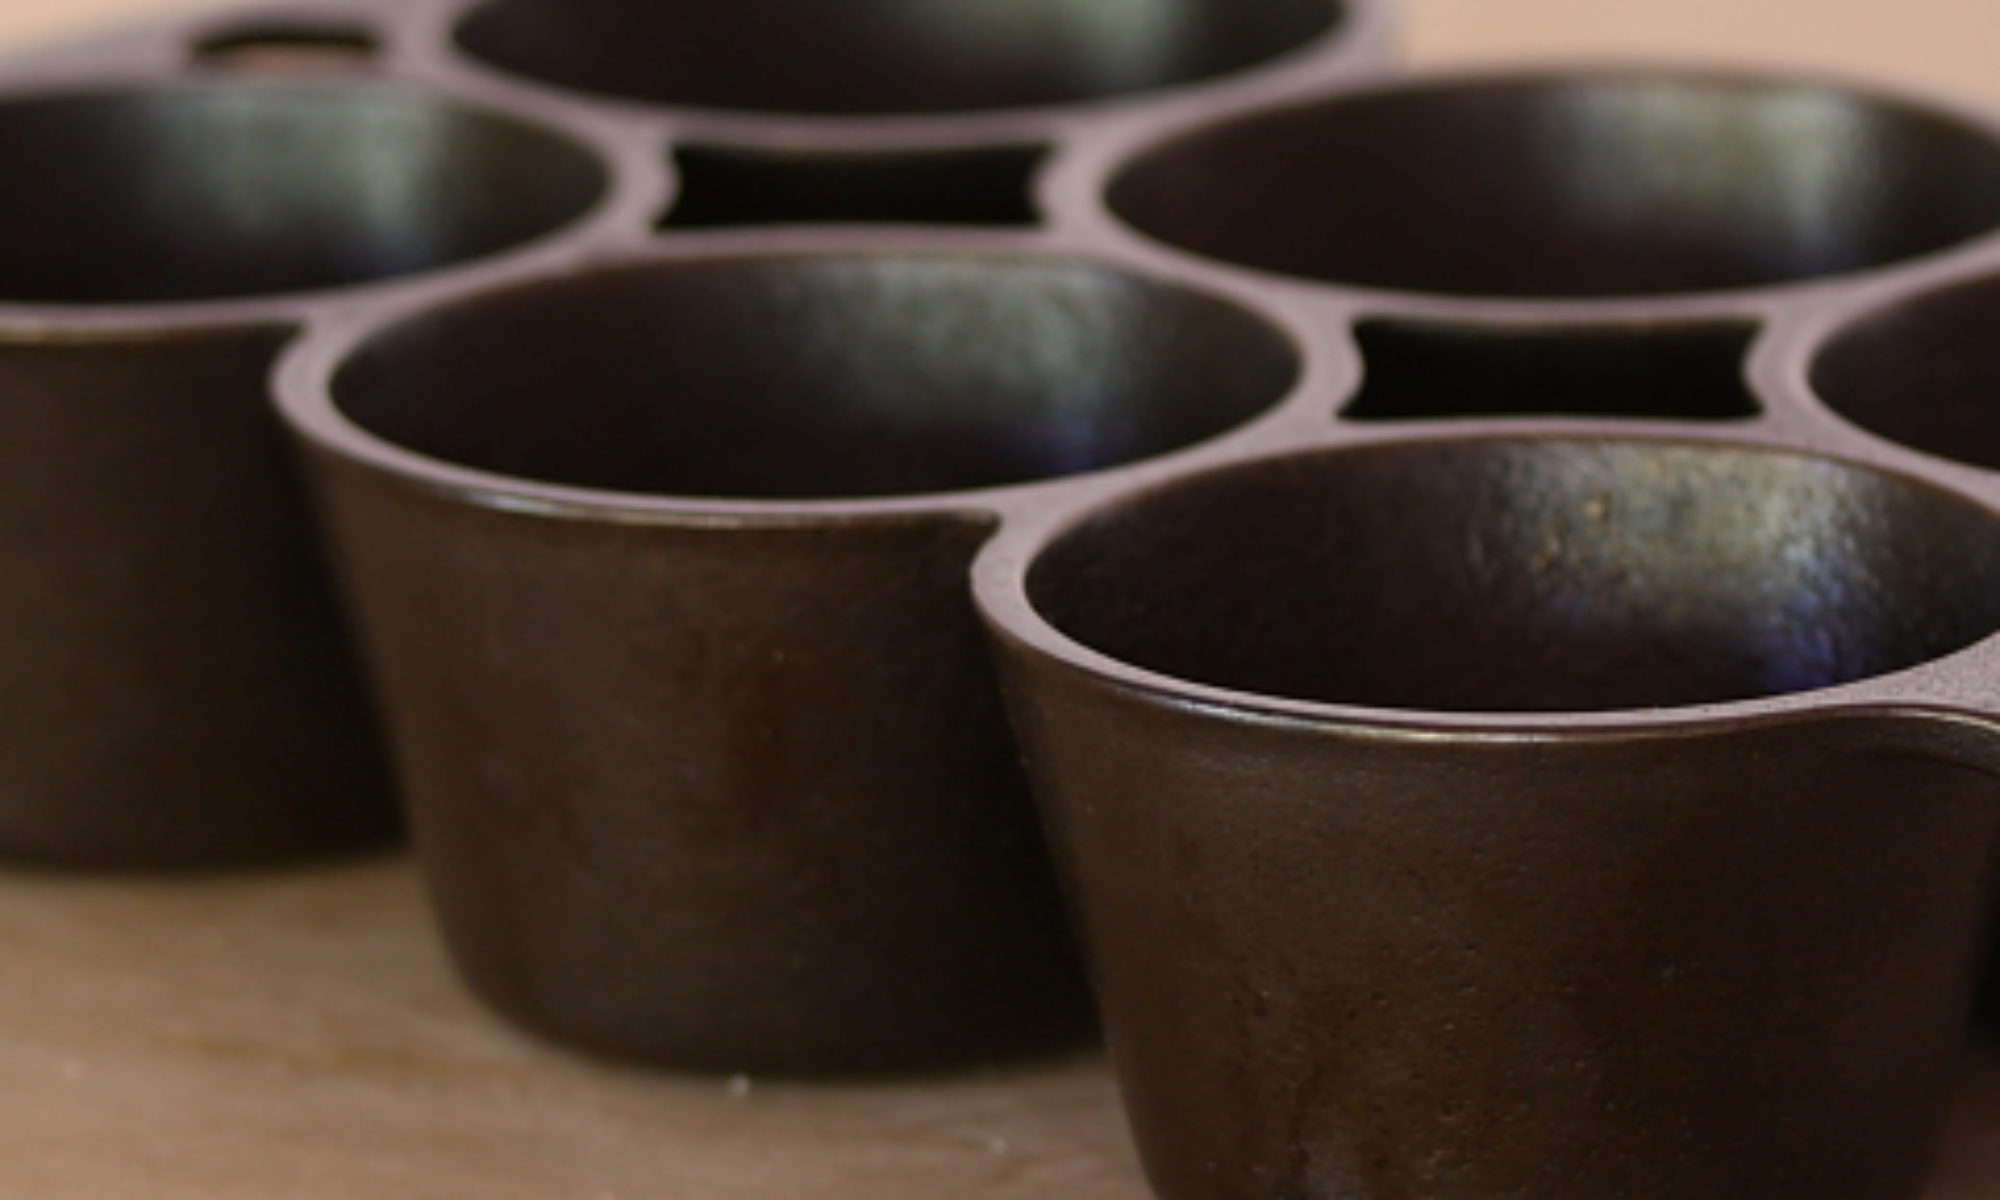
First up, make a batch of basic pasta dough and have it ready to shape.
Shaping trofie takes four basic steps: rolling dough into a snake or rope, cutting the rope into small pillows, rolling the pillows into tapered strands, and applying a ridge to the strands. And we’d say the last step is optional, since it takes the most time and trouble, and doesn’t change the shape all that much.
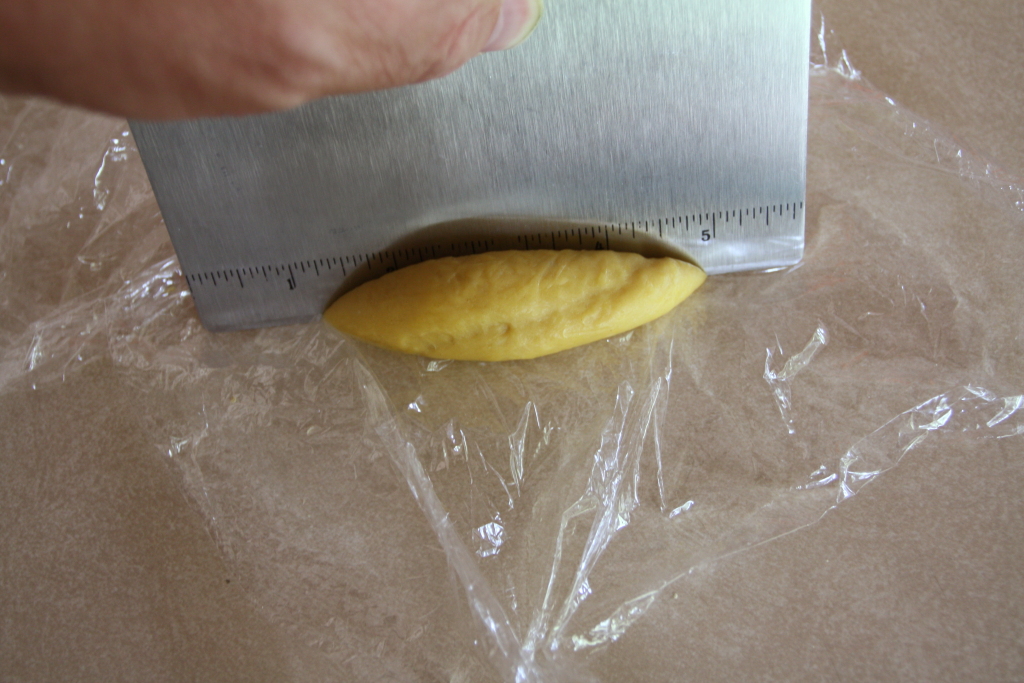
Make rope. Cut off a piece of dough small enough that you can work it easily and, just as when you were a kid and did this with clay, roll it out on the counter under your hands until you have a rope of dough about 1/4-inch in diameter. If the dough is springy and wants to spring back, you might want to let the dough rest, covered with plastic wrap, for a while longer.
Make pillows. Use a bench scraper or a chef’s knife and cut the rope at a 45° angle into small pillows about 1/4 of an inch thick, resulting in trapezoidal pillows about 1/4-inch on a side. Nothing to this pasta-shaping, right?
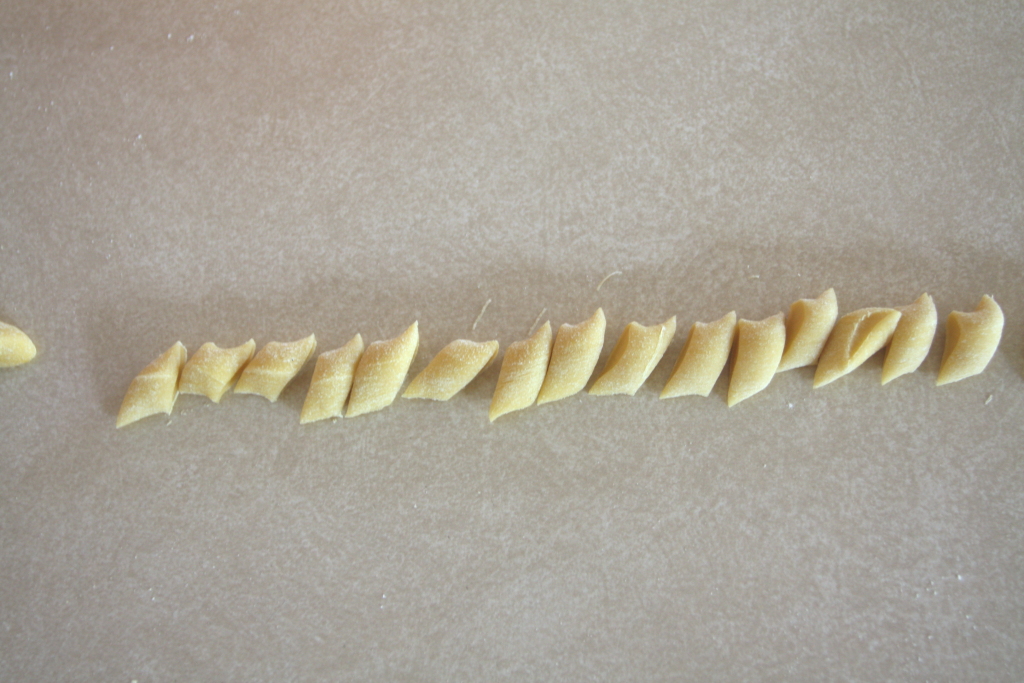
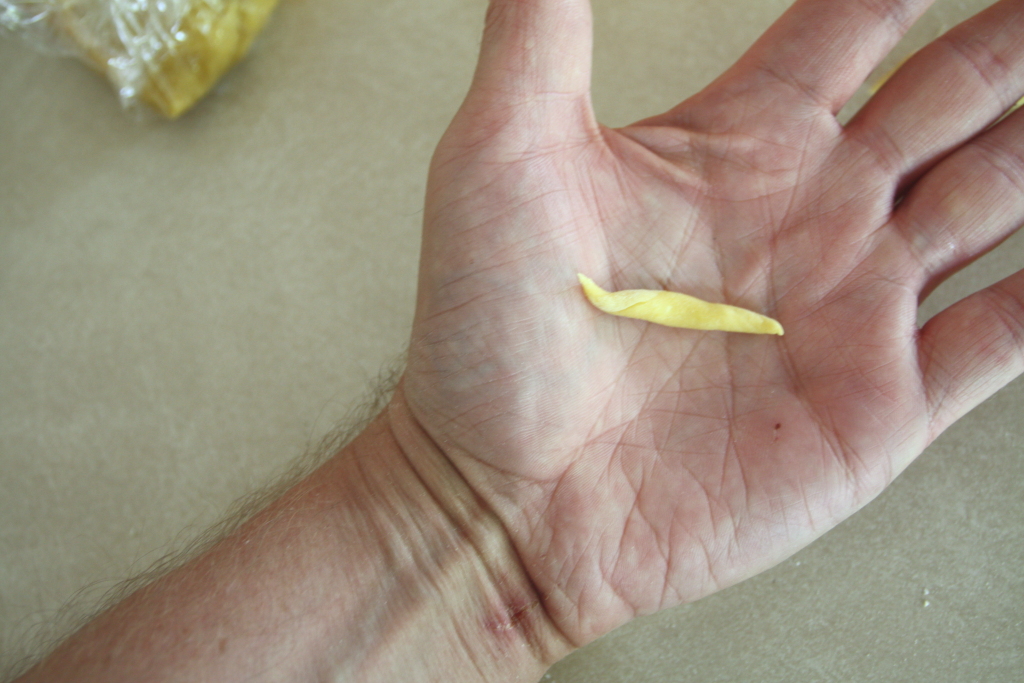
Roll strands. Working with a pillow at a time, place it between the palms of your hands and roll it out to make a strand tapered on each end. If you don’t want to apply the spiral ridge in the next step, just place your strands on a clean towel set on a drying rack.
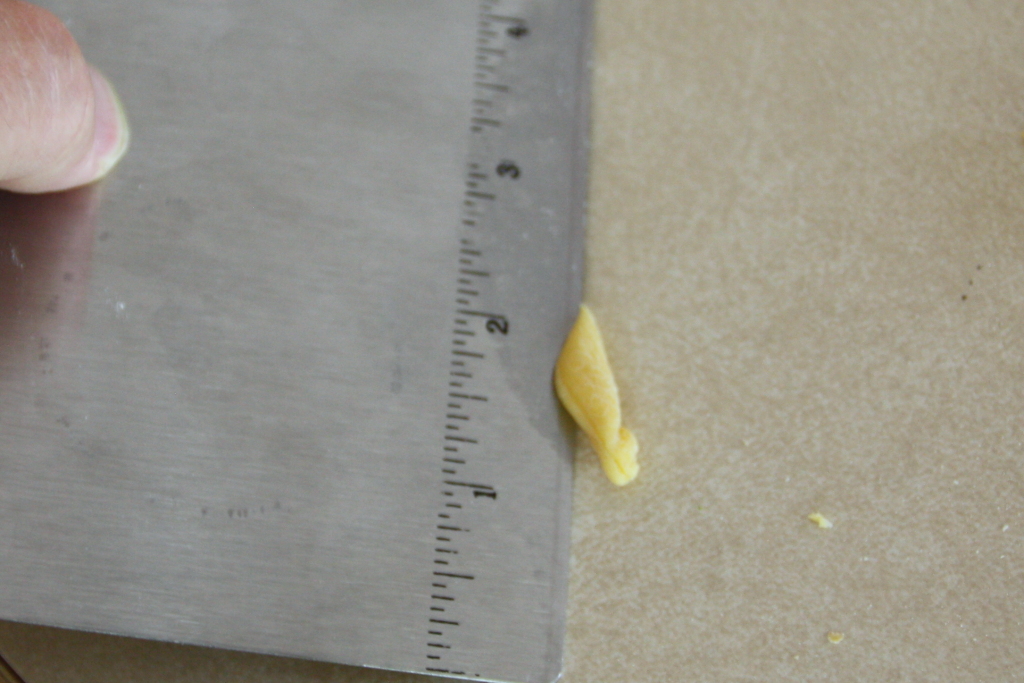
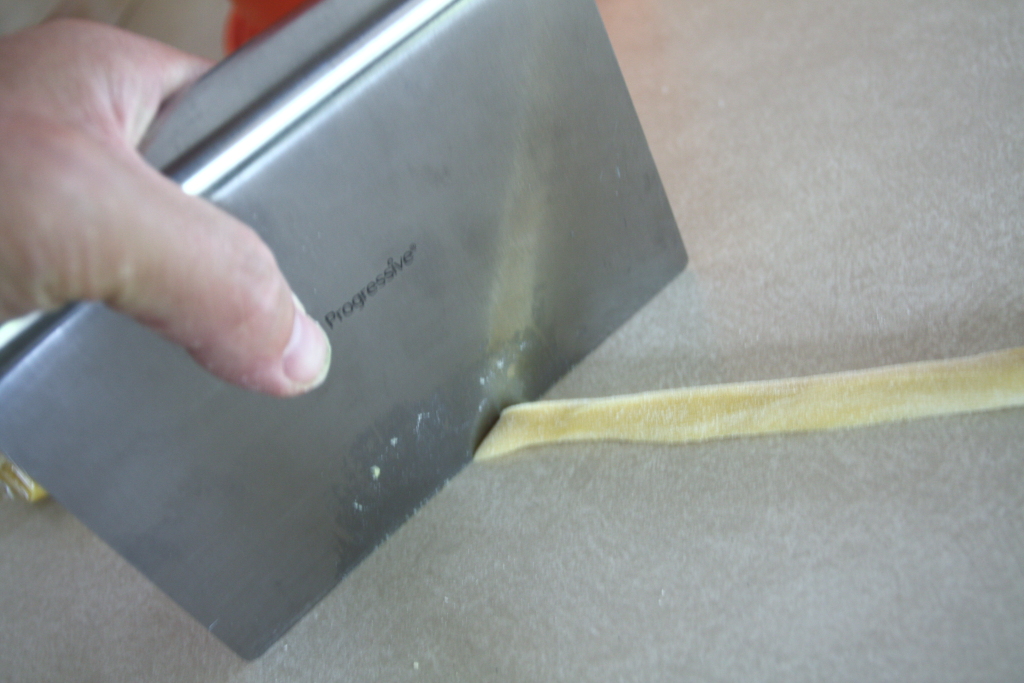
Apply ridge. For us, this was tricky; the strands just slid along the counter when we tried to apply the spiral ridge. It was slightly easier to do this on a lightly-dampened cutting board, but still, it was troublesome. You should at least try to make a few; who knows, maybe you’ll have the knack to whip these up quickly. Place your bench scraper (or knife edge) on one end of the strand at a 45° angle. Most of the strand should be obscured by the blade when you start rolling. Then draw the scraper toward you, rolling the strand under the blade and forming the ridge.

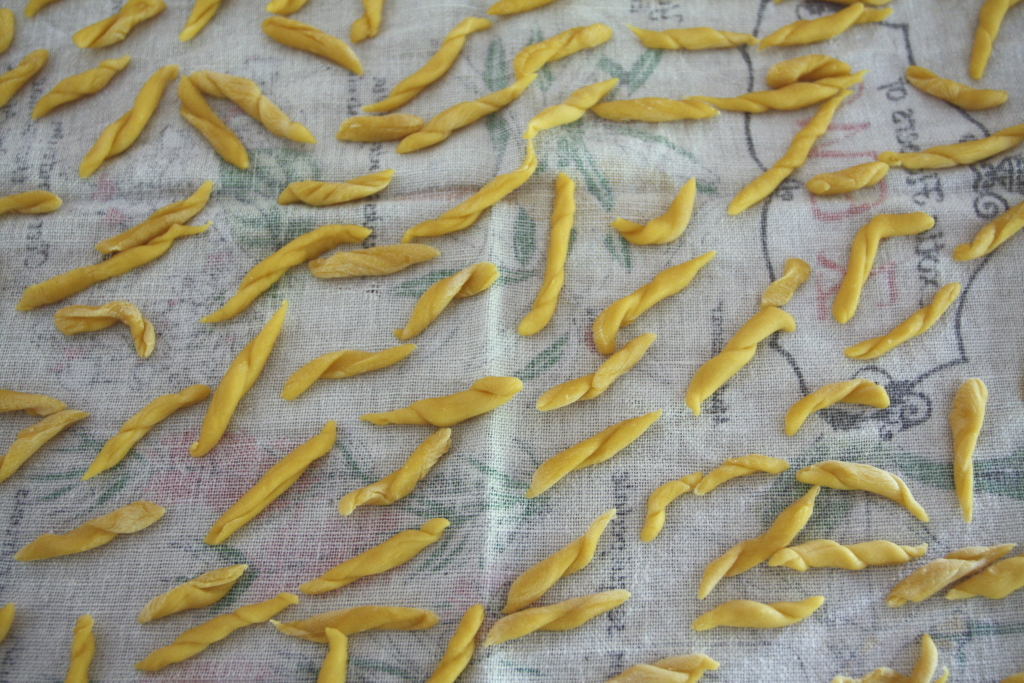
Everything was really easy right up until we got to the part of applying the ridge. That was trouble. We just couldn’t do it fast enough to keep the surface of the dough from drying out. And the slightly dried strands just slid on the counter. We did persevere, however, and applied ridges to each strand, but next time, no way. Sure, we’ll try making a few ridges, but, if it doesn’t go well, simple rolled strands will be sufficient. So, is it worth it? If you only make the strands, absolutely a five, but if you apply the ridges, only a three, so we’ll say four stars.

