
How do you get people to stick around for a meeting? We find that simple bribery in the form of cookies is sufficient. But, one of the keys is that you need to keep changing the type of cookies, and they can’t be your standard chocolate chip or oatmeal cookies. Not that those are bad cookies; we’ll gladly eat either of those pretty much any day of the week. And therein lies the problem: they’re the ubiquitous cookies of the pastry world.So, where can you go for cookies that are different? Paris, France, of course. If there’s one place on the planet that seems to live for that small bite after a meal, whether it’s a type of cookie, or a tart, or even a gateau, it’s Paris, France. Unfortunately, it’s cost prohibitive to send overseas just for a couple of dozen cookies, not to mention that they’d undoubtedly be stale by the time they arrived, so we did the next best thing. We looked in a cookbook written by someone who’s on a mission to bring those French desserts (and other French dishes, too) right into your own kitchen: Around my French Table, by Dorie Greenspan. Overall, we’ve had good luck with her recipes, although we have had a few snags. But, we won’t let that stop us in the search for a great cookie.
Chocolate Sables
Ingredients
- 395 g all-purpose flour (2 3/4 cups)
- 30 g Dutch processed cocoa (1/3 cup)
- 1/2 tsp salt
- 20 Tbs unsalted butter, room temperature (2 1/2 sticks)
- 125 g sugar (2/3 cup)
- 1 tsp pure vanilla extract
- 120 g bittersweet chocolate, finely chopped (4 oz)
- 1 large egg optional
- 1 tsp cold water optional
- Decorating sugar optional
Instructions
- In a medium bowl, sift together cocoa, flour, and salt.
- In a stand mixer fitted with the paddle attachment, beat butter on medium until smooth and creamy. Gradually add sugar and beat, scraping down the bowl as needed, until creamed. It doesn't need to be light and fluffy, just well mixed. Mix in vanilla.
- Reduce the mixer to low and add the flour-cocoa mixture in three additions, mixing just enough to incorporate between additions.
- Fold in chopped chocolate.
- Scrape dough onto a work surface and shape into two logs, each about 1 3/4 inch in diameter. The dough will be dry, so you may have problems shaping. Wrap in plastic and chill overnight.
- Preheat oven to 350°F. Line two baking sheets with parchment or silicone baking mats.
- In a small bowl, whisk together egg and water. Pour decorating sugar on waxed paper set in a baking sheet. Brush each log with egg wash and roll in sugar to coat.
- Slice logs into 1/2-inch thick disks and place about an inch apart on the baking sheets.
- Bake 20 to 23 minutes, rotating sheets front to back and top to bottom halfway through baking, or until the cookies are just firm to the touch. Let cool on baking sheets.
Ingredient discussion:

You can already tell that these cookies will be rich. Look at all that butter! Imagine how salty your cookies would be if you used salted butter, and be glad that you have unsalted butter for your baking. For the cocoa, we use Valrhona, which seems to be about the darkest cocoa you can find. We think it’s worth it. For the chopped chocolate, throw that Hersey’s mess right out the window. Do you think they use Hersey’s in Paris? (Well, Paris, Texas, maybe.) So, get a high-quality bittersweet chocolate like Guittard or Valrhona, and go for the best-tasting cookies possible. Oh, and for heaven’s sake, only real vanilla extract.
Procedure in detail:
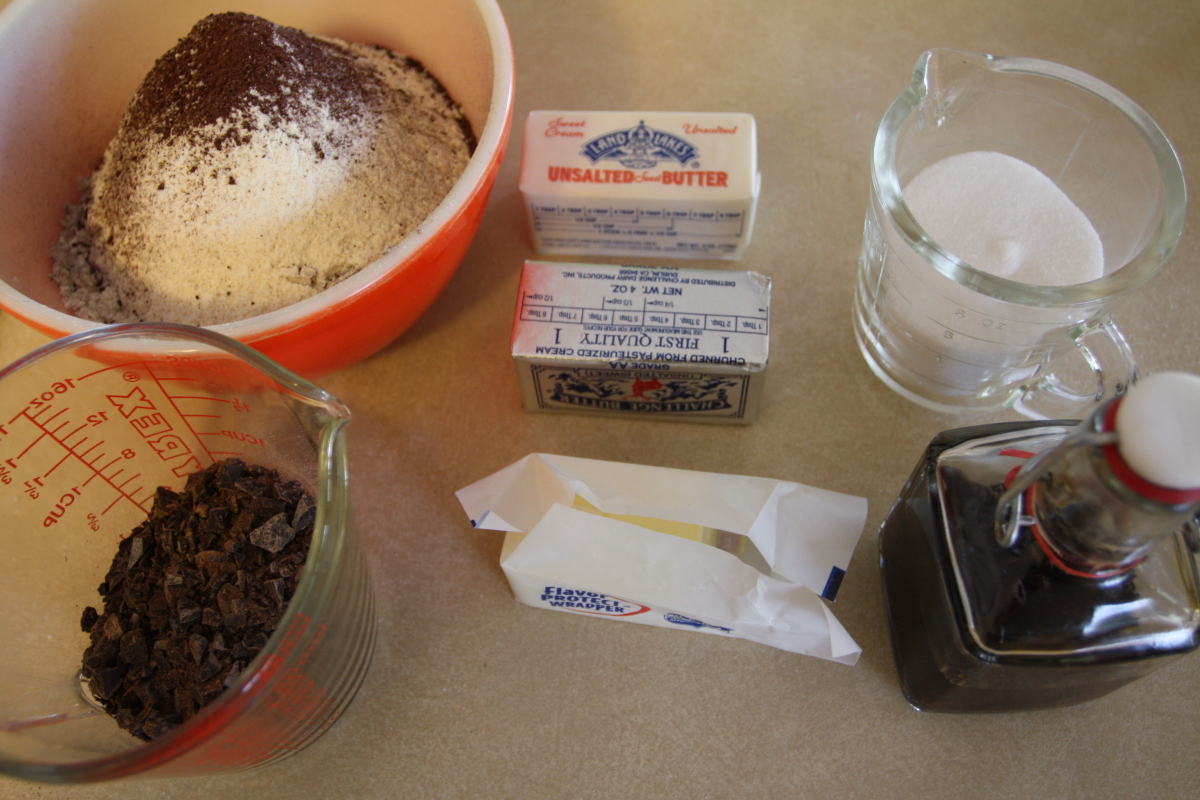
Mise en Place. Sift together the flour, cocoa, and salt. We always like to sift the cocoa and flour together, then whisk the two together in the bowl. The sifting breaks up the clumps of cocoa, and thoroughly mixes the two ingredients, which is important, because the dough doesn’t get mixed much once you add the dry ingredients. If you don’t do both, you’ll end up with striated cookies. Measure out the butter and let it warm, then measure out the sugar, too. Finally, chop up the chocolate. Now, you’re ready to bust out these cookies in a few minutes.
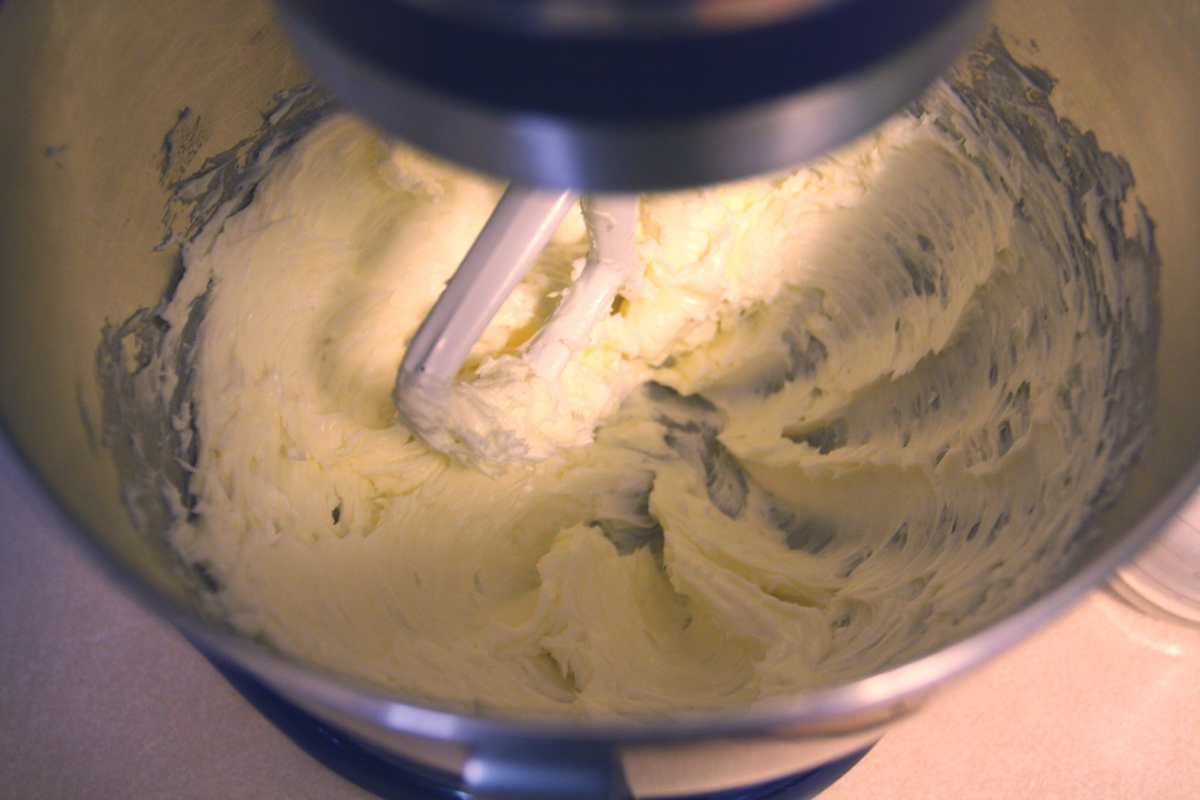
Beat butter. Place the butter in the bowl of a stand mixer fitted with the paddle attachment, and beat the butter on medium speed until it’s smooth and creamy, about a minute. Watch while you’re beating. If the butter doesn’t start getting creamy almost immediately, it isn’t warm enough. Let it sit awhile longer before beating.
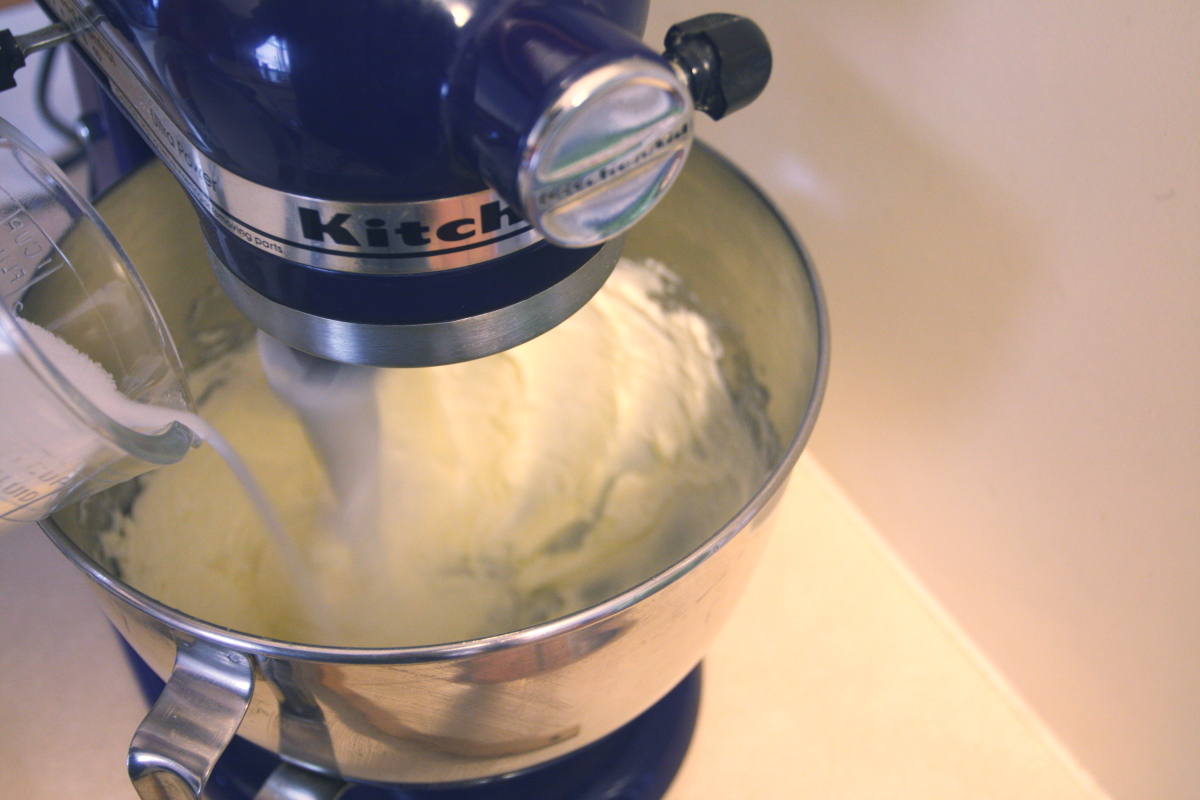
Add sugar. With the mixer still on medium, pour in the sugar and let it mix in. Stop the mixer a few times to scrape down the sides of the bowl, then resume beating. You don’t need to beat the butter and sugar together until it is light and fluffy, but enough so it is well-mixed and has a creamy (but gritty) texture. About 2 minutes of beating works.
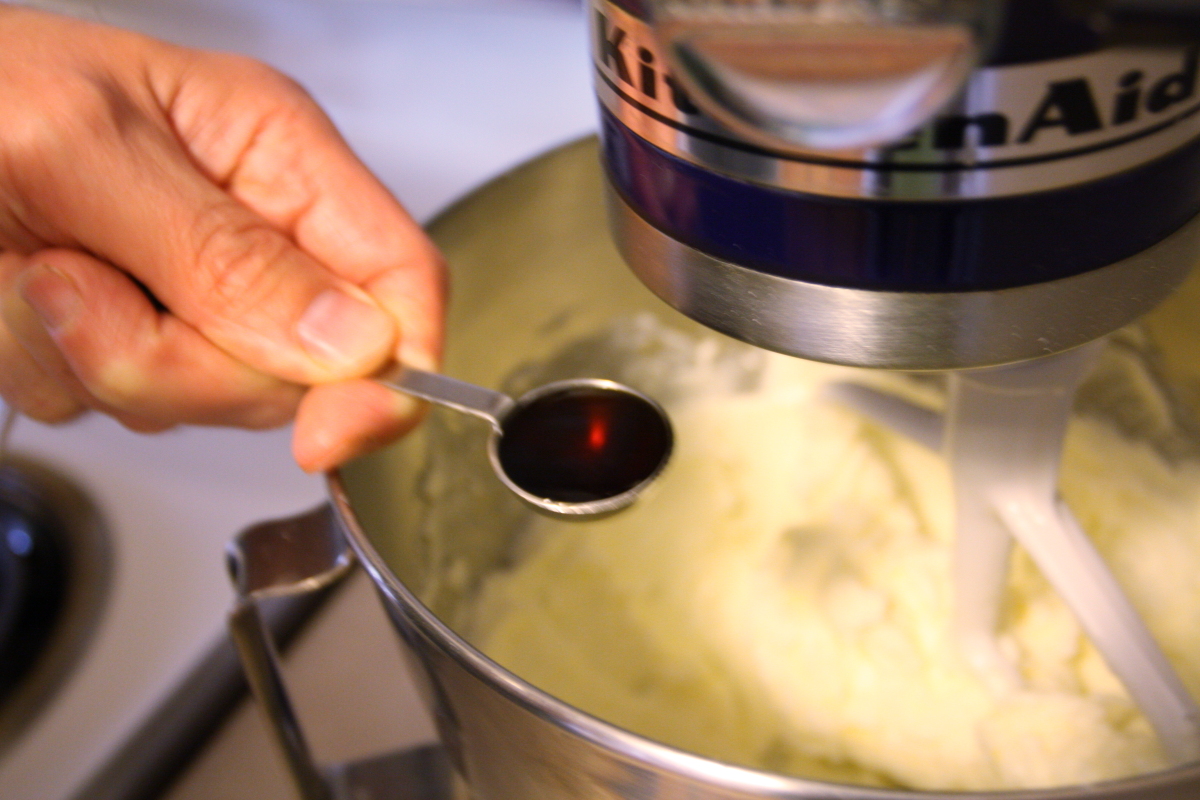
Add vanilla. Slow the mixer to low and mix in the vanilla.
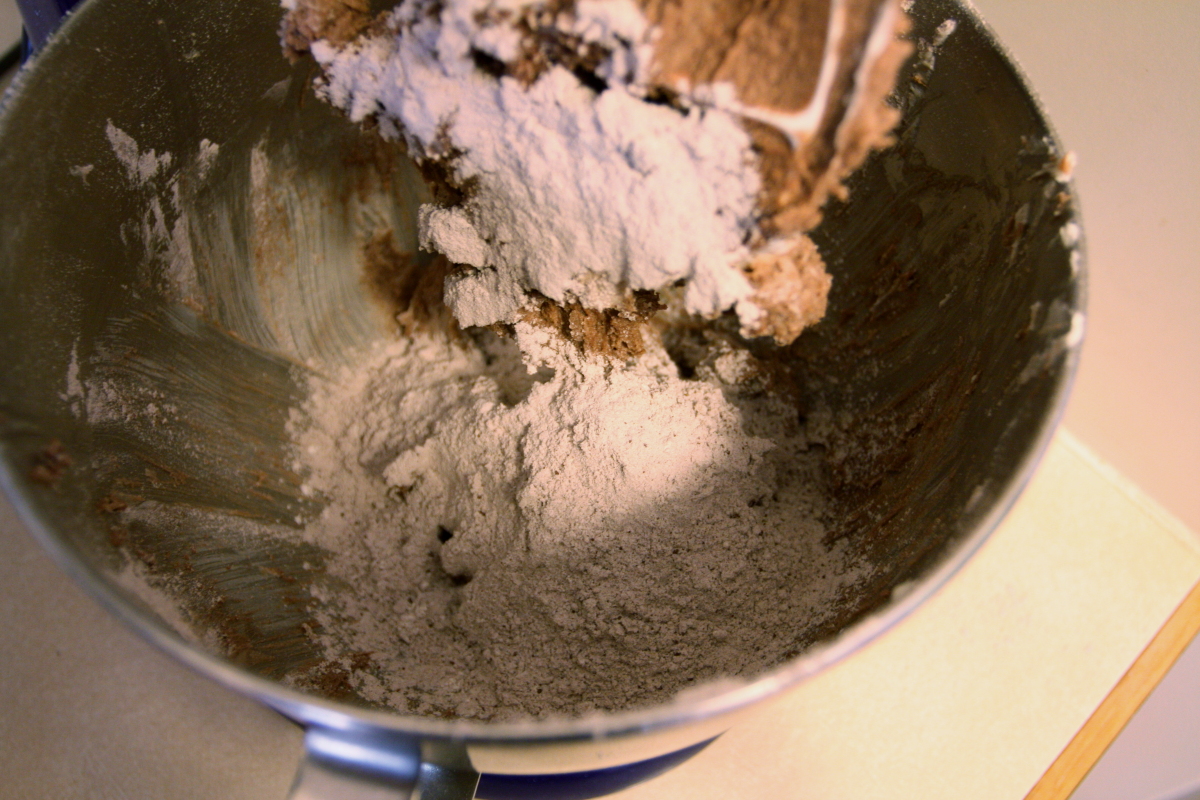
Add flour and cocoa. Add the flour cocoa mixture in three additions, mixing on low just enough to mix everything before making the next addition. To help keep flour from spewing out of the mixer, we like to add some of the flour and cocoa, stir it in a bit with a rubber spatula, then turn on the mixer to low to finish mixing. Then we make the next addition the same way. It helps, but there are still times when a big puff of flour flies up in the air. Of course, if that’s the worst that happens when making cookies, it’s worth it.
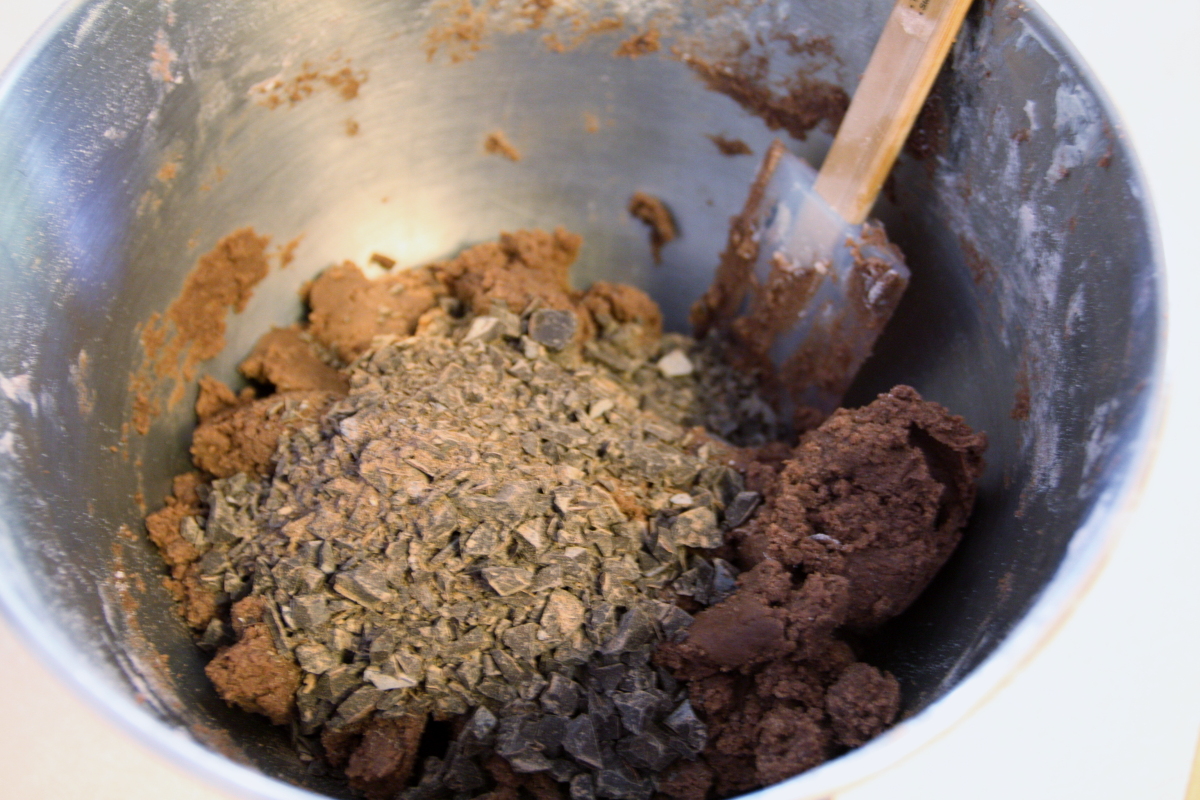
Add chopped chocolate. The original recipe says this is optional. In our book, extra chocolate is not an option, so we put it in. Remove the bowl from the stand mixer, pour the chocolate on top and stir and fold in the pieces using your spatula.

Shape. Scrape the dough out onto your work surface and shape into two logs about 1 3/4 inch in diameter. The dough is quite dry at this point, so it can be difficult to get nicely-shaped logs, but here’s a trick. Once you have the logs shaped somewhat, wrap then in plastic and refrigerate for 15 to 20 minutes. Then, bring the logs back out and smooth off the lumpiness by rolling again. The refrigeration helps bind the dough together so you can shape them more easily. After all the shaping and wrapping in plastic, refrigerate overnight.
Preheat oven to 350°F. Line two baking sheets with parchment or silicone baking mats.
Decorate sides (optional). Whisk egg and water together in a small bowl and pour sugar onto a piece of waxed paper. Unwrap the logs and brush with the egg mixture, then roll in the sugar. We used plain old granulated sugar, but would have preferred something a bit coarser as it would have looked better. If you use granulated, don’t worry about those spots that covered with sugar, but the sugar dissolved into the egg wash. Baking will dry that up and it will look like sugar once again.
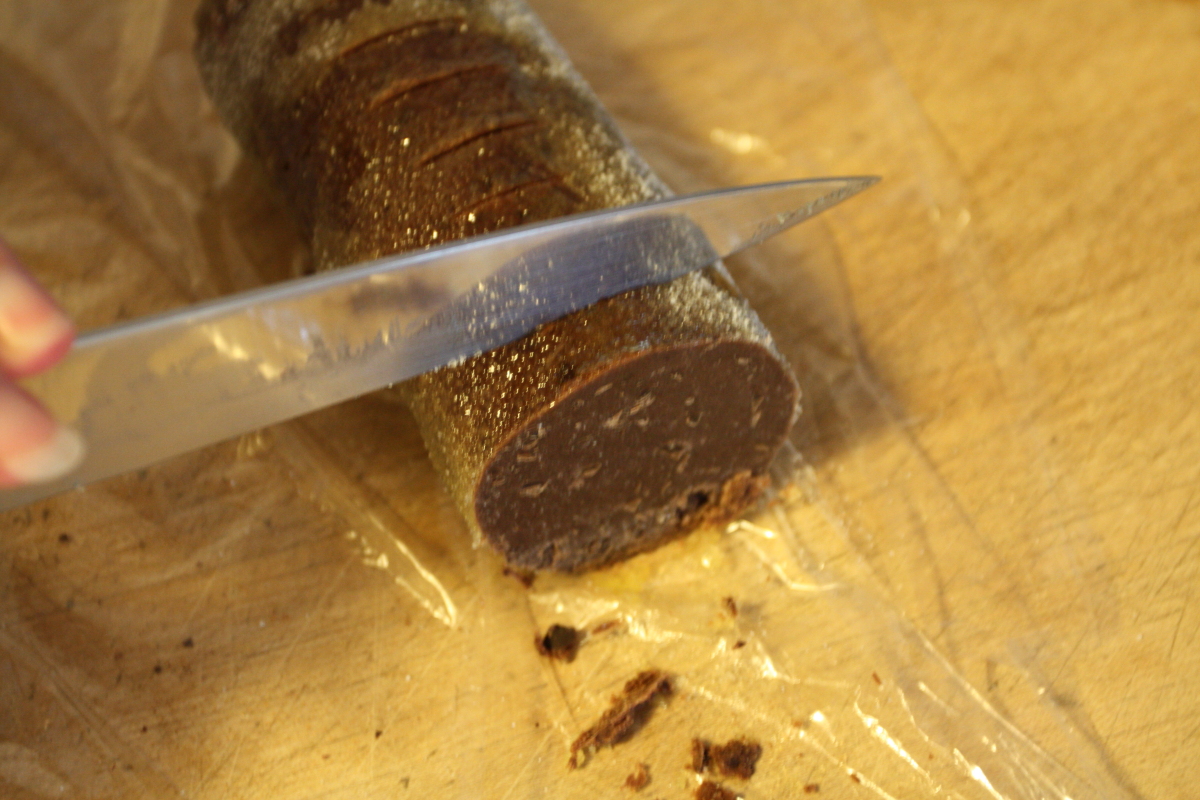
Slice. Slice the logs into rounds that are 1/2 inch thick. Yes, we hear you, “1/2 inch?” Yes, 1/2 inch, these are thick cookies. Okay, okay, if you really want, you can go a bit thinner, but not much thinner, as you really do want thick rounds, so your cookies are more like shortbread (actually, this cookie is a type of shortbread). Once sliced, place the rounds on the prepared pans at least 1 inch apart. Some of the rounds may break into pieces; press them back together when you place them on the baking sheets, and they’ll bake together.

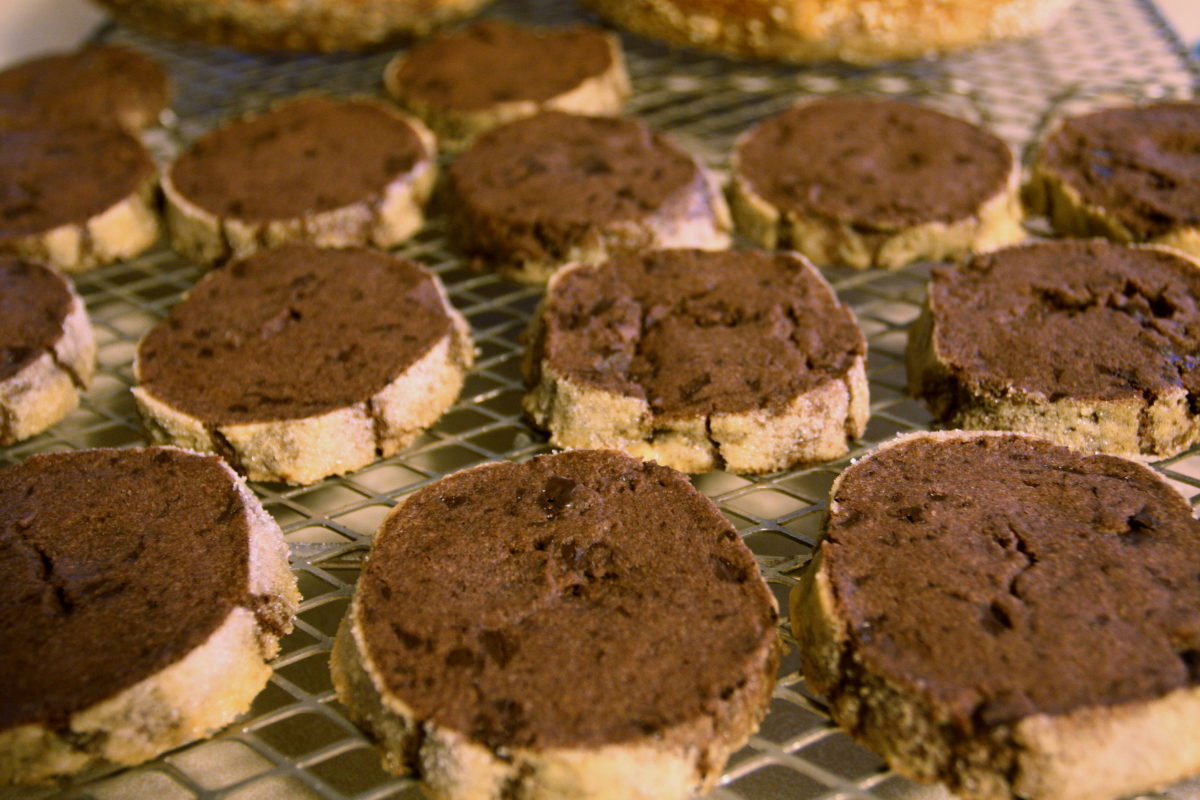
Bake. Slide the pans into the oven and bake for 20 to 23 minutes. Rotate the pans from front to back and top to bottom halfway through. The cookies are done when they’re just firm to the touch.
Cool. Let the cookies cool completely on the baking pans. If you have more dough to bake, wait until the pans are completely cool before putting the next batch in place.
No two ways about it; these are great cookies. Surprisingly chocolatey-tasting, even with only 1/3 cup of cocoa, and super rich. We think that most people would be hard-pressed to eat more than one at a sitting (all right, we admit it, we each ate one and a half, but those were “defective” cookies). The outside coating of sugar added some interest in the way they look, but not really much in the way of flavor, so add sugar, or not — your choice. One thing that we think would be really good would be to add pecans, either along with the chopped chocolate, or in place of it, or in place of a portion of it. But, not to worry; these cookies get five stars just as they are.
