
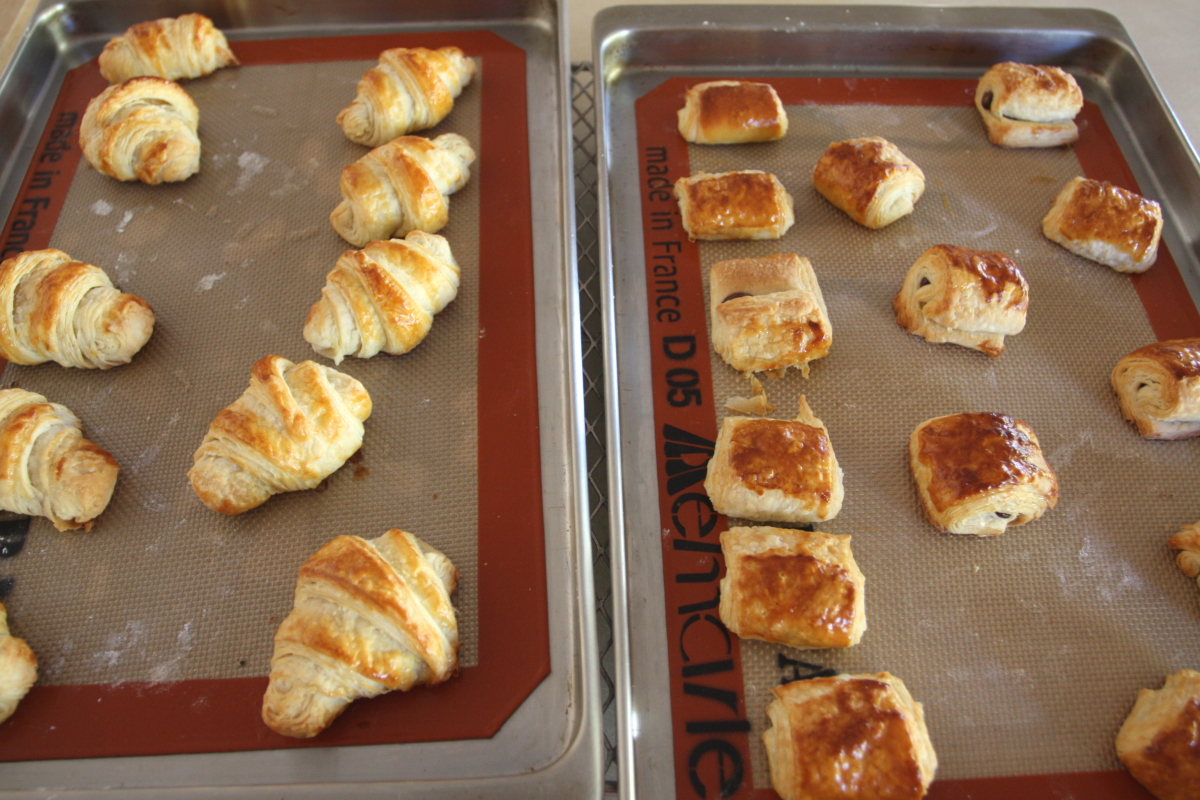
Every Monday, we head downtown to participate in a free, non-competitive, evening walk/run, and, one Monday a month, we help out by staffing the check-in tables. When we volunteer, we like to bring little treats. Nothing too big, just a little bite that says to the other volunteers, thanks for helping. This past Monday, we decided to bring croissants. Made from scratch, of course, but not full-size croissants. We thought we’d try to make them bite-sized.
As with Tuesday’s post, this recipe and the techniques used come from Bouchon Bakery, by Thomas Keller and Sebastian Rouxel. And, if you’ve made croissants before, you’ll know that they’re involved and take awhile. Not a huge amount of your time, but a lot of time while the dough chills between rolling and folding. In that way, making croissants is very similar to making Puff Pastry. But, if you’re looking for a weekend baking project, these croissants may be the perfect thing for a Sunday afternoon treat. Let’s scratch ’em up!

Mini Croissants
Ingredients
For the Poolish, either
- 75 g scant 1/3 cup water, room temperature
- 75 g 1/2 cup flour
- 50 g 1/4 cup sourdough starter
or
- 100 g scant half cup water, room temperature
- 100 g 2/3 cup flour
- Pinch dried yeast
For the butter block
- 330 g 2 sticks + 14 Tbs European-style unsalted butter, cold
For the dough
- 500 g 3 1/2 cups all-purpose flour
- 75 g 1/3 cup sugar
- 10 g 1 Tbs instant yeast
- 3 g 1/2 tsp diastatic malt powder
- 200 g 3/4 cup + 1 Tbs water, room temperature
- 100 g 14 Tbs unsalted butter, room temperature
- 15 g 1 Tbs kosher salt
For the egg wash
- 1 large egg
- 1 tsp ice water
For pain au chocolat
- 1/4-1/2 cup high quality chocolate chips
Instructions
Day 1 -- Make the poolish
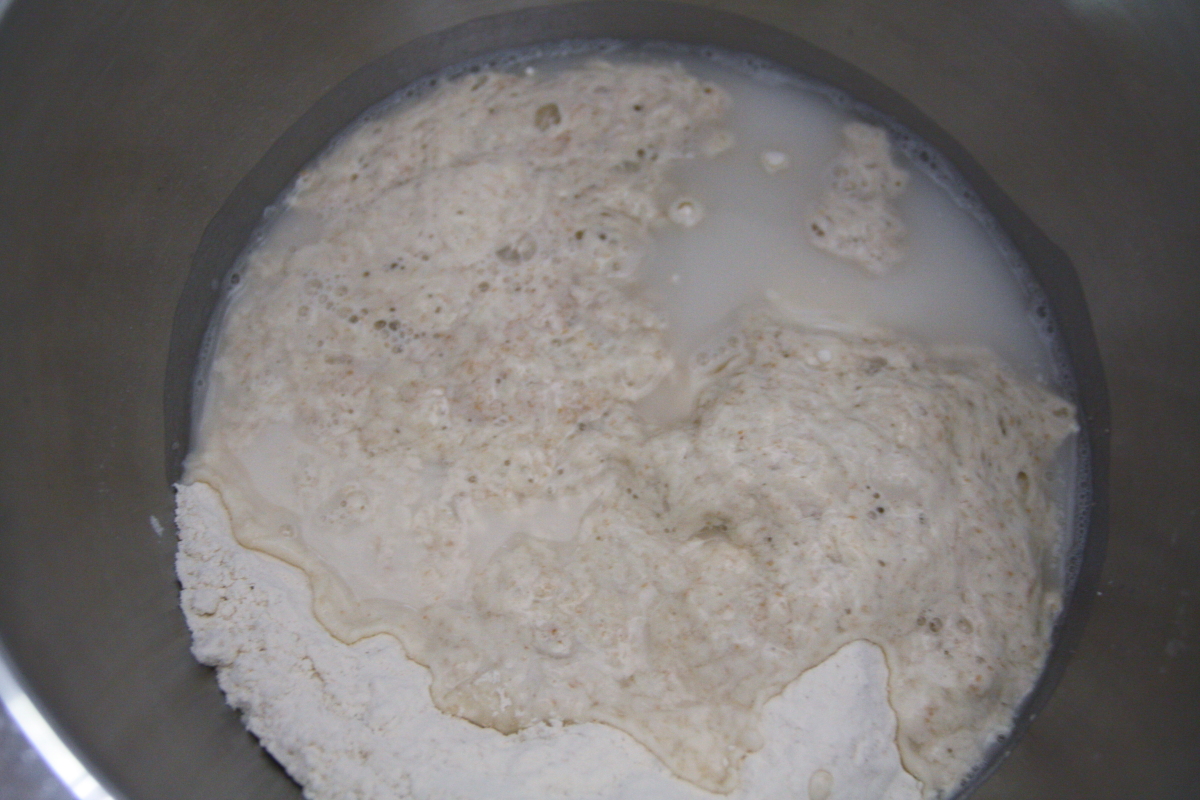
- In a medium bowl, mix together flour, water, and starter (or yeast) until it resembles a batter. Loosely cover and let sit 12 to 15 hours.
Day 2 -- Make and laminate dough
- Place the 330 g of butter between between two sheets of baking parchment. Using a rolling pin, pound from side to side and shape into a block about 6 1/2 x 7 1/2 inches. Wrap tightly in parchment and refrigerate.
- In the bowl of a stand mixer, fitted with the dough hook, mix together flour, sugar, yeast, and malt powder for about 15 seconds.
- Pour about half the water around the poolish to free it from the bowl and add to the flour mixture. Add the butter and half the remaining water. Mix on low for 2 minutes. If the dough looks dry, add some reserved water until a dough forms. Scrape the bottom of the bowl to ensure that the flour is incorporated.
- Sprinkle salt on dough and mix on low for 20 minutes. Remove dough and form into a ball. Lightly oil mixing bowl and return dough to bowl, seam side down. Cover and let rise for 1 hour.
- Carefully remove dough to a work surface and pat and press to form a rectangle of dough about 10 x 7 1/2 inches. Line a baking sheet with baking parchment, and place dough in the center. Wrap with plastic and freeze for 20 minutes.
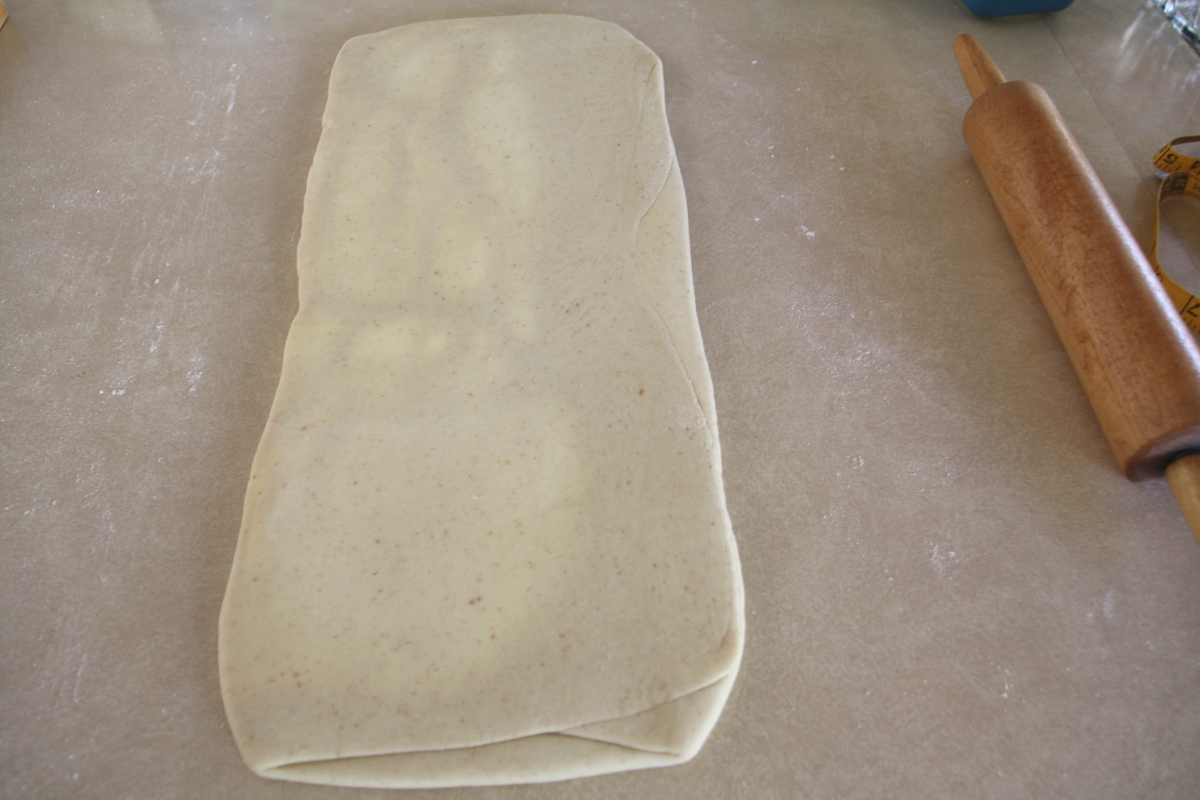
- Transfer dough to a lightly-floured work surface and roll out to a rectangle 16 x 7 1/2 inches. Place butter block in the center, and fold the long edges of dough over the butter, pinching to seal.
- For turn 1: Roll dough and butter out to form a 22 x 9 inch rectangle. Fold up bottom third, then fold down top third as if folding a letter. Place on parchment-lined sheet and wrap in plastic, then freeze for 20 minutes.
- For turn 2: With the seam of dough to your right, roll dough and butter out to form a 22 x 9 inch rectangle, lightly dusting with flour as needed. Fold up bottom third, then fold down top third as if folding a letter. Place on parchment-lined sheet and wrap in plastic, then freeze for 20 minutes.
- For turn 3: Do the same as turn 2, taking care to not let the butter break through the dough layer. Wrap and freeze for 20 minutes.
- Roll dough out to form a rectangle about 24 by 9 inches, lightly dusting with flour as necessary. Cut in half to form two 12 x 9 inch rectangles. Place one on the parchment-lined sheet. Place a sheet of parchment over the dough, then place the second piece of dough on top. Wrap in plastic and refrigerate overnight.
Day 3 -- Shaping and baking
- Remove one piece of dough and place it on a lightly-floured work surface. Roll out to about 19 inches long. Trim off the ragged edges, then cut the dough in half lengthwise to make two long rectangles.
- Line two baking sheets with parchment or silicone baking mats.
- For croissants, cut one length of dough into six rectangles, each about 3 x 4 1/2 inches. Cut each of the rectangles in half diagonally to form triangles. Working with one triangle at a time, stretch or roll out to a length of about 6 inches. With the long point away from you, fold in the bottom two corners of the triangle, then roll tightly into a traditional croissant shape. Place on baking sheet with the point on the bottom, pressing down lightly so the croissant will not roll.
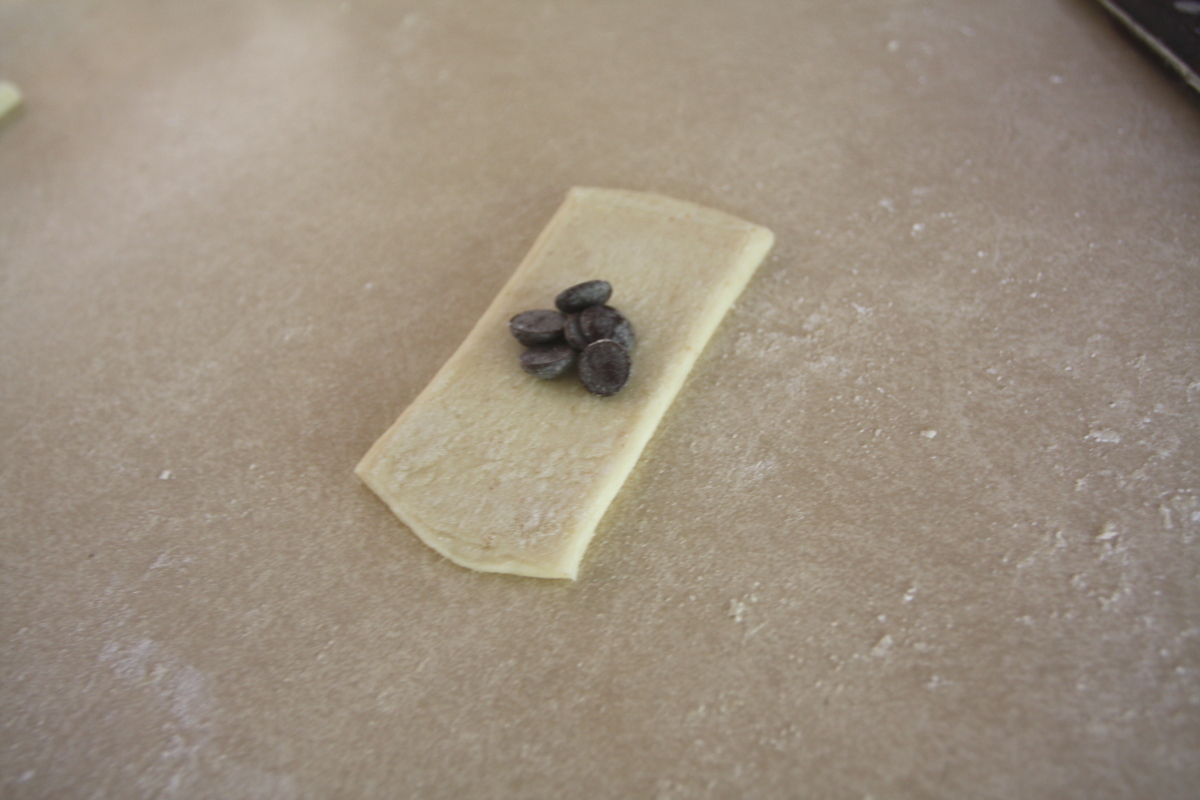
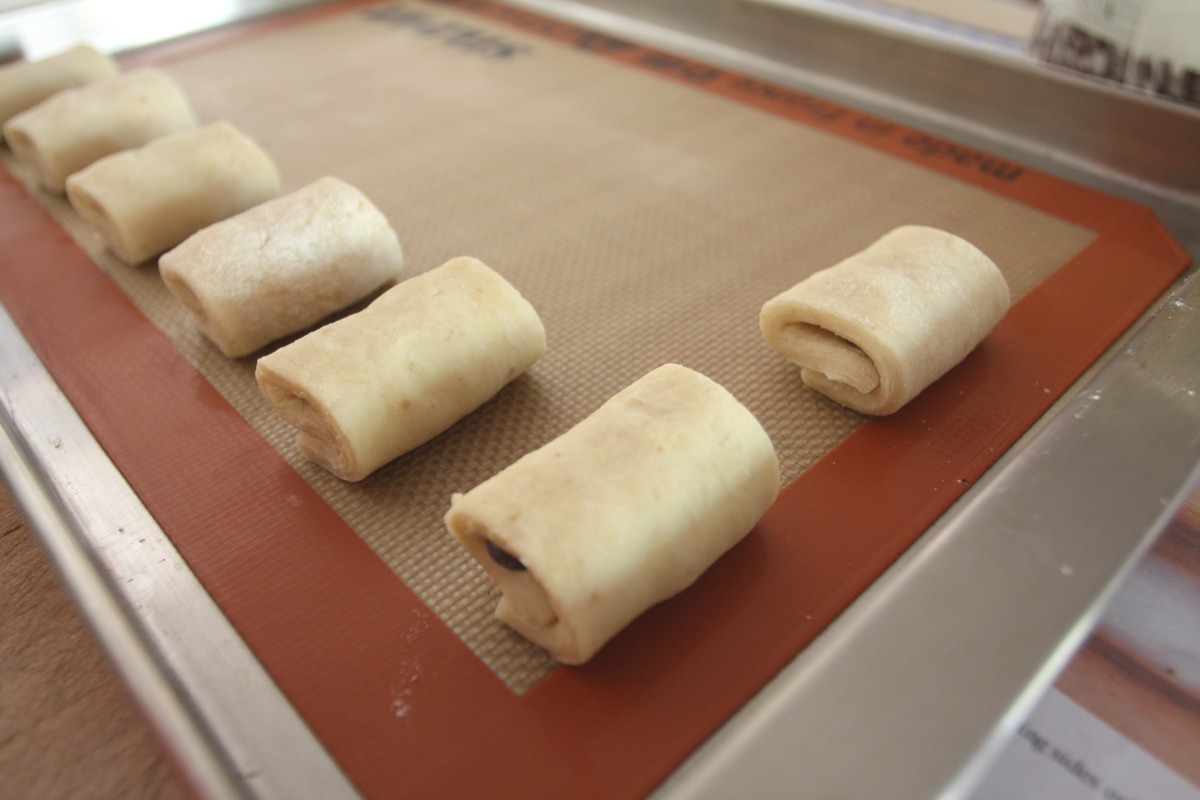
- For pain au chocolat. Cut the long rectangle into about 9 rectangles, each 2 x 4 1/2 inches. Cut each rectangle in half to form a rectangle about 2 by 2 1/4 inches. Working with a piece at a time, stretch or roll to form a rectangle about 2 x 4 inches. Place 6 chocolate chips in the center, then fold the dough over from the bottom and the top, like folding a letter, and place on the baking sheet with the double layer on the bottom. Press down lightly to prevent unrolling.
- Apply egg wash. In a small, bowl, whisk together egg and ice water and brush over the tops of the corissants.
- Cover with cardboard boxes or plastic tubs and let proof for 2 hours.
- Preheat oven to 350°F. Bake for approximately 35 minutes, or until nicely browned with no unbaked spots remaining.
- You can either shape and bake the remaining dough or it can be wrapped tightly and frozen for up to a month.
Ingredient discussion:
Yes, ideally you should go out and buy a European-style butter. We didn’t, and we wonder if that’s why we only gave this (spoiler alert) recipe four stars. Everything we’ve read says the Plugra brand is the best choice. Now, when we went to the cupboard for the diastatic malt powder, it turns out that we didn’t have any. Did this happen to you, too? Well, it’s available on line, but we also know that King Arthur Bread flour has malted barley as an ingredient, which we think serves the same purpose, so we used 200 grams of bread flour and 300 grams of all-purpose. Hindsight being 20-20, we think that the bread flour had too much gluten and made the dough harder to roll out.
Procedure in detail:
Day 1 (the easy day):
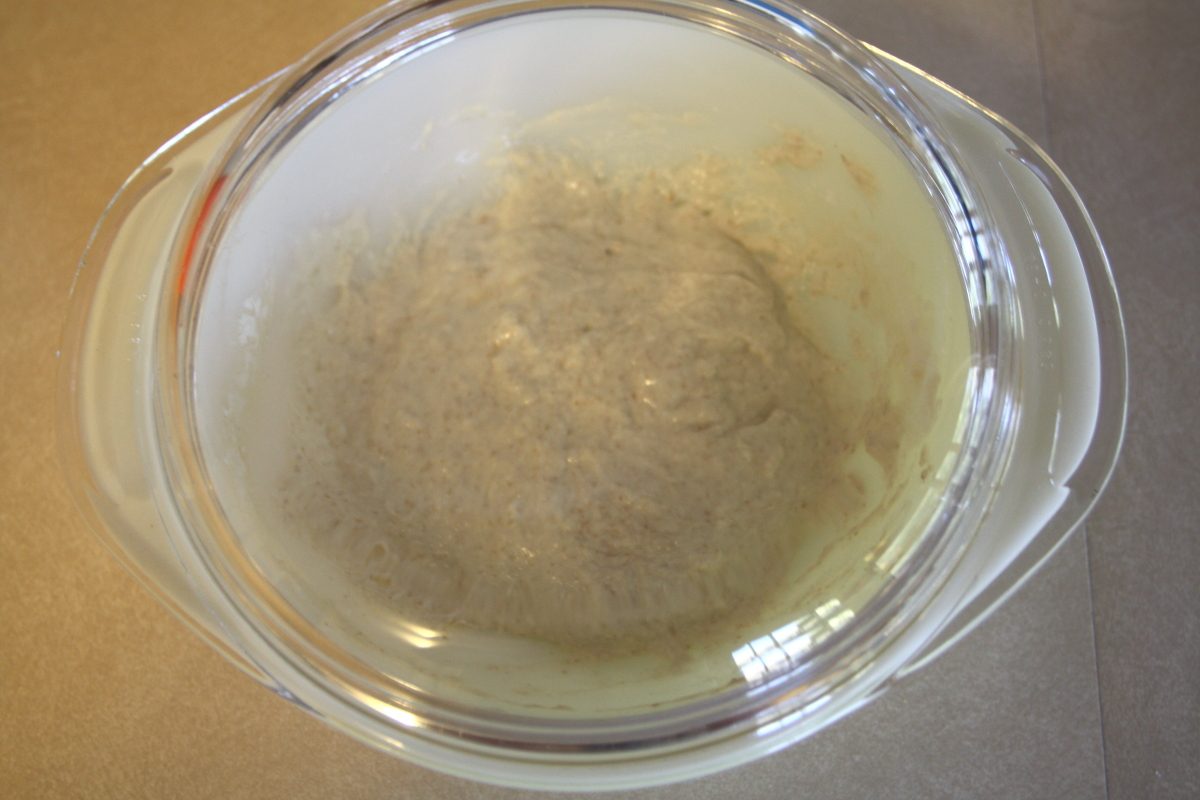
Make poolish. Making the poolish the night before allows flavors to develop. We already have a sourdough starter from baking bread that has a lot of flavors, so we used some of that in place of instant yeast, but you can use instant yeast if that’s what you have. Basically, just stir the poolish ingredients –the water should be room temperature — together in a non-reactive bowl until the mixture resembles pancake batter. Cover loosely with plastic wrap and let sit out — yep, right on the kitchen counter — overnight.
Day 2 (the busy day):

Shape butter. Place the 330 g of butter between 2 pieces of baking parchment and pound from side to side and front to back with a rolling pin, until you have a block of butter about 6 1/2 x 7 1/2 inches in size. Wrap tightly in the parchment and refrigerate until needed.
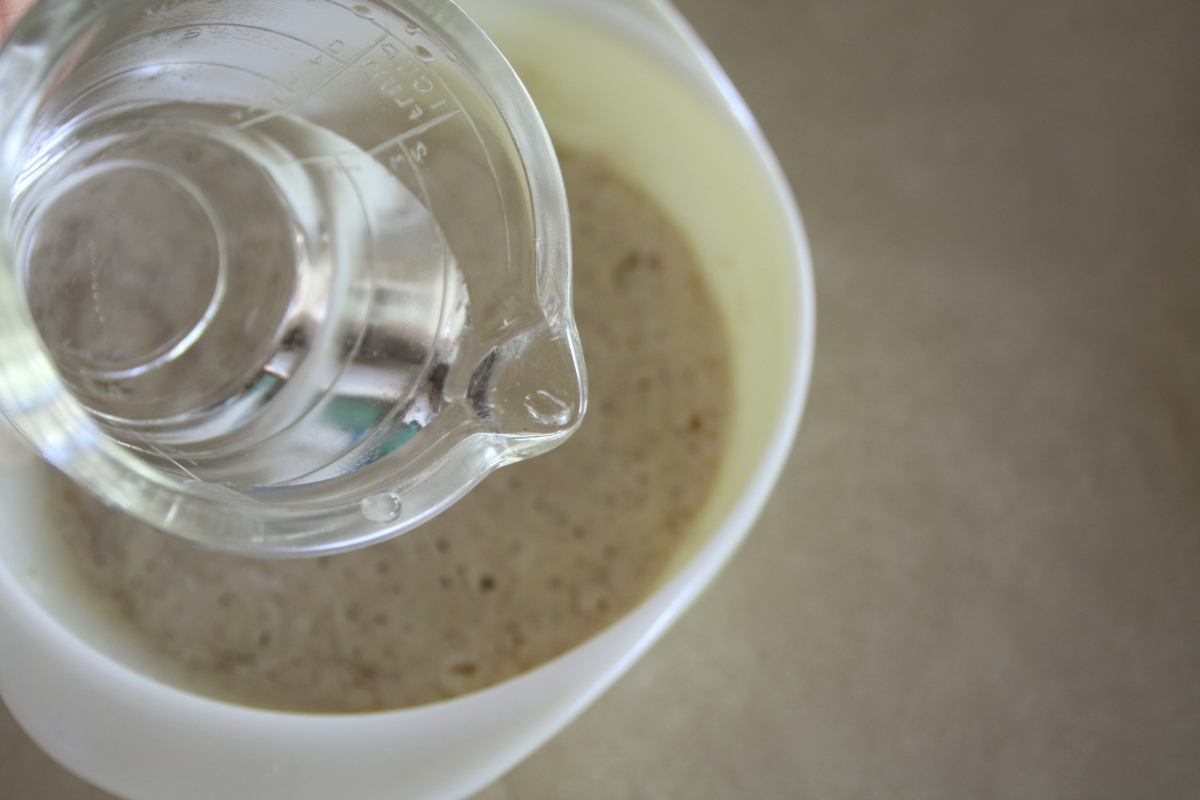
Make dough. In the bowl of a stand mixer fitted with the dough hook, combine the flour, sugar, yeast, diastatic malt powder, and give it a few swirls of mixing. Pour half the 200 grams of water around the edge of the poolish and add the poolish to the flour. Add the 100 g of butter and half the remaining water, leaving about 50g (a little less than 1/4 cup). Mix on low for 2 minutes until all the flour is incorporated. If the dough seems dry, add a little more water.
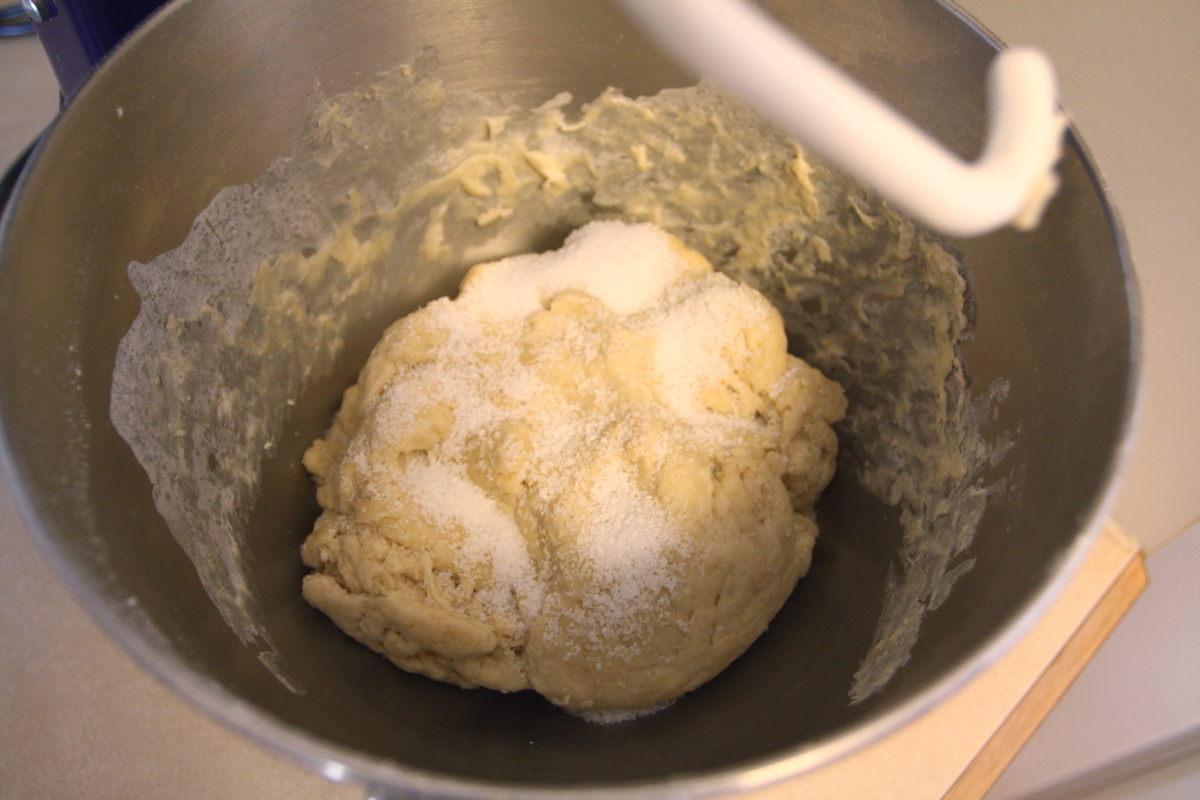
Add salt. Sprinkle the salt over the top of the dough and mix. And mix. And mix. Mix for 20 minutes. We know that seems like a long time, and we agree; however, the original recipe doesn’t, so 20 minutes, it is.

Shape and rest. Place the dough on a work surface and shape into a ball. Meanwhile, lightly oil the mixer bowl with a neutral-flavored oil. Place the dough in the bowl, seam side down, and cover. Let rest and rise for an hour.
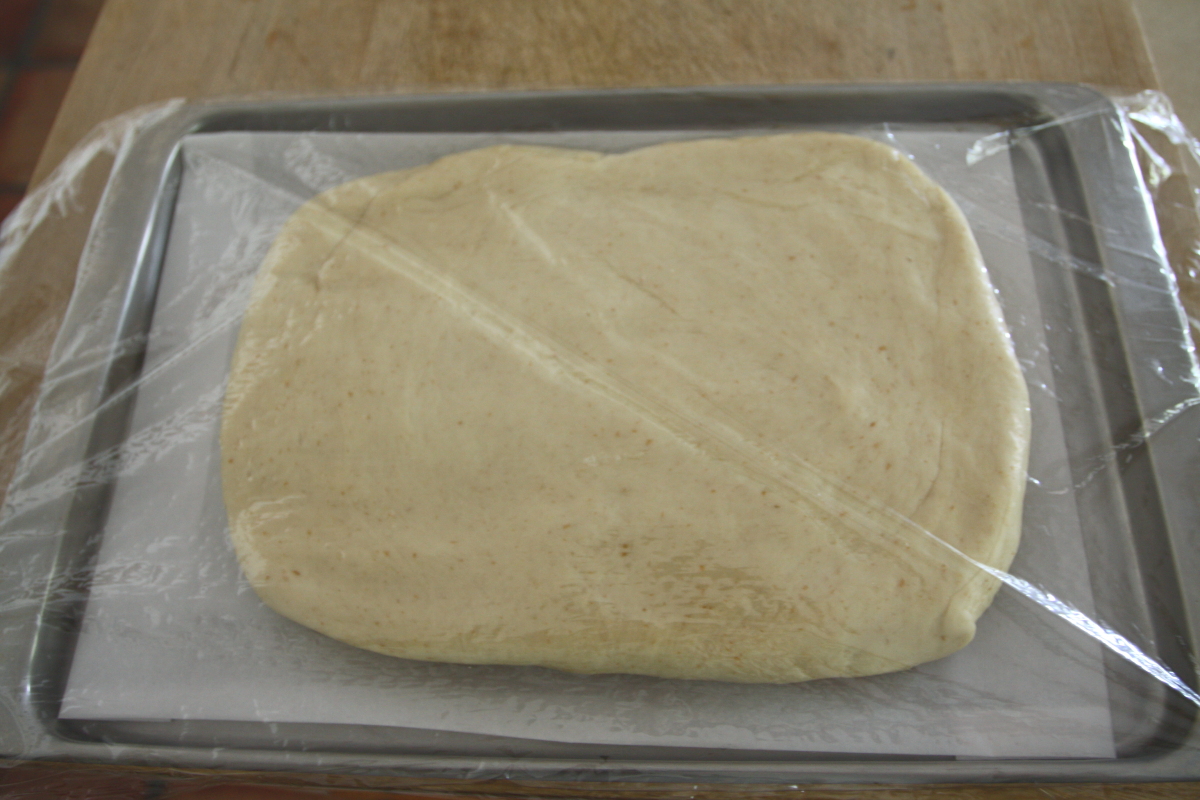
Shape and freeze. Place the dough on a lightly-floured work surface and pat and press down to form a rectangle about 10 x 7 1/2 inches in size. Line a baking sheet with parchment and place the dough in the center. Wrap in plastic and freeze for 20 minutes. Yep, set the timer so you don’t forget.

Encase butter. Now, we’re about to get into the real part of making croissant dough. Remove the dough from the freezer and place on a lightly-floured work surface. Use the rolling pin to roll the dough out to a rectangle about 16 x 7 1/2 inches. It seems to be easiest to place one of the short sides nearest you and roll the dough away from you, but it can be tricky because the dough has the tendency to spring back. Once you have the rectangle, place your block of butter in the middle and fold the top half and bottom half of the dough over and pinch it together. If you peek, you should be able to see butter on the sides.

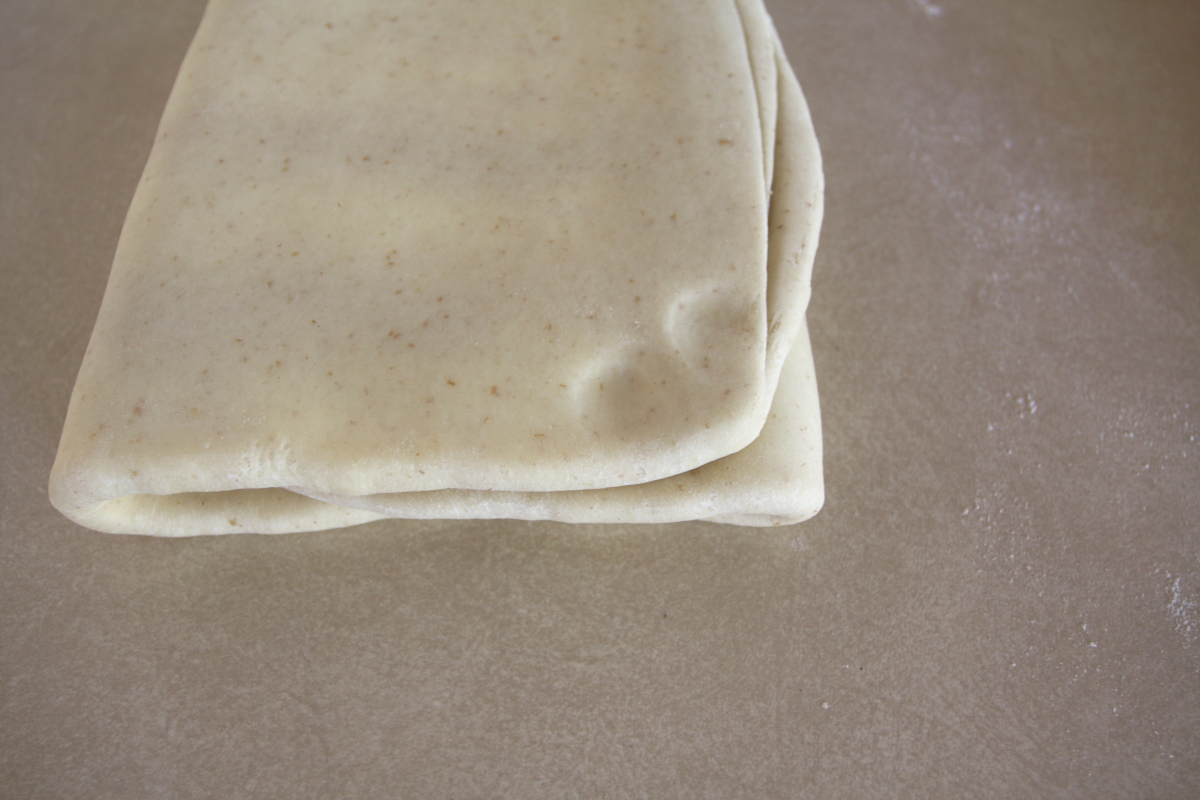
Perform turn 1. The whole secret of making flaky laminated dough, like croissant dough, is to do several “turns.” Basically, we roll out the dough into a larger rectangle, then fold and turn it 90° before rolling again. So, starting at the seam, roll the dough and butter out to a rectangle about 22 inches long and 9 inches wide. Fold the bottom third of the dough up and the top third down, as if you’re folding a letter, and lightly press the dough together. Place on your baking sheet lined with parchment, wrap in plastic, and freeze for 20 minutes. You freeze between turns to keep the butter cold so it doesn’t melt into the flour. If it melts in, you’ll have a nice buttery dough, but it won’t be flaky.

Perform turn 2. Place your dough on the lightly-floured work surface with the last fold on your right (so it has been rotated 90°) and a narrow edge right in front of you, and roll it out just as before. Dust with a small amount of flour as needed and roll out to a rectangle 22 inches long and 9 inches wide. Fold just as in turn 1. After folding, professional bakers will press two fingers into the dough to make slight indentations so they don’t forget how many turns they’ve completed. You can do that, too. Then wrap and freeze for 20 minutes.
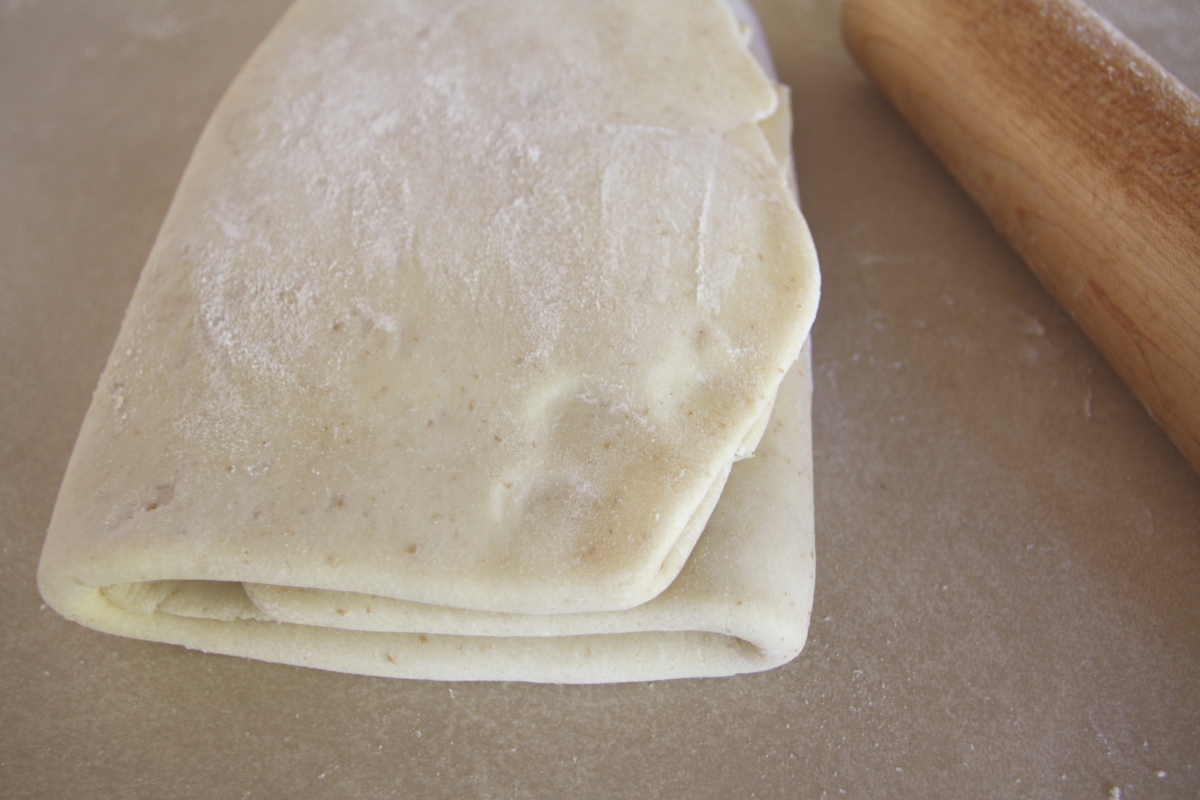
Perform turn 3. Repeat everything you did for turn 2, only press three fingers in at the end. And, yes, don’t forget to freeze for 20 minutes.
Roll. Once again, take the dough from the freezer and roll it out to form a rectangle. This time, try to roll it out to 24 x 9 inches. We weren’t able to get it to quite that size, as the dough kept springing back, but we came close. As always, add a dusting of flour, if needed. But, this time, feel free to place the dough in the freezer for 10 to 15 minutes if the butter is starting to come through. Once you’re happy with your rectangle, you’re almost finished for the day. Whew!
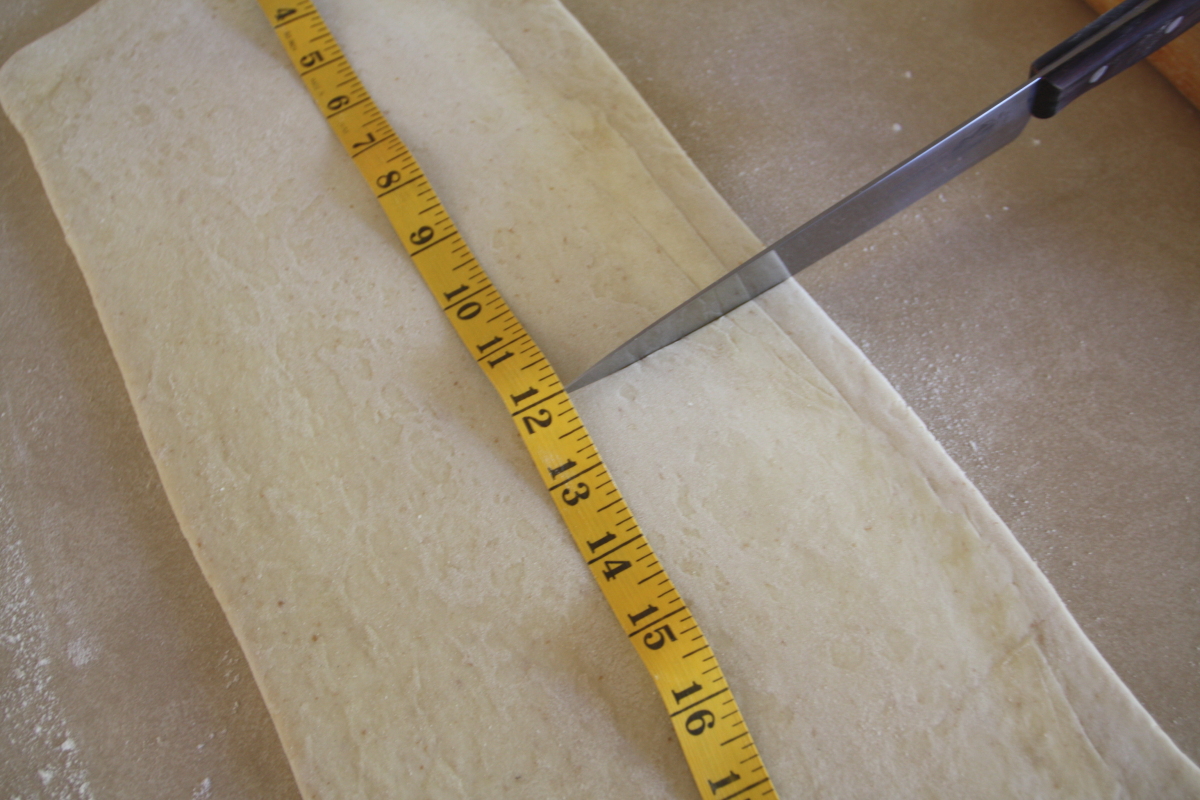
Cut. Nope, don’t cut croissants, but do cut the rectangle in half to form two rectangles, each about 9 by 12 inches. Place one on your parchment-lined sheet, place another piece of parchment on top of the dough sheet, then place the second dough sheet on top of that. Wrap in plastic, refrigerate, and congratulate yourself. Once you clean up, you’re done for the day.
Day 3 (the tasty day):
Prepare. Prepare yourself for a treat: fresh, homemade croissants. Also, line two baking sheets with parchment or silicone baking mats.
Roll out dough. Take one of the pieces of dough from the refrigerator; leave the other one chilling. On a lightly-floured surface, roll the dough into a rectangle (or as close as you can get it) about 19 x 9 inches in size.
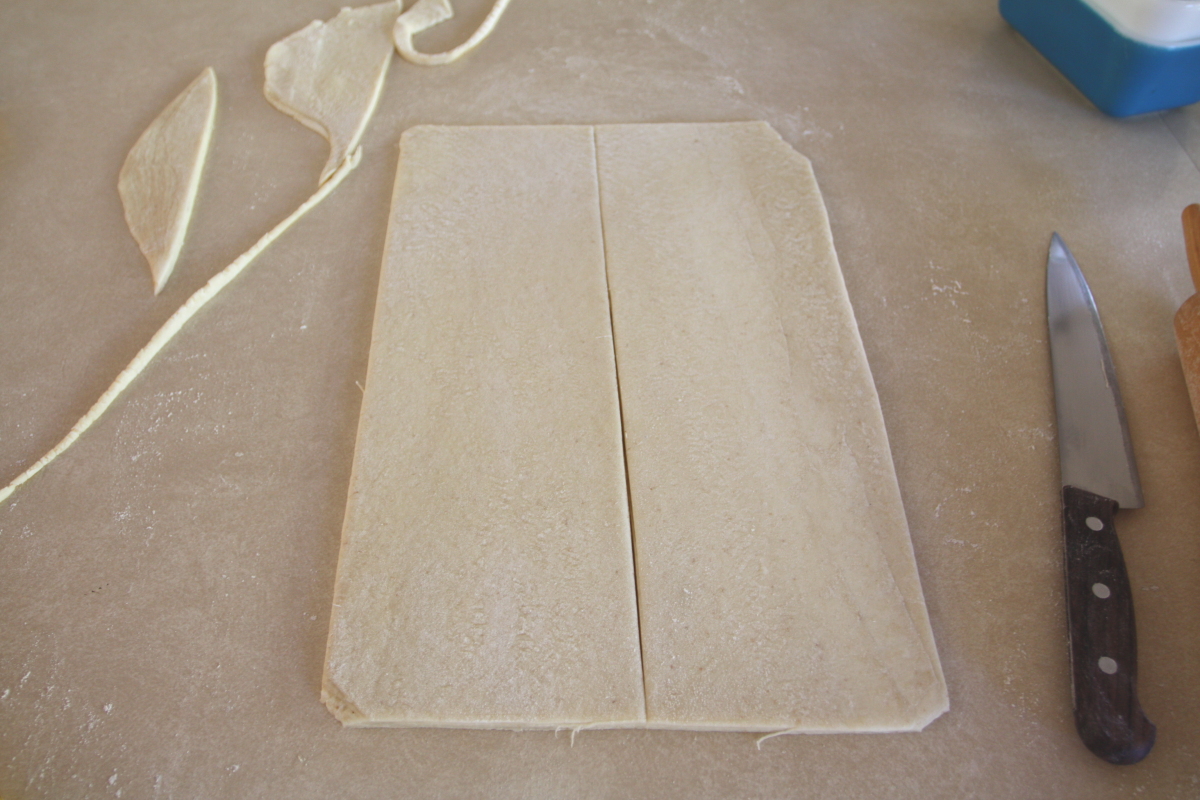
Trim. Cut off any ragged edges so you have a nice rectangle of dough. Save those pieces to bake up as a chef’s snack or test pieces. Slice the dough lengthwise down the middle to form two rectangles about 18 x 4 1/2 inches.
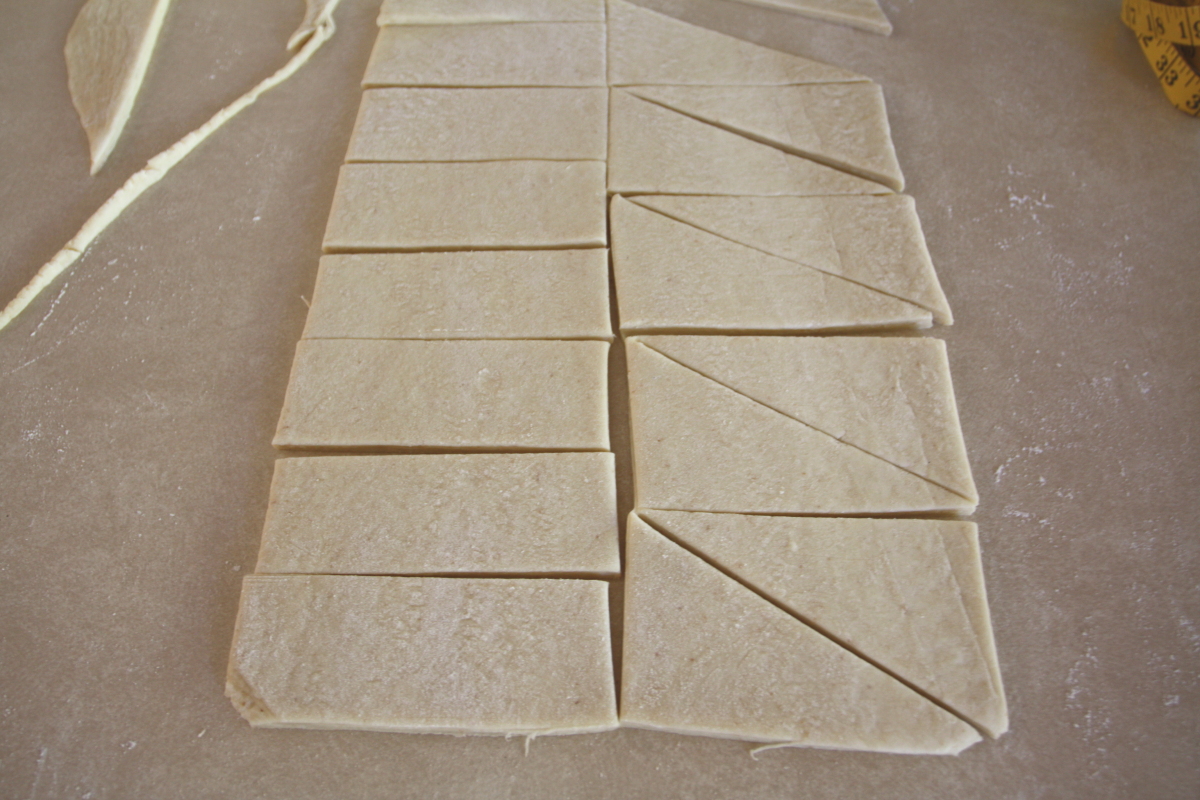
Shape croissants. Slice one of the rectangles into 6 smaller rectangles, about 3 x 4 1/2 inches in size. Slice each of the rectangles diagonally to form triangles. Working with a single triangle at a time, stretch or roll out so the triangles is approximately 6 inches long. Place the triangle so the long point is pointing away from you, fold in the two points nearest you, and roll up the dough tightly. Place on a baking sheet with the point on the bottom and press down lightly so the croissant won’t unroll. Repeat with the remaining triangles.


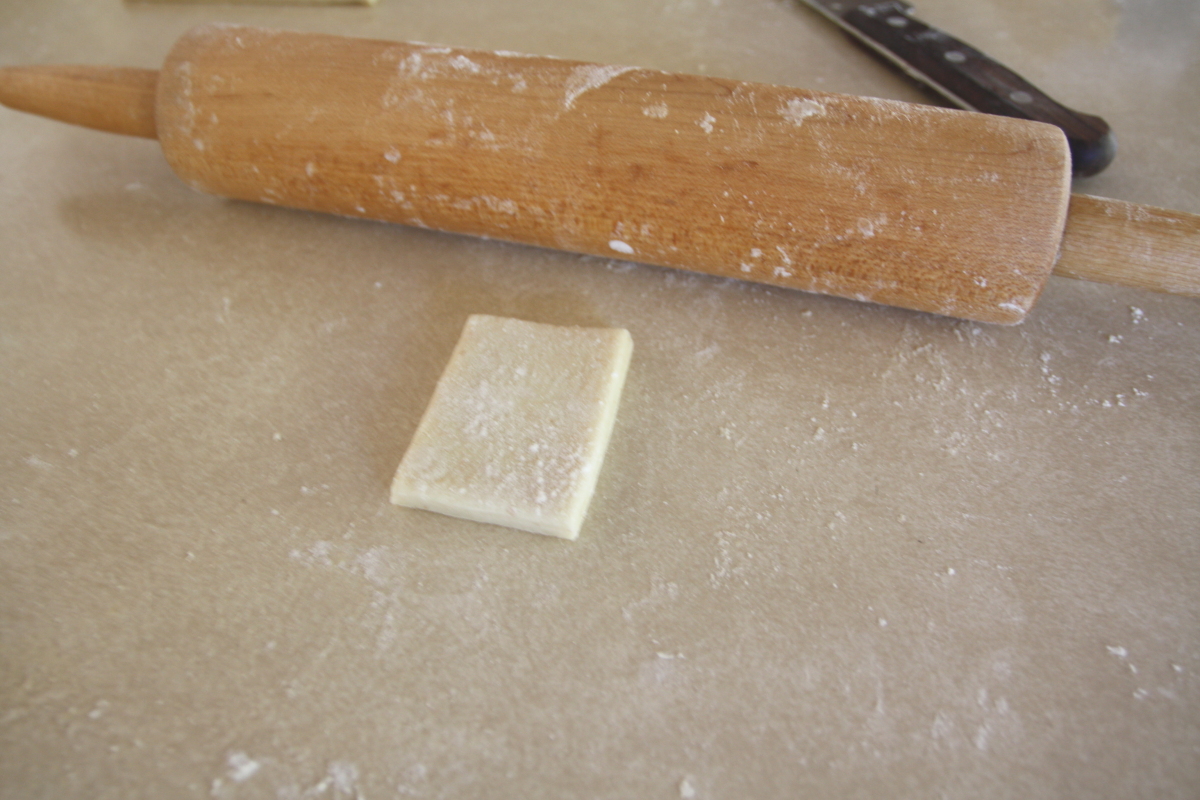
Shape pain au chocolat. Here’s a bonus. You can make chocolate-filled croissants, too. All you need to do is shape them differently and fill them with a bit of chocolate. Starting with the other long rectangle, cut it into about nine rectangles, each about 2 x 4 1/2 inches in size. Slice each of these in half to make small rectangles (2 x 2 1/4 inches). Working with one piece at a time, roll and stretch the dough to form a rectangle about 2 by 4 inches. Press about 6 chocolate chips into the middle, then fold one end up and over the chips, then the other end up and over the dough, as if you were folding a small letter. You might see the chocolate peeking out the unfolded sides. Place these on the sheets with the folded sides down, pressing lightly to keep them from unrolling. Repeat with the remaining pieces.
You can shape the other piece of dough now, or you can wrap it well and freeze it for up to a month. We froze ours so we could enjoy fresh croissants in the coming weeks.
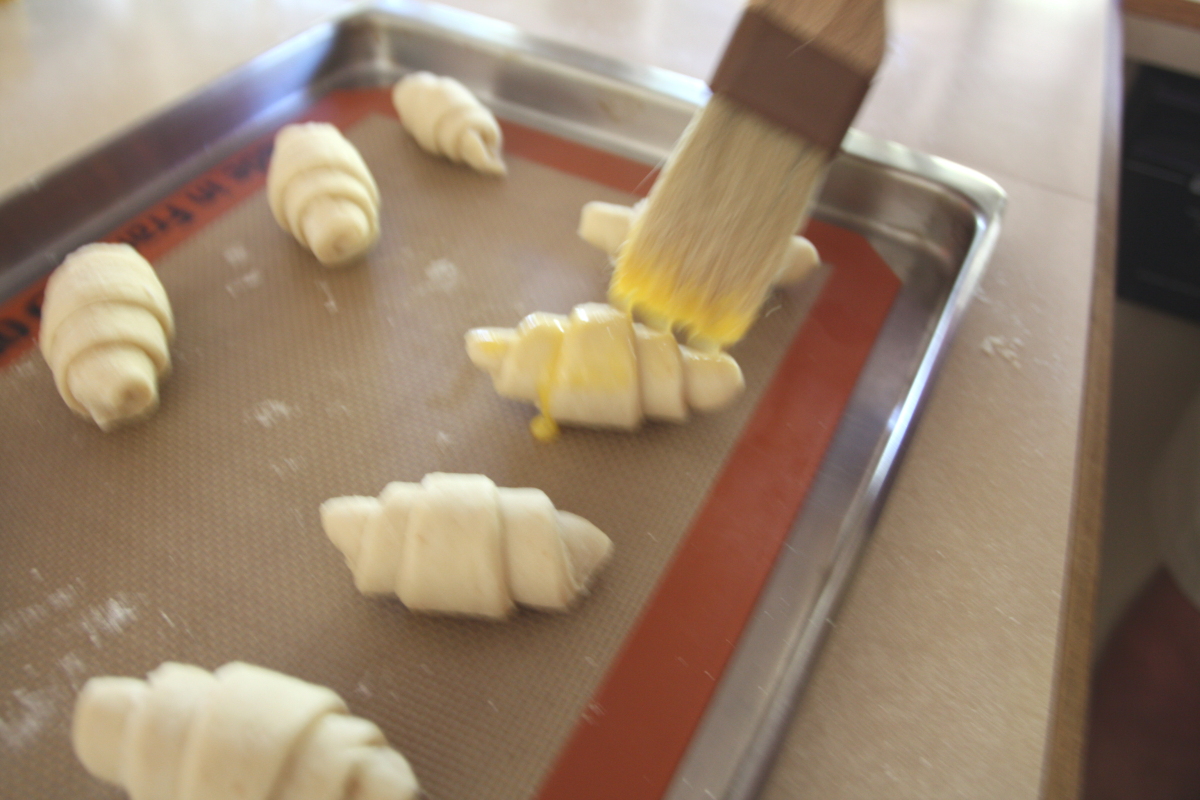
Brush with egg wash. In a small bowl or measuring cup, whisk together the egg and ice water, then lightly brush the tops of the croissants and pain au chocolat to coat. This will help keep the croissants moist during baking. When finished, don’t discard the egg wash; you’ll use it again right before these go into the oven.
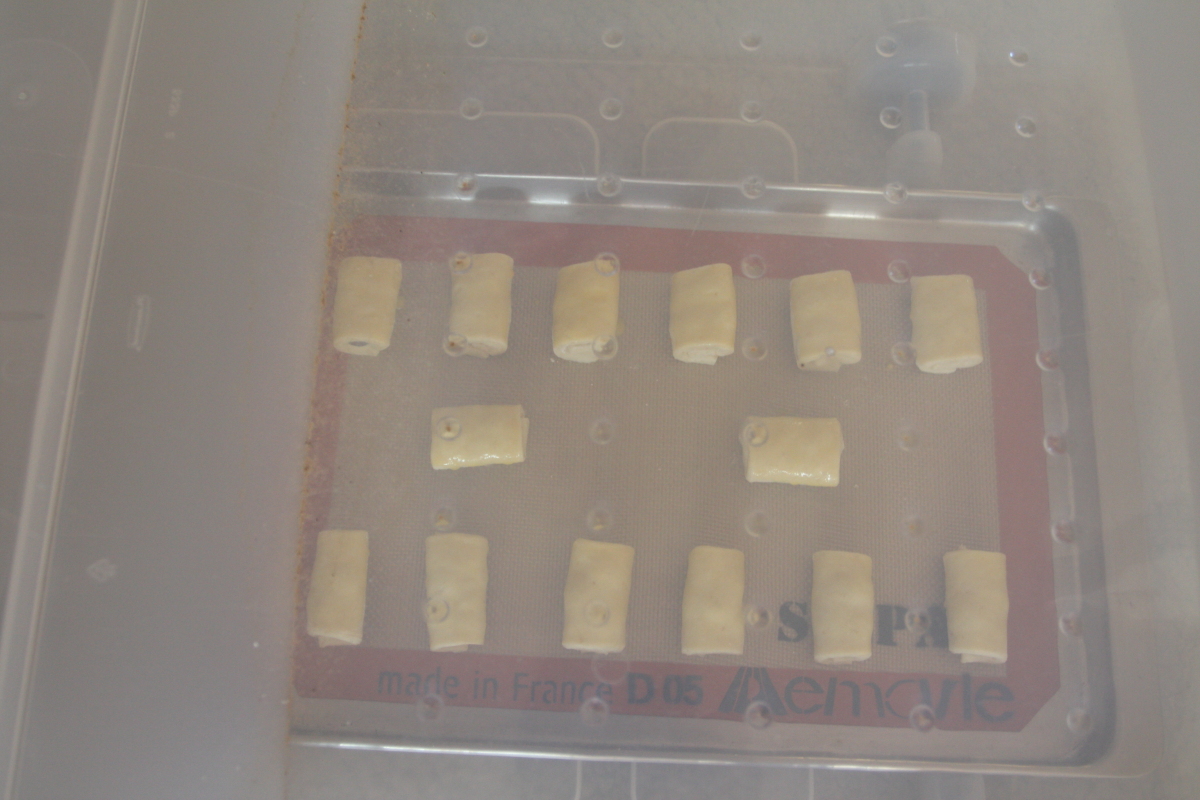
Proof. Cover the pastries with cardboard boxes or plastic tubs — we placed ours in an old sweater storage box and closed the lid — anything that will keep drafts away from the pastries and will allow the dough to rise unheeded. Once covered, let them rise undisturbed, for about 2 hours. If properly proofed, they’ll jiggle a bit when touched.
Preheat oven to 350°F. You’re in the home stretch now!
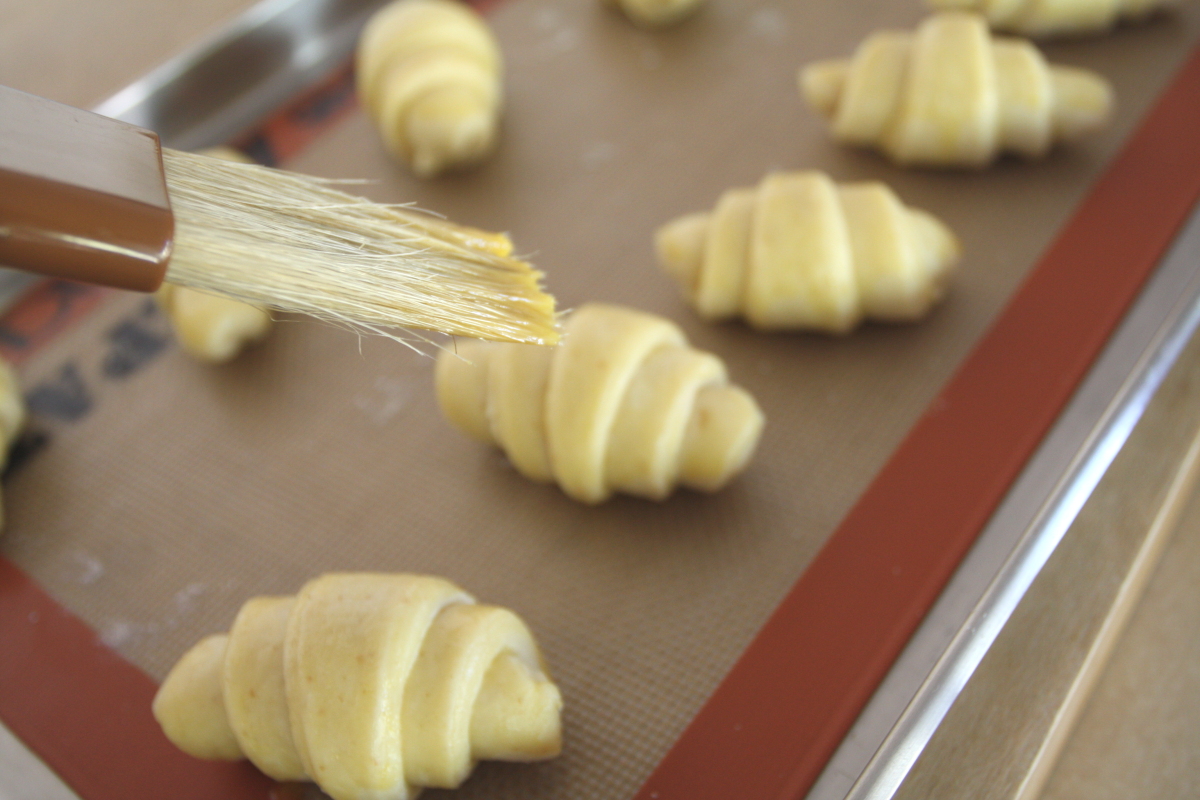
Brush with egg wash. Since you didn’t discard your egg wash, re-brush all the pastries with another coat.
Bake. Slide everything into the oven and bake for about 35 minutes, or until the croissants are nicely browned on top and all the edges are completely done.
Cool. Let the pastries cool on the sheets as long as you can stand it, then enjoy!
While these were good, for the amount of effort involved, they should have been better. We’re sure that’s partly due to our inexperience (we’ve made croissants only once before) and the couple of issues with the ingredients we discussed earlier. Making the turns and rolling out the dough was hard; our dough sprang back quite easily, making it difficult to get the right sized rectangles, which was frustrating. That said, when these came out of the oven and were just a bit warm, they were delicious, especially the pain au chocolat, but we have another croissant recipe that we’ll try instead. Four stars.

