
For the past week or two, we’ve been hankering for some pudding, so we tried modifying the Chocolate Pudding recipe (that one is so good, and easy, too); however, we ended up with a pudding that tasted really good, but lacked eye appeal. To be honest, it looked a bit sickly and pasty because of the lack of eggs. Did that stop us? No! Absolutely not!
So, we poked around in the Scratchin’ central library and, lo and behold, we found this recipe in the Better Homes and Gardens New Cook Book. It seemed amazingly simple; no double boiler, etc. So we went for it! Although we did increase the amount of vanilla just a tad.

Vanilla Pudding
Ingredients
- 1/2 cup sugar
- 2 Tbs cornstarch
- 1/4 tsp kosher salt
- 2 cups milk
- 1 egg
- 2 Tbs unsalted butter
- 2 tsp pure vanilla extract
Instructions
- In a medium saucepan, whisk together sugar, cornstarch, and salt. Whisk in milk, and place over medium heat.
- Continue whisking and cook until thickened and bubbling. Whisking all the while, cook for 2 additional minutes. Remove from heat.
- In a medium bowl, whisk egg. While whisking egg rapidly, very gradually pour in half of the hot liquid. Pour egg custard back into saucepan.
- Return to medium heat, and cook about 2-3 minutes. Remove from heat.
- Add butter and vanilla, and stir until butter is completely melted.
- Pour into bowl, lay plastic wrap on the surface to prevent a skin from forming, and refrigerate for at least 2 hours.
- To serve, scoop into bowls.
Ingredient discussion:
We almost always use organic skimmed milk, and we did here, too; it seems that any type of milk will do. For the vanilla extract, we happened to use a vanilla-rum extract, which we’d made ourselves — basically, steep 1 ounce split vanilla beans in 8 ounces of light rum for 2-3 months, and, ta da, rum-vanilla extract. Use vodka for plain extract. The egg, well, if you’ve read our posts, you know…. And no letting other people salt your food with that salty butter, either.
Procedure in detail:
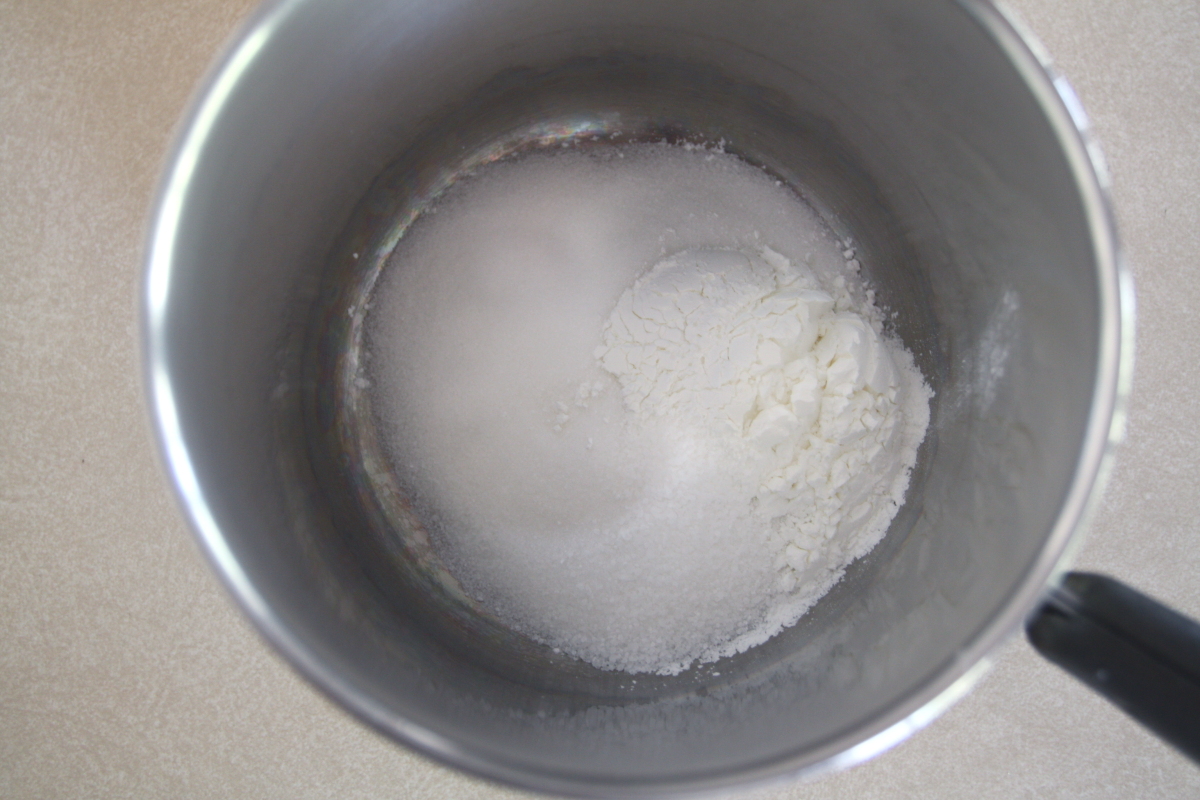
Mix dry ingredients. In a medium saucepan, whisk together the sugar, cornstarch, and salt. We like to whisk it before adding the milk, since that helps to break up the cornstarch, thereby preventing lumps in your pudding. We’re not sure about you, but, for some food items, including pudding, the texture is key. One lump and we’re through eating it. Possibly forever.
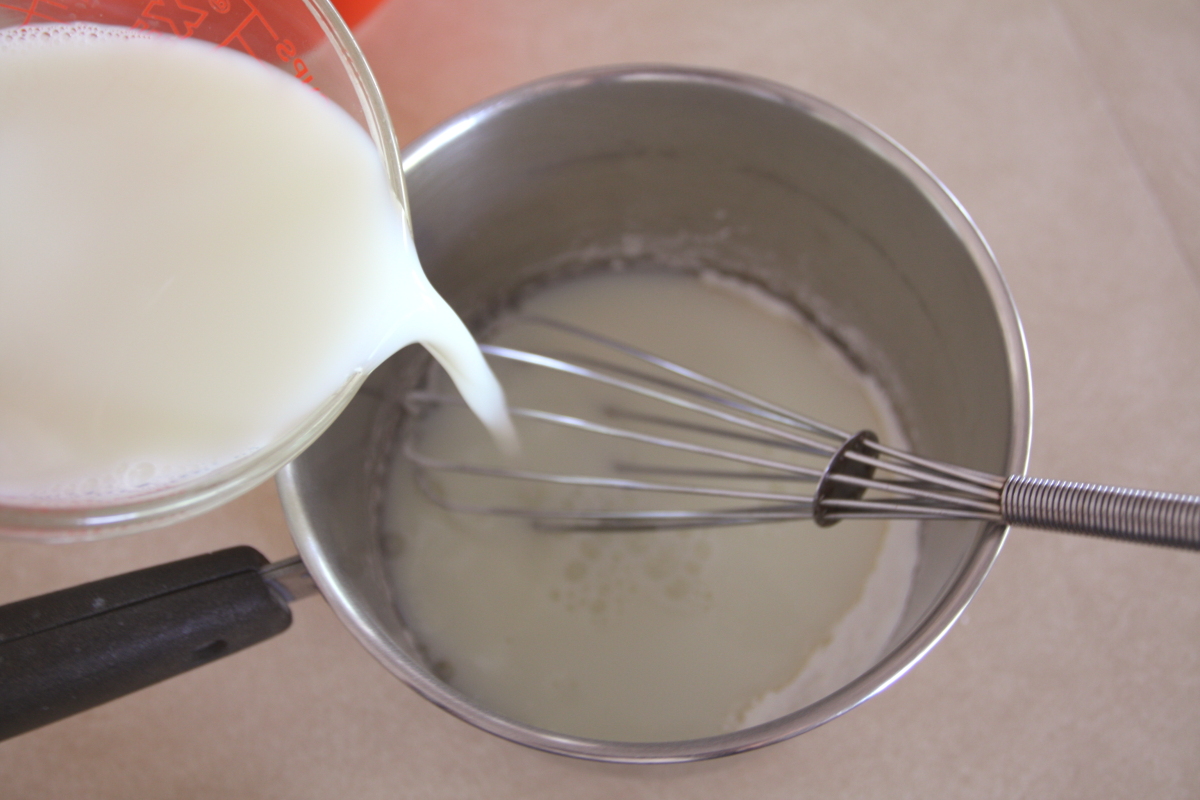
Add milk. Whisk in the milk while it’s still cold. Don’t take the chance of getting a lump; definitely use a whisk, and start with cold milk, so there will be plenty of time to whisk in the dry ingredients while the milk heats.
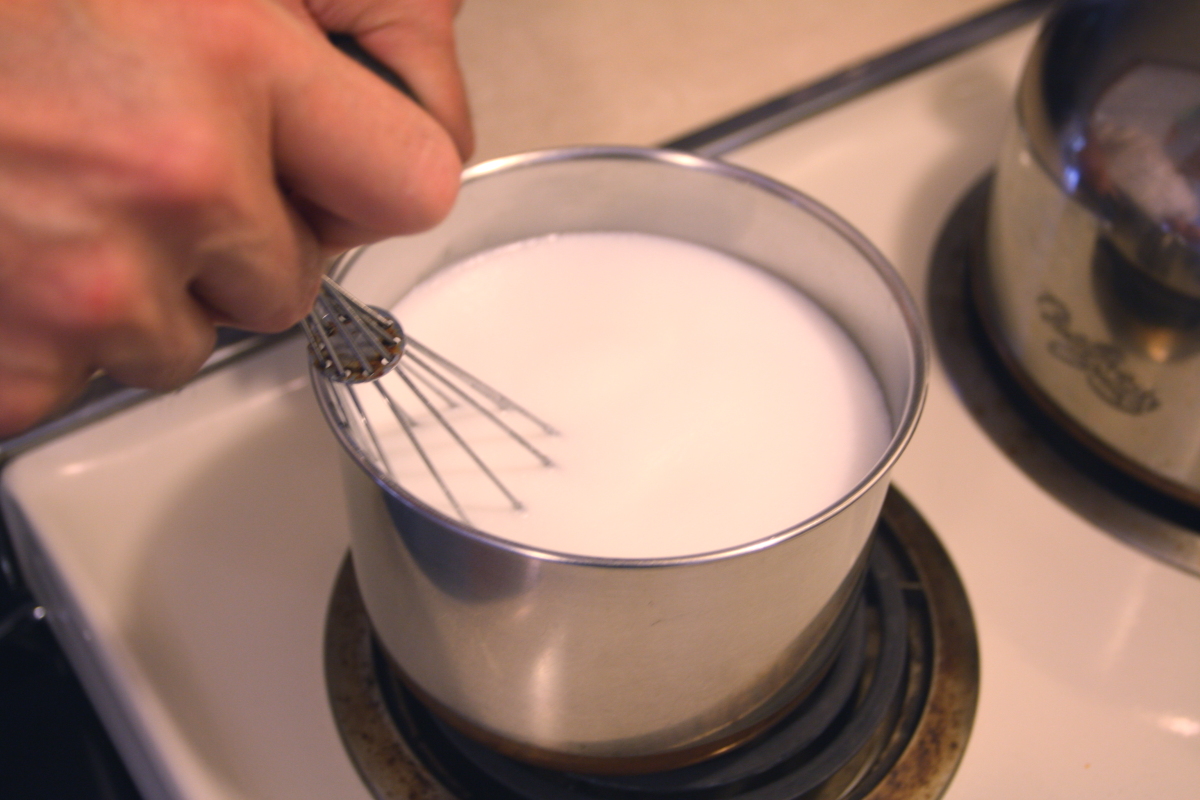
Cook. Place the pan over medium heat and cook, whisking continuously — thinking about how creepy it is to get a lump in your pudding will give you the impetuous to keep whisking; it worked for us — until the mixture thickens and bubbles. Continue whisking and cooking for 2 more minutes (you’ll have to lower the heat once it bubbles). Remove from heat.
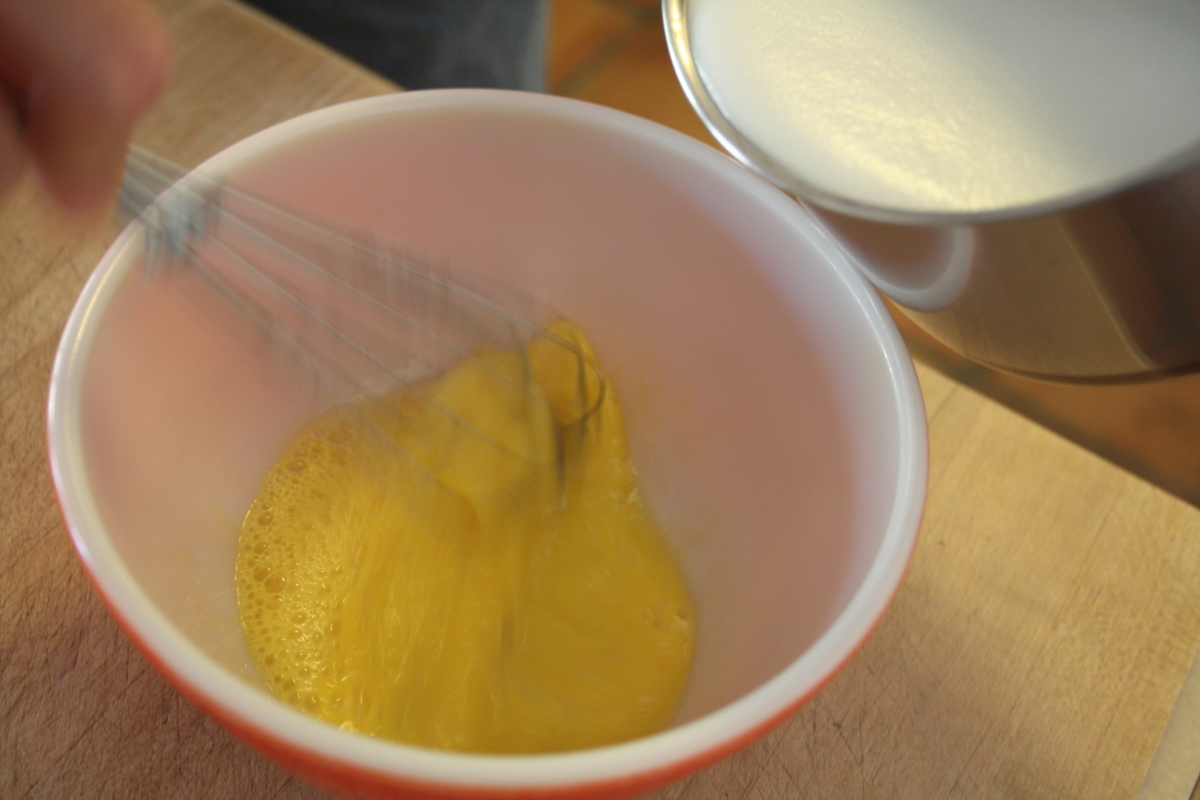
Temper egg. This is the only tricky part, and it’s important to get it right, so think to yourself, “What will happen if I just pour some of this hot milk mixture into the egg? It’ll cook! Leaving pieces of cooked egg! Eww! Yuck!” See, we told you this is important, so here’s what you do: start whisking the egg with abandon — do not stop whisking for these next steps, then add just a dribble of hot milk mixture, whisk that in, add a slightly bigger dribble, mix that in, an even bigger dribble, and so on, until half of the hot milk mixture is mixed into the egg. Keep increasing the amount you dribble in, always remembering to be whisking like a madman, madwoman, or madchild, while you’re adding the hot liquids. Congratulation, madperson, you made a custard! Not always a simple thing to do.
Pour egg custard into pan. Yep, after all that work you just pour it back into the pan, but now the egg is tempered, so it won’t cook and form lumpy, creepy, yucky, eggy bits. You can safely add it right back into the hot milk liquid.
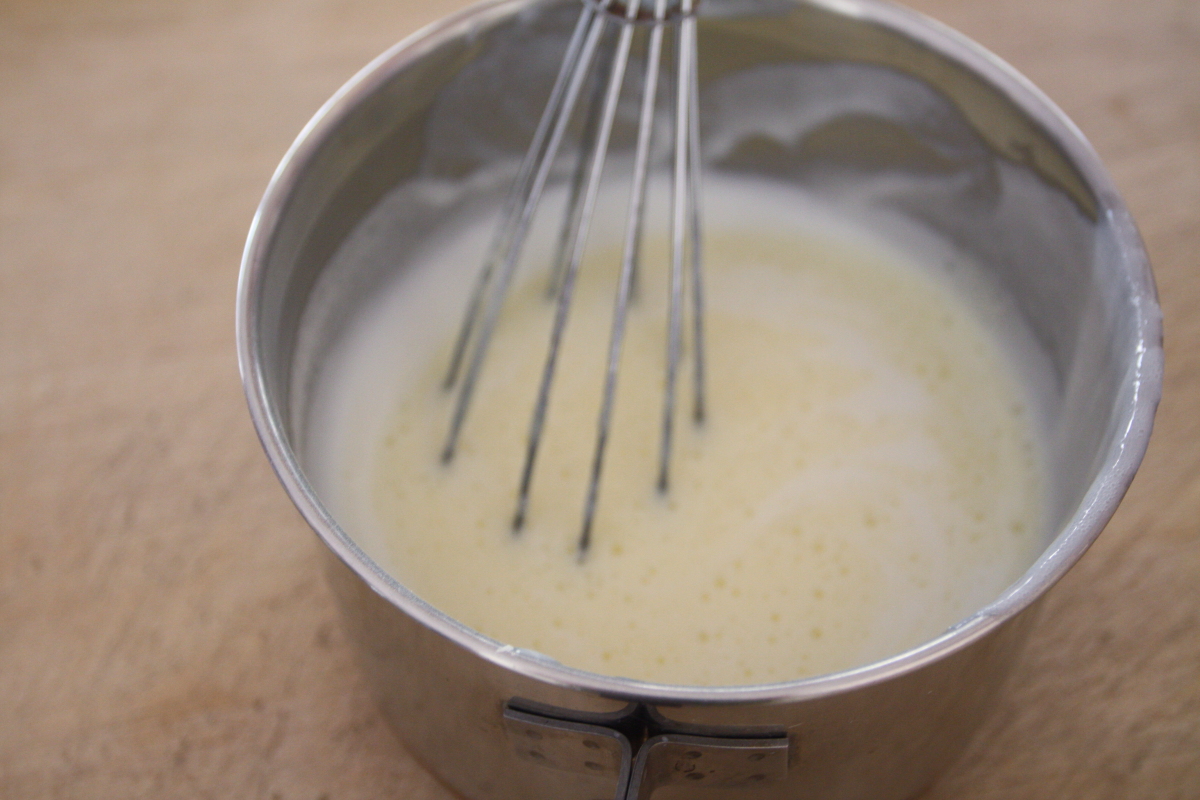
Cook custard. Place the pan back over medium heat, and cook for about 2 to 3 minutes more, whisking the entire time. There really isn’t any chance of lumps now; however, there is the risk of scorching the pudding, which not only makes the pudding taste weird, but also makes the pan difficult to clean.
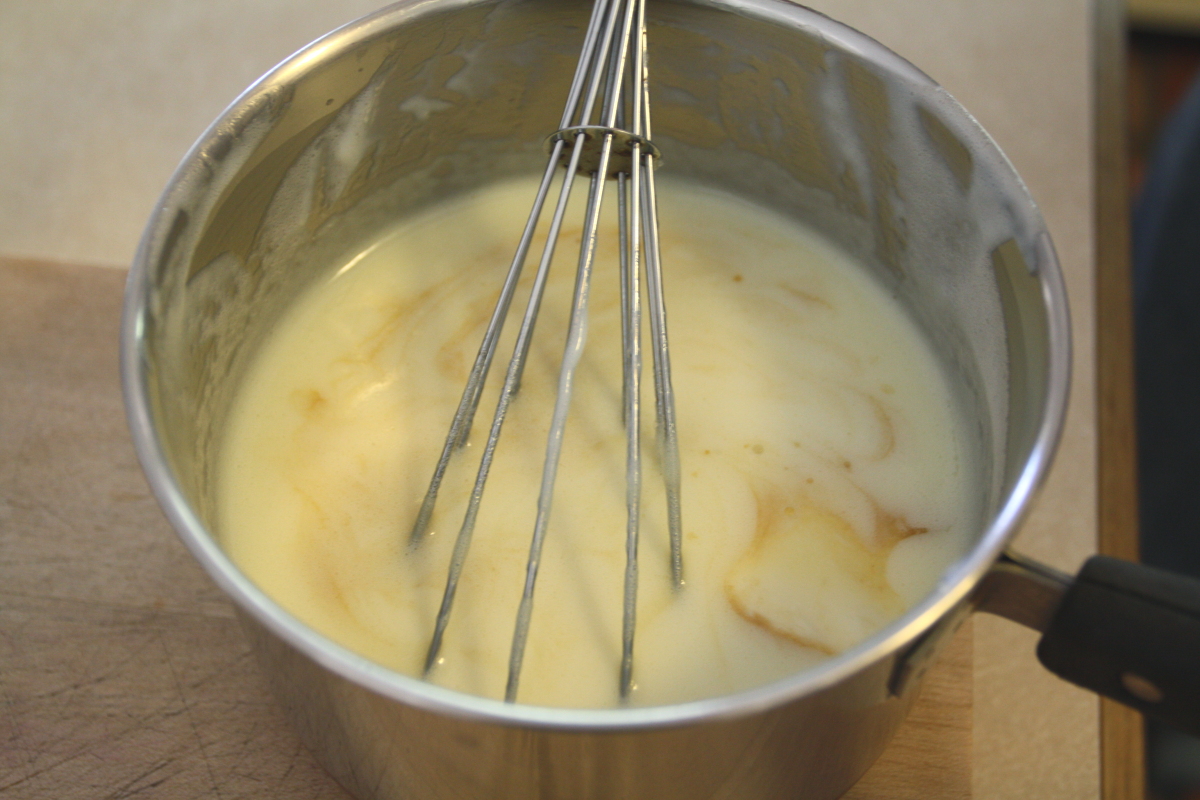
Add butter and vanilla. Remove from heat, and stir in the butter and vanilla. Once the butter is completely melted, your vanilla pudding is ready for chillin’. If you happened to get lumpy bits, from either the cornstarch or the eggs, you can pour the pudding through a fine sieve to try to save it.
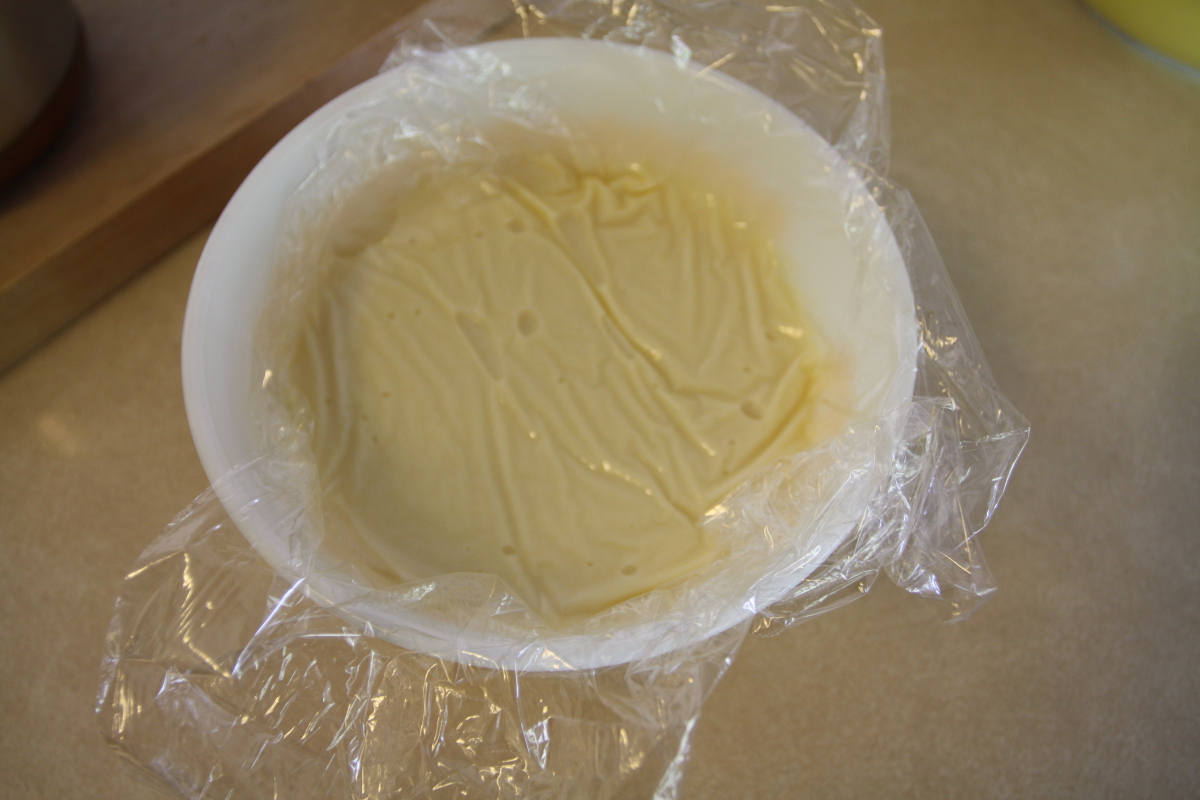
Cool. Transfer the pudding to a bowl, cover the surface with a piece of plastic wrap pressed on. Yep, press that plastic right onto the pudding. That prevents pudding skin from forming. Unless, of course, you like pudding skin; in that case, don’t press the plastic onto the surface. We don’t mind the pudding skin — it’s not lumpy — but we pressed the plastic down, anyway. Then into the refrigerator it goes for a couple of hours.
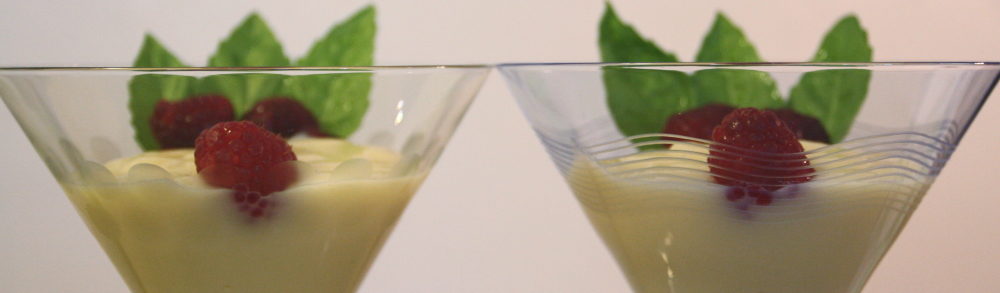
Serve. For scratched pudding, break out a couple of nice glasses, spoon pudding into them, top with a few raspberries or strawberries, and enjoy.
This pudding is a success! It has a nice vanilla-y color, or at least what we think of as vanilla color, it’s smooth and creamy like you wouldn’t believe, and we were inclined to give it a full 5 stars, but, believe it or not, we think it could be even better. Next time, we think we’ll scrape a vanilla bean into the mixture; plus, we’ll cut back on the sugar, probably to 1/3 of a cup. We might also go with using a bit of brown sugar, just to deepen the flavor. So, with those ideas in mind for next time, we’ll give the vanilla pudding four stars.

