Awhile back, we went looking for those chocolate wafers that are often used to make cheesecake or tart crusts. You know the ones; they’re made by a big company whose name begins with N and ends with O, as in — once we saw the price, we said “NO way are we paying this much for a small box of cookies we could make up in 30 minutes.” So we went home, and, with a quick search on the Internet, found a recipe on the Smitten Kitchen’s website. As expected, it turned out to be really easy to make these cookies, and they tasted even better than the store-bought version. Needless to say, we’ll make our chocolate wafers from now on.
Oh, we did change the recipe a bit, cut it back to a more manageable size, and adjusted the ingredients to be a little more standard and easier to deal with (no 1 cup plus 2 Tbs). The cookies are they same, though; just a bit easier to measure out. We dislike recipes that seem as though it’s difficult to measure out the ingredients.
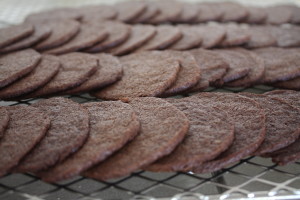
Famous(ly expensive) Chocolate Wafers
Ingredients
- 1 cup flour
- 1/2 cup cocoa
- 3/4 cup sugar
- 1/4 tsp salt
- 1/4 tsp baking soda
- 8 Tbs unsalted butter, slightly softened and cut into 16 pieces (1 stick)
- 2 Tbs milk
- 1 tsp vanilla extract
Instructions
- Put the cocoa, sugar, flour, baking soda, salt in the bowl of a food processor and pulse it a couple of times to combine.
- Distribute the butter pieces over the top of the flour mixture, and pulse several times until the mixture looks crumbly.
- With the processor running, add the vanilla, then slowly add the milk and process until a dough forms and rides on top of the blade.
- Dump the dough out, knead it a few times to ensure that it is thoroughly mixed, and then shape it into a log about 10 inches long and 1 3/4 inches in diameter.
- Wrap with plastic wrap and chill about an hour.
- Preheat oven to 350°F.
- Slice and bake. Slice the cookies about 1/8 of an inch thick, place them on a parchment-lined baking sheet about an inch apart, and bake for about 10 minutes. Watch while they’re baking, they’ll puff up a bit, then deflate. Two minutes after they deflate, they're done.
Ingredient discussion:
You want to use a high-quality cocoa here, as it will make a difference. If you don’t have a high-quality cocoa at your fingertips, make the cookies anyway; they’ll still be good, but they might not be as dark and chocolatey as they could be.
Procedure in detail:
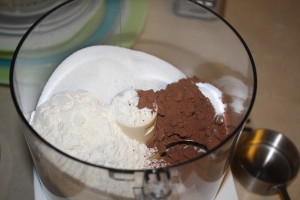
Combine dry ingredients. Put the cocoa, sugar, flour, baking soda, salt in the bowl of a food processor and pulse it a couple of times to combine.
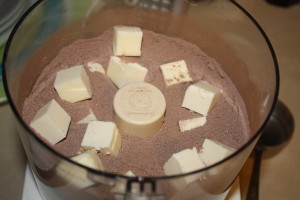
Add butter. Distribute the butter pieces over the top of the flour mixture, and pulse several times until the mixture looks crumbly.
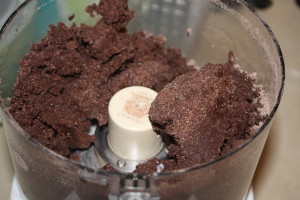
Add milk and vanilla. With the processor running, add the vanilla, then slowly add the milk and process until a dough forms and rides on top of the blade.
Form into a log. Dump the dough out, knead it a few times to ensure that it is thoroughly mixed, and then shape it into a log about 10 inches long and 1 3/4 inches in diameter.
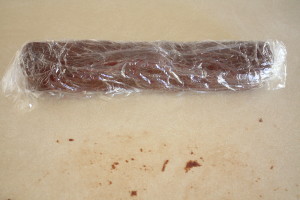
Chill. Wrap with plastic wrap and chill about an hour. You can chill it longer, but we found that the dough is a bit easier to slice if it isn’t fully chilled. Too cold and it crumbles a bit.
Preheat oven to 350°F.
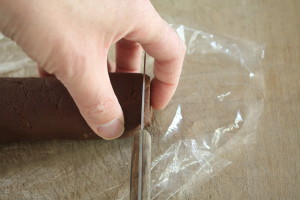
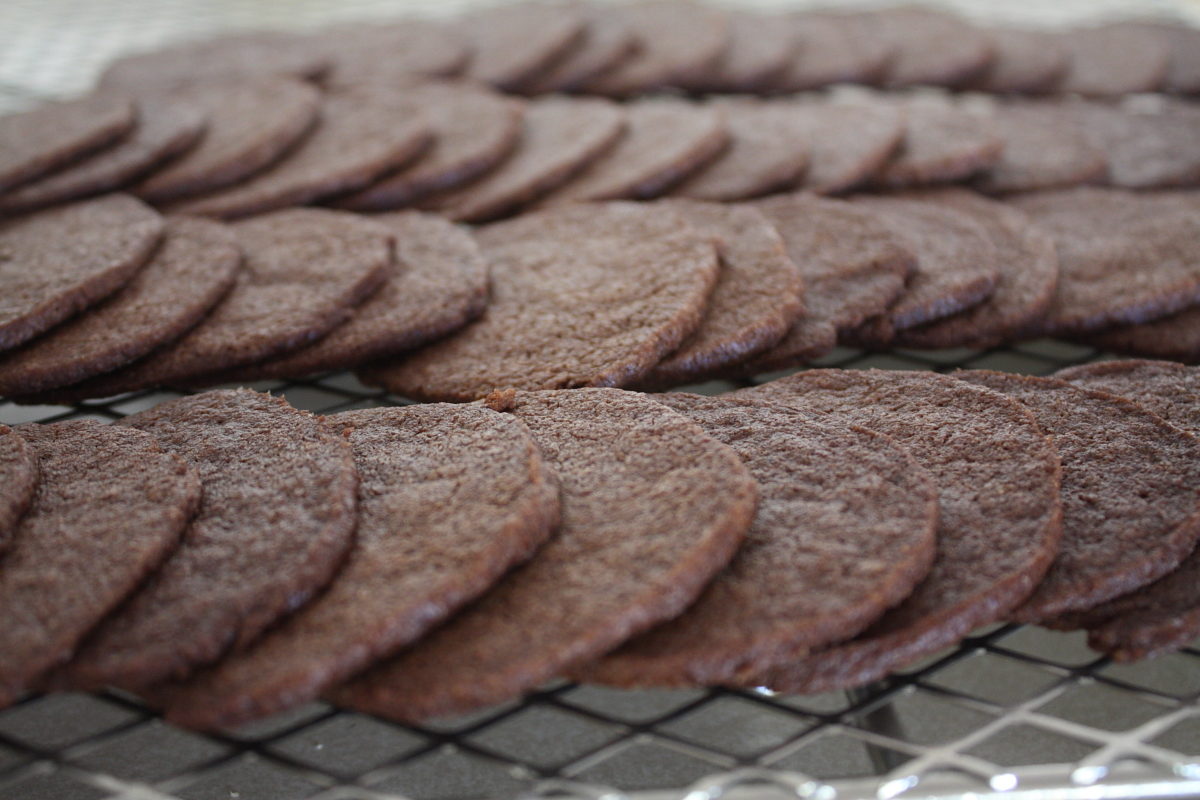
Slice and bake. Slice the cookies about 1/8 of an inch thick, place them on a parchment-lined baking sheet about an inch apart, and bake for about 10 minutes. Watch while they’re baking; they’ll puff up a bit, then deflate. Two minutes after they deflate, they’re done. They’ll crisp up more as they cool.
Enjoy. You can munch these just as they are, or you can make them into a chocolate tart crust. Your choice.
Once we learned how easy these are to make, and how much tastier they are than those famously expensive Chocolate Wafers, we can’t believe that anyone would actually buy them. Five stars.

Thanks so much. I’ve been looking for a recipe for these! Can’t wait to try them!
For how good these cookies are, you’d think they’d be a lot more trouble to make. Instead they are a snap.
All the best,
Shawn