
We’ve been making candies at Christmas for several years now, and, while we have our favorites, we do like to try something new from time to time. This year we decided to try our hand at making Peanut Butter Cups. Not like the ones you can buy at the store; we’re talking Peanut Butter Cups with real ingredients. Quality ingredients, such as a good dark chocolate, and a not-too-sweet peanut butter filling. After all, those Peanut Butter Cups in the two-pack are overly sweet, and the chocolate barely tastes like chocolate. We know we can do better. So can you, fellow scratcher.
Let’s face it, Peanut Butter Cups are nothing but a peanut butter filling surrounded with chocolate, so the real secret is making the filling. We saw a few recipes on the internet, and selected one from The New York Times, simply because it included a bit of vanilla extract. Plus, it listed the amount of peanut butter in grams, and, trust us, it’s way easier to weigh out peanut butter instead of packing it into a measuring cup, then scraping it out.
Peanut Butter Cups
Ingredients
- 200 g smooth peanut butter (1/2 cup)
- 30 g confectioners' sugar (1/4 cup)
- 1/2 tsp kosher salt
- 1/2 tsp vanilla extract
- 450 g finely chopped dark chocolate (16 ounces), divided
Instructions
- In a medium bowl, stir together peanut butter, confectioners' sugar, salt, and vanilla. Transfer to a piping bag fitted with a 3/8-inch tip.
- Line a baking sheet with parchment and pipe peanut butter disks about 3/4- to 1-inch in diameter and 1/4-inch thick. If needed, lightly press flat with a dampened finger. Place in freezer to harden for about 30 minutes.
- Place baking cups on a baking sheet.
- Melt and temper half of the chocolate (see our post on Microwave Tempering), and partly fill cups.
- While chocolate is still soft, press a peanut butter disk into the center.
- Melt and temper remaining chocolate, and fill cups to cover the peanut butter. Transfer to the refrigerator to harden.
Ingredient discussion:
For treats like this, go for good chocolate. We used 70% cacao chocolate from Callebaut; it’s pretty much our standard chocolate. So much so that we buy it in large bars — 11 pound bars. For the peanut butter, we selected something that seemed more natural, one of those national brands that say natural on the label. We normally buy peanut butter that’s made from just peanuts, but we were worried that the oil might separate while inside the peanut butter cup. It would be odd to bite into that.
Procedure in detail:
We tried a couple of ways to make the peanut butter disks (we made several batches). The easiest was to use a piping bag to pipe out disks about 1/4 inch thick onto baking parchment and then freeze the disks for easier handling. We also tried pressing the peanut butter filling between two pieces of parchment, freezing that, and cutting disks with a small round cutter. That worked just okay. Since we were testing, we don’t include photos of making the peanut butter disks. Sorry.
Tempering chocolate is key to making these, and, over the years, we’ve tried several methods, none of which have been successful every time. We really like to go with Microwave Tempering. It seems to be the easiest and most reliable. If your chocolate is not in temper, the peanut butter cups will melt and smear all over your hands as you eat them. Tasty, yes, but not as good as with tempered chocolate that you can handle. With that disclaimer, let’s scratch out peanut butter cups.
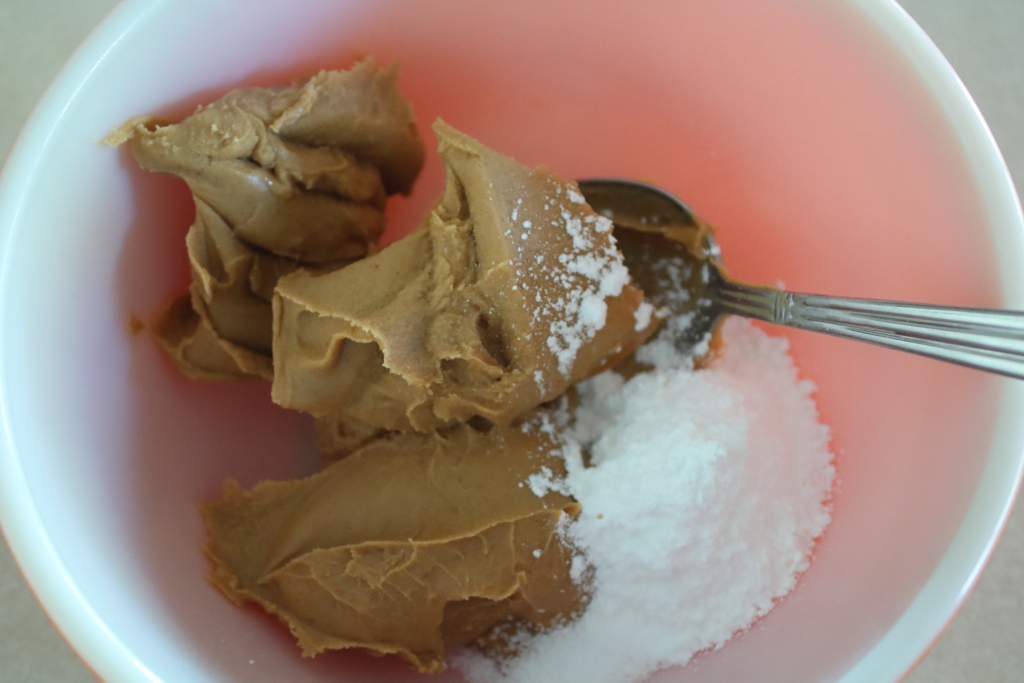
Make filling. This is super simple. Just combine the peanut butter, salt, sugar, and vanilla extract in a bowl, and stir smooth. That’s it.
Make peanut butter disks. We discussed this above, and suggest that you use a piping bag if you have one. Otherwise, just do the best you can.
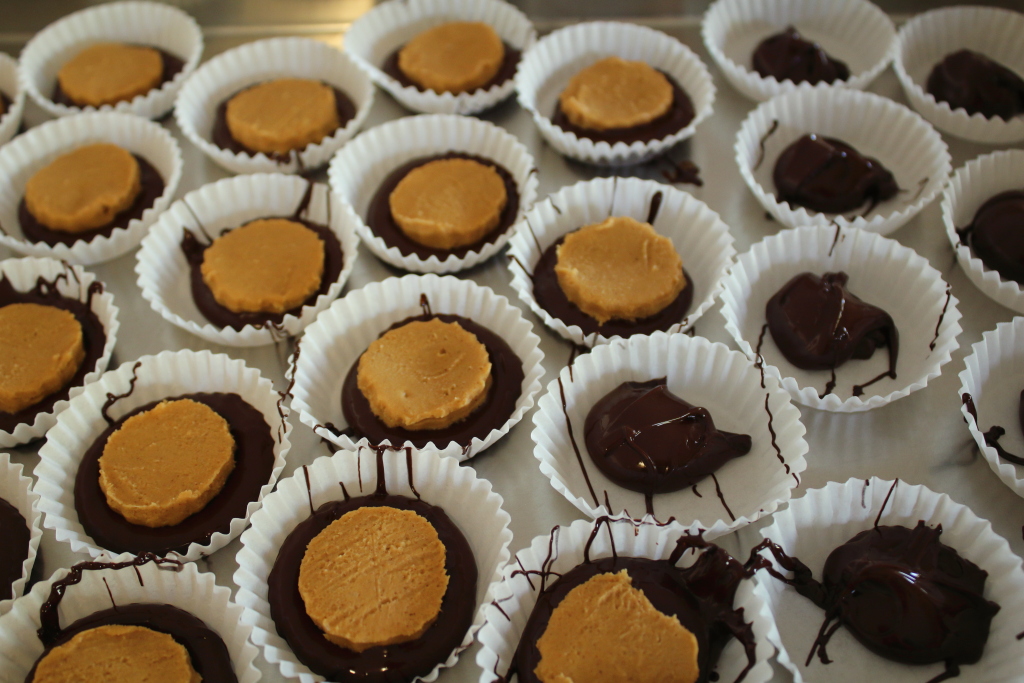
Fill cups. After tempering your chocolate (we did one tempering for the base of the cups, and a second batch of tempered chocolate to cover), scoop about a tablespoon of chocolate into each. Work fast, since the chocolate will harden. If you have a helper, have them go right behind with the text step, placing the peanut butter disks.
Place peanut butter disks. Simply place a disk in the center of the chocolate and lightly press down so the chocolate will be smooshed up around the sides of the peanut butter. Once you have all the peanut butter disks in place, you can relax. It won’t hurt if the chocolate hardens now.

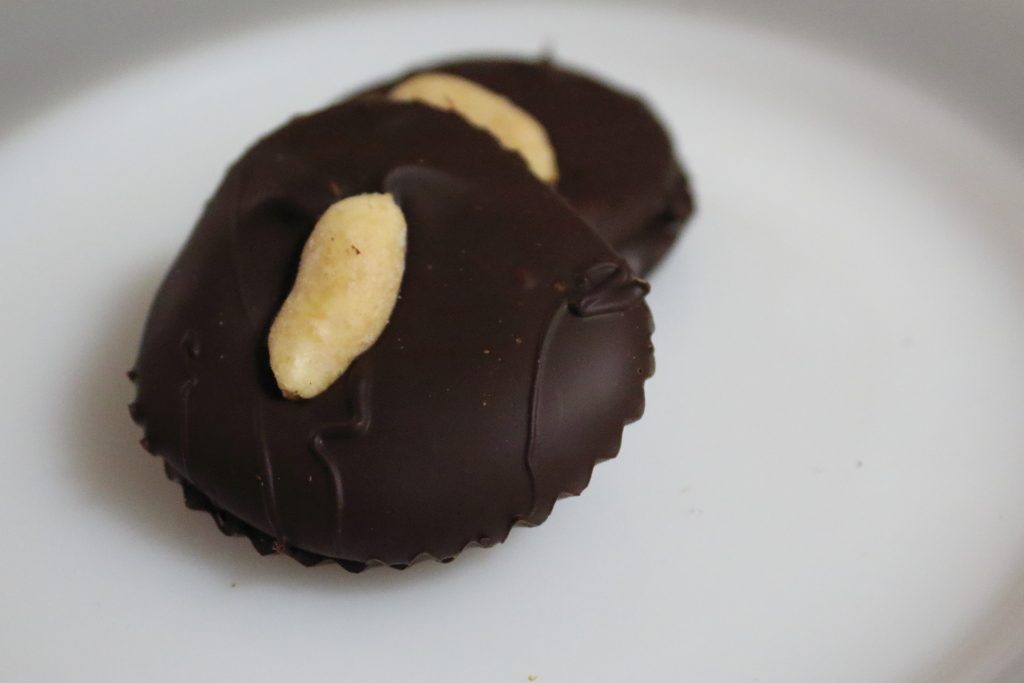
Top cups. Temper the second batch of chocolate, and scoop about a tablespoon of chocolate on top of each cup, sealing in the peanut butter disk. If you have a helper and some peanuts, you can ask them to place a peanut on each cup.
Other than the tempering, these are pretty easy to make. We made several batches to send away for Christmas, and not a single one was returned, so we figured they tasted pretty good. We held a few back for us to enjoy — kept them in the refrigerator — but they were gone by early January. What in the world could have happened to them? Trust us, these put Reese’s to shame. Five stars.