
I always think that cheese balls are kind of retro. Sort of a holdover from the 1960s or 70s. That doesn’t mean I don’t like them; I really think they’re tasty, and we happen to think this is a very good recipe for making cheese balls. We’ve had the results, oh, probably a dozen times over the years, but we’ve never made one before now. Instead, we always rely on a relative who makes them for parties and whatnot (and, of course, they’re even tastier if someone else makes them). But, this week, we decided to make up a few for the church social hour.
Now, this recipe isn’t original with the aforementioned relative; instead, it came from someone in North Carolina, who would probably be surprised that her recipe has made it all the way out west. Naturally, we did change it: the original didn’t call for Cheddar cheese, only green pepper, mixing in some of the nuts, and using any seasoned salt. We also doubled the amount so we could have four cheese balls, deciding to roll two in sliced almonds, one in pecans, and leave one plain.

Retro Cheese Ball
Ingredients
- 16 ounces cream cheese, softened
- 8 ounces grated Cheddar cheese
- 3/4 Tbs Old Bay Seasoning or other seasoned salt
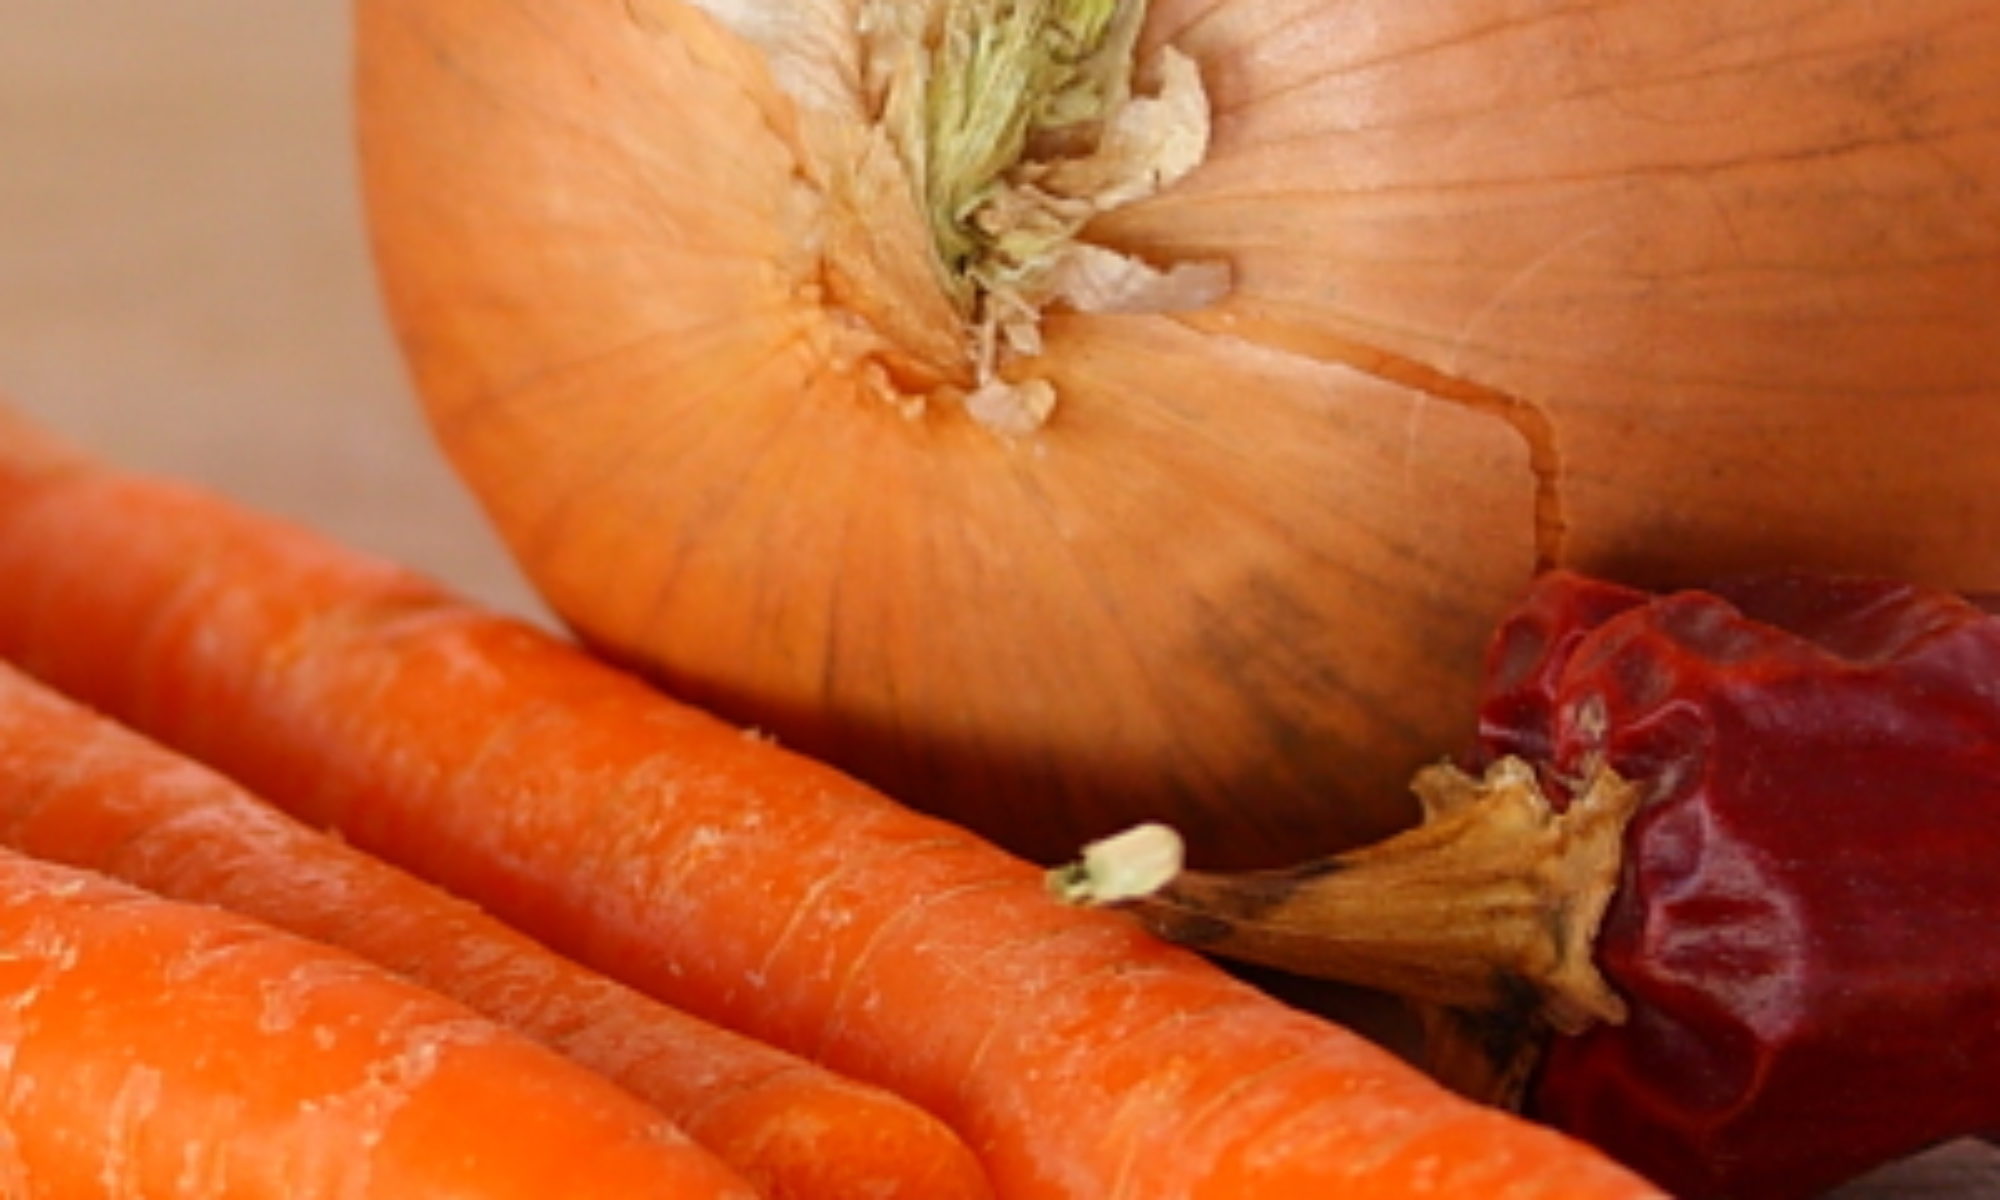
- 1/4 cup finely chopped onion
- 1 Tbs finely chopped red bell pepper
- 1 Tbs finely chopped green bell pepper
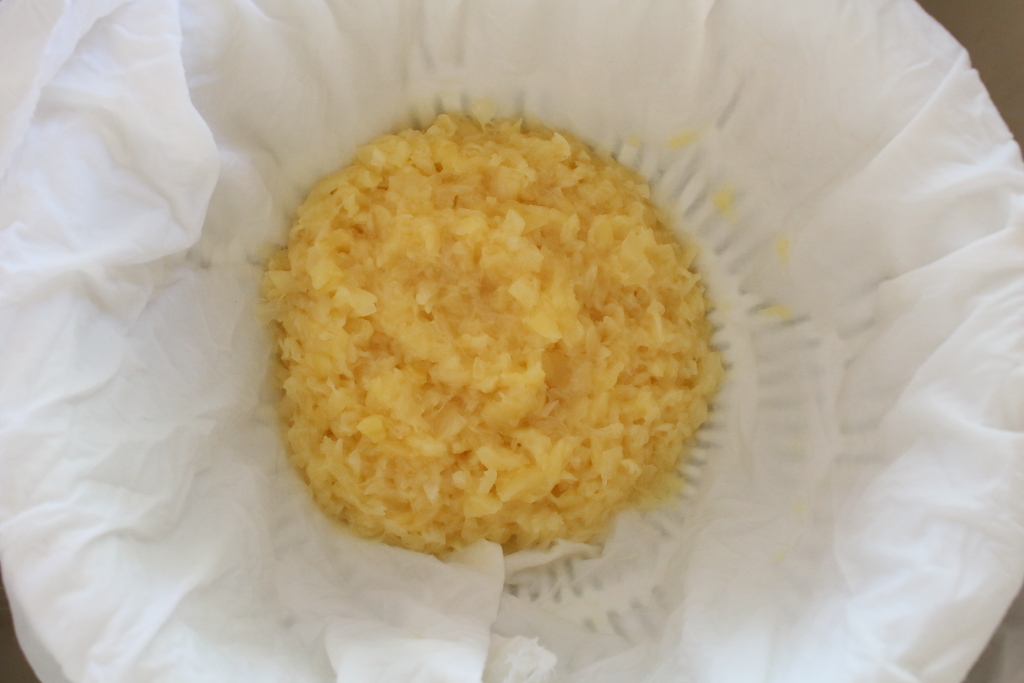
- 10 ounces crushed pineapple,well drained (1/2 of a 20 ounce can)
- 1 cup chopped nuts
Instructions
- Place cream cheese, Cheddar cheese, and Old Bay seasoning in the bowl of a stand mixer fitted with the paddle attachment and mix until combined. Add onion, red pepper, green pepper, and pineapple, and mix until combined.
- Place nuts in a medium bowl.
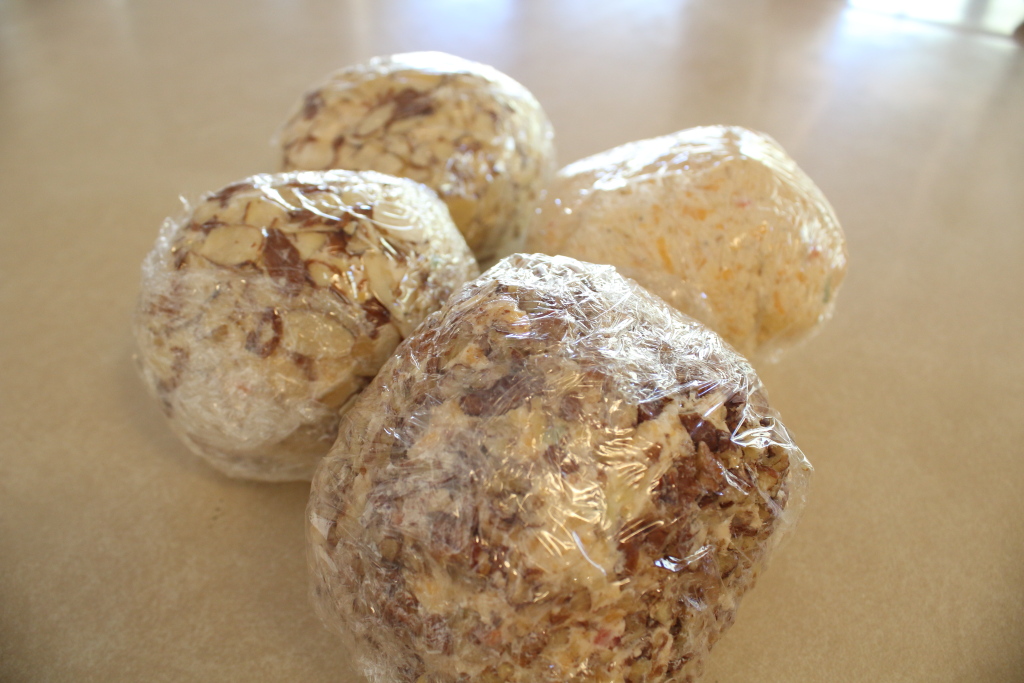
- Divide in two, and shape each half into a ball, then roll in nuts until covered.
- Wrap in plastic and chill completely, preferably overnight.
Ingredient discussion:
As we mentioned, the original recipe called for seasoned salt, with nothing else specified. We had Old Bay Seasoning, so that’s what we used. We decided to add red bell pepper for color, and we went with a variety of nuts. The original called for pecans, but we wanted a variety. We think any sort of nut will be great.
Procedure in detail:
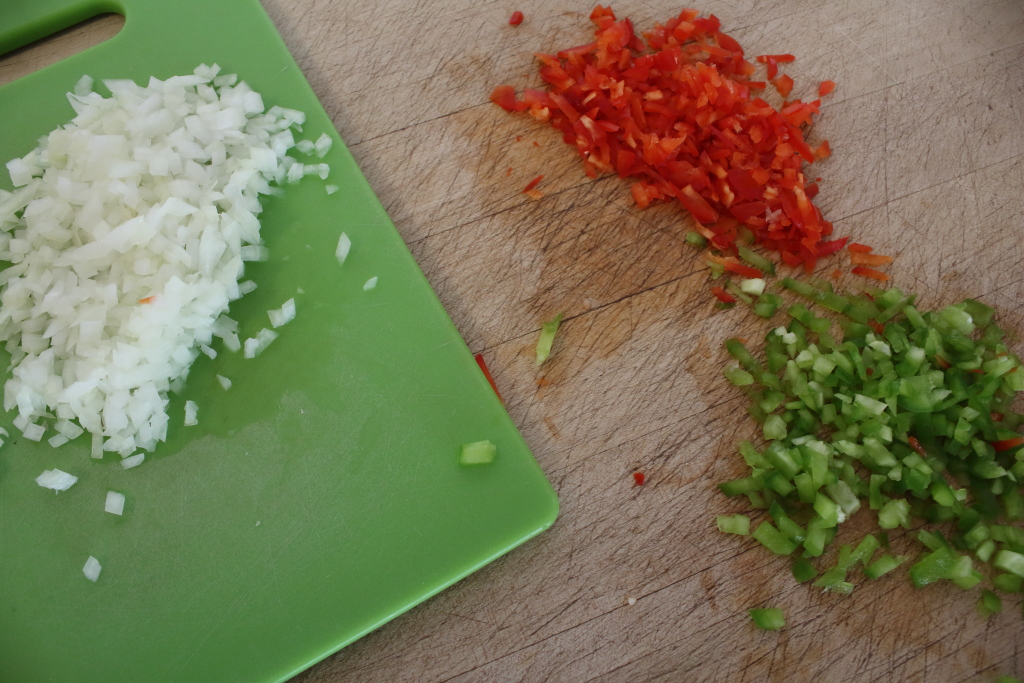
Chop. First, chop the onions and bell peppers very finely. Take your time and work to mince everything to about 1/16 of an inch on a side. This will ensure that no one gets a big chunk of onion in his or her bite. Mincing finely is an important knife skill, so it’s always good to have the opportunity to practice.

Mix. Place the cream cheese, Cheddar cheese, and Old Bay Seasoning in the bowl of a stand mixer fitted with the paddle attachment and mix completely. While we used a stand mixer, an ordinary bowl and some elbow grease would do the job, too. We added the Old Bay at the beginning because we felt that of all the ingredients in the cheese balls, we wanted this one mixed in the most.
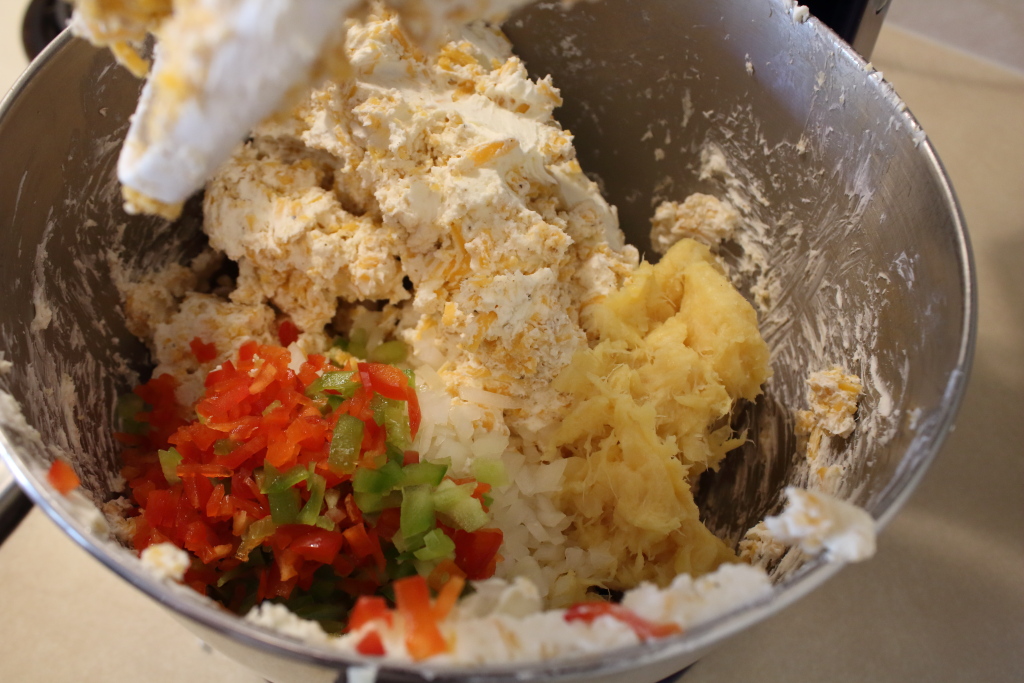
Add vegetables and fruit. There’s no reason you couldn’t add the peppers and onions at the beginning. We didn’t because, with a double batch, we needed to break up the loaves of cream cheese so we’d have more space in the mixer (it all barely fit, anyway).
Mix. Turn the mixer back to low and mix for about 30 seconds, scraping down the sides of the bowl as needed. Once mixed, if you have a cracker handy, you might as well give it a taste; you know, just to keep up your strength.
Place nuts in a bowl. Do this now because once you start shaping your cheese balls, your hands will be messy. It also helps to have a helper who’ll wrap the balls as you work.
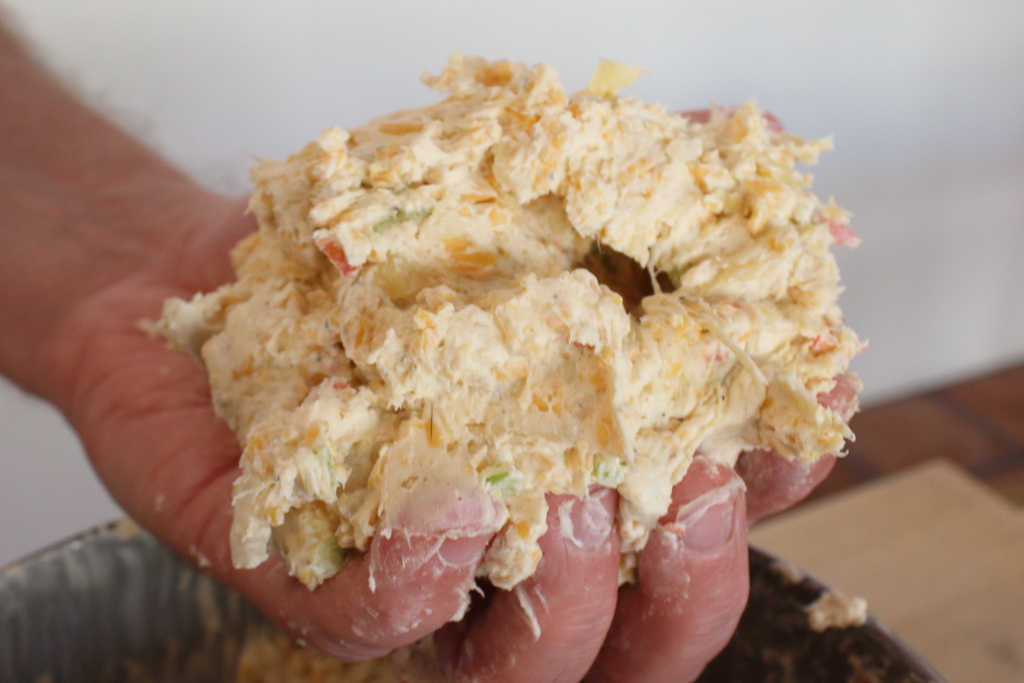
Shape. Divide the cheese mixture in two, and shape each half into about a 4-inch ball.

Roll. Drop each ball into the nuts, and roll from side to side and all around until the cheese ball is completely coated with nuts.
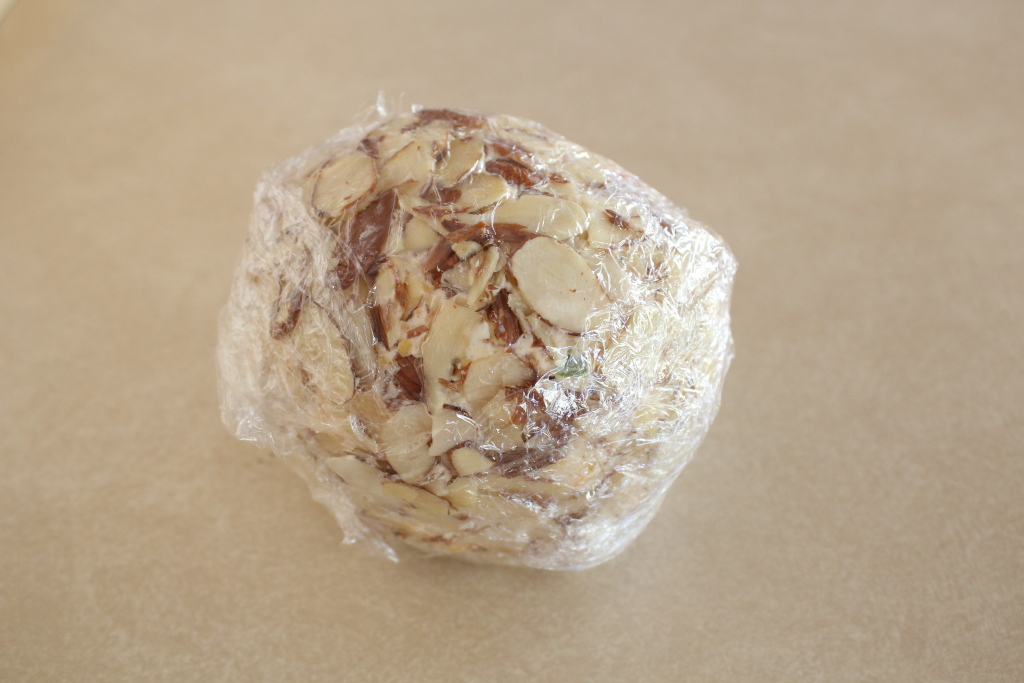
Wrap and chill. Place the completed cheese ball on plastic wrap and wrap tightly. Place in the refrigerator and chill completely, preferably overnight.
We just love this recipe. It makes a really great-tasting cheese ball and only takes a few minutes from start to finish. Naturally, you can choose other cheeses and nuts to suit your fancy, starting your own traditional family cheese ball flavor. That’s pretty cool, so five stars.
