
As soon as we saw this tart, we knew we’d make it one day. It took us a couple of years to work up to it, but we finally did it, making nearly everything from scratch. So, now you know why we had posts for feuilletine and almond-hazelnut praline paste; it was all in preparation for this one dessert. It also turns out that this is our 1000th recipe posted (well, really the fueilletine is number 1000, and the almond-hazelnut praline paste 1001, but both are specific for this recipe, so we’ll consider it number 1000).
Now, we’re sure that some of you won’t make the feuilletine, and some won’t make the praline paste, as these are available for purchase. And, we’ll tell you that, if you purchase these two items, this is a tart that isn’t really difficult to put together, although it might seem that way at first. That was something of a surprise, since this tart came from Bouchon Bakery, by Thomas Keller and Sebastien Rouxel, which can have some fairly involved recipes. We did modify the recipe just a bit, basically to match what we have around the house and what we don’t. We don’t think the tart suffered any; we’ll try to point out the substitutions as we go along.
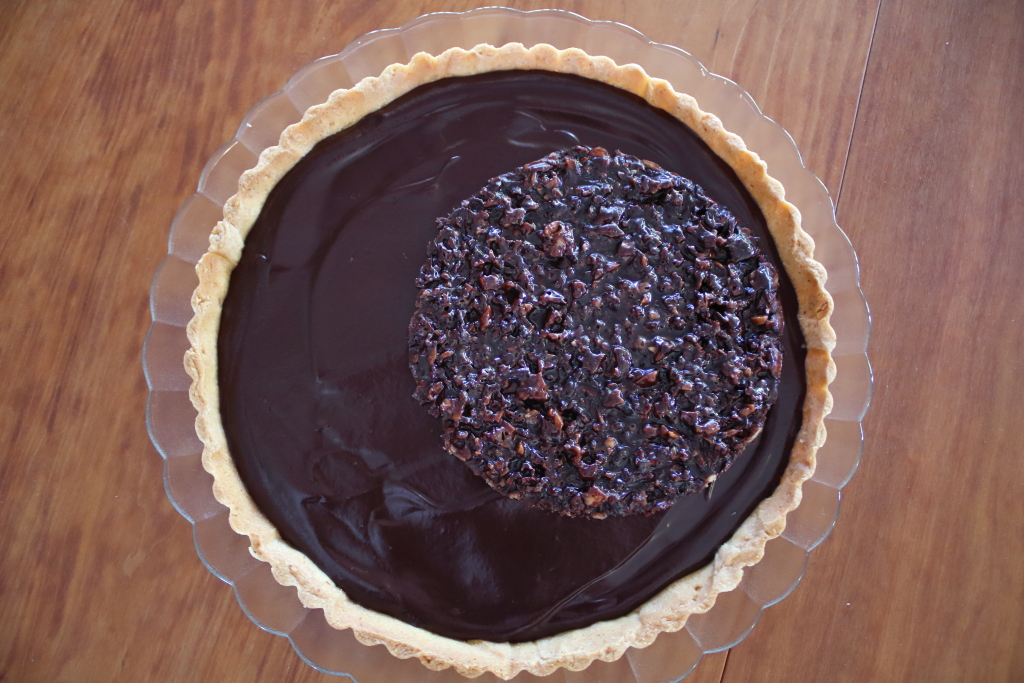
Chocolate, Praline, and Cocoa Nib Tart
Ingredients
Praline
- 144 g almond-hazelnut praline paste (about 2/3 cup; see note)
- 27 g dark chocolate 70% cacao
- 60 g feuilletine (2/3 cup; see note)
Crust
- 1 pâte sucrée, chilled and ready to roll (see note)
- Unsalted butter for greasing
Chocolate dentelle
- 37 g skinned toasted hazelnuts (1/4 cup)
- 75 g granulated sugar (6 Tbs)
- 62 g unsalted butter (4 Tbs)
- 25 g light corn syrup (4 tsp)
- 21 g milk (4 tsp)
- 37 g cocoa nibs (5 Tbs)
- 7 g Dutch-processed cocoa (4 tsp)
Chocolate ganache
- 200 g dark chocolate 70% cacao, coarsely chopped
- 170 g heavy cream (3/4 cup)
- 25 g light corn syrup (4 tsp)
- 14 g unsalted butter, room temperature (1 Tbs)
Instructions
For the praline
- Scoop the praline paste into a medium bowl.
- Melt the chocolate in a small bowl, using a microwave at 30-second intervals, stirring between each. Stir into praline paste.
- Stir in feuilletine.
- Place a piece of parchment on a work surface and scrape the praline mixture into the center. Place another piece of parchment to cover and roll to under 1/8 inch thick. Place praline, still between parchment sheets, on a baking sheet and freeze for at least 4 hours, preferably overnight.
For the crust
- Preheat oven to 325°F. Butter an 8- or 9-inch tart pan.
- Roll out crust and fit it into the tart pan. Place a piece of parchment over the crust and fill with pie weights (or uncooked rice, or beans).
- Bake 20 minutes, then rotate the crust and bake 20 minutes more. Remove pie weights and parchment and bake until golden brown, about another 20 minutes.
- Let cool completely.
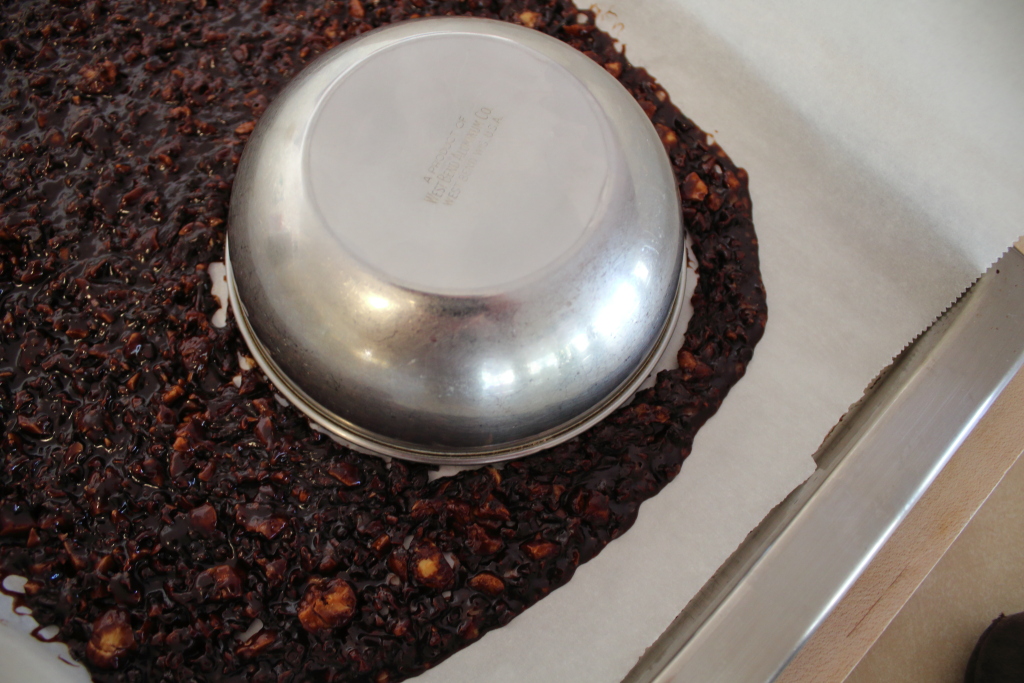
- Measure the inside of the crust, and, if possible, find a bowl or pan lid to use as a template for cutting the praline.
- Use the template to cut the praline into a circle the same size as the bottom of the crust, then return to the freezer until it's time to assemble the tart.
For the chocolate dentelle
- Chop the hazelnuts into pieces about the same size as the cocoa nibs. Set aside.
- In a medium saucepan over medium heat, combine sugar, butter, corn syrup, and milk. Bring to a boil and cook to 230°F. Remove from heat, stir in hazelnuts, cocoa nibs, and cocoa.
- Pour the mixture unto a piece of parchment and place another piece of parchment on top. Roll as thin as possible. Remove the top piece of parchment and transfer dentelle on the parchment to a baking sheet.
- Bake for 12 minutes, or until the bubbles forming on top become small and you can smell the cocoa nibs and hazelnuts.
- Let cool for 2-3 minutes, then use an inverted bowl and a chef's knife to cut out a circle about 5 inches in diameter. Let cool completely and set aside.
For the chocolate ganache
- Melt the chocolate in a medium bowl and allow to cool to room temperature (either use a double boiler or microwave in 30-second increments, stirring in between, until chocolate is completely melted.
- In a medium saucepan, mix heavy cream and corn syrup over medium heat, and bring to a simmer, stirring to combine.
- Add 1/3 the heavy cream mixture to the melted chocolate and stir until smooth. Repeat two more times to incorporate the remaining cream mixture.
- Stir in butter.
For assembly
- Peel the praline from the parchment and place on the bottom of the tart crust. Pour ganache over and smooth the top. Let cool at room temperature for at least 4 hours before placing dentelle on top, offset to one side.
Notes
Ingredient discussion:
First up, you’ll notice that every ingredient is measured in grams. Some have volume equivalents, some not, and for a very good reason: accuracy. If a recipe requires 27 grams of chocolate and you measure with a scale, you’ll get 27 grams of chocolate, regardless of whether it’s in one chunk, grated, or melted. But, if a recipe calls for 1/4 cup of chopped chocolate, the amount of chocolate you measure will depend on the size of the chunks of chocolate.
For the chocolate, we used Callebaut 70% dark chocolate, and, for the cocoa, we used Valrhona.
We suggest that you make this dessert over two days. On the first day, make the praline (and fueilletine and almond-hazelnut praline paste, if you’re making everything from scratch) and the pâte sucrée; the second day, bake the crust, cut the praline, make the dentelle and ganache, and assemble.
Procedure in detail:
For the praline:
Measure praline paste. If you have a scale, this is pretty easy: just put a medium bowl on the scale, press tare to zero the scale, and start scooping. Without a scale, measure out about 2/3 of a cup of the praline paste into the bowl. We don’t think you have to get this exact; a 1/2 cup would probably be fine, same with 3/4 of a cup. Either way, you’ll have praline left when you’re finished.
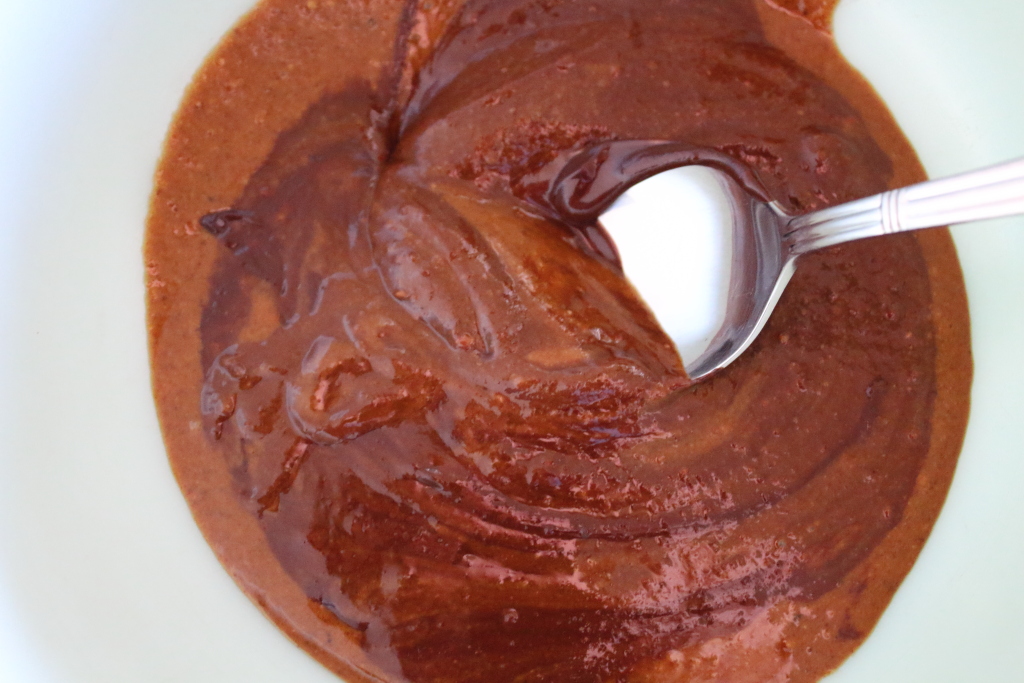
Melt and add chocolate. Place the chocolate in a small bowl and microwave in 30-second intervals, stirring between each interval, until the chocolate is melted and smooth. Once melted, stir into the praline paste. Here’s one place we deviated from the original recipe. It called for 40% milk chocolate and cocoa butter, neither of which we had on hand, so we just used 70% cacao dark chocolate. It worked just fine.
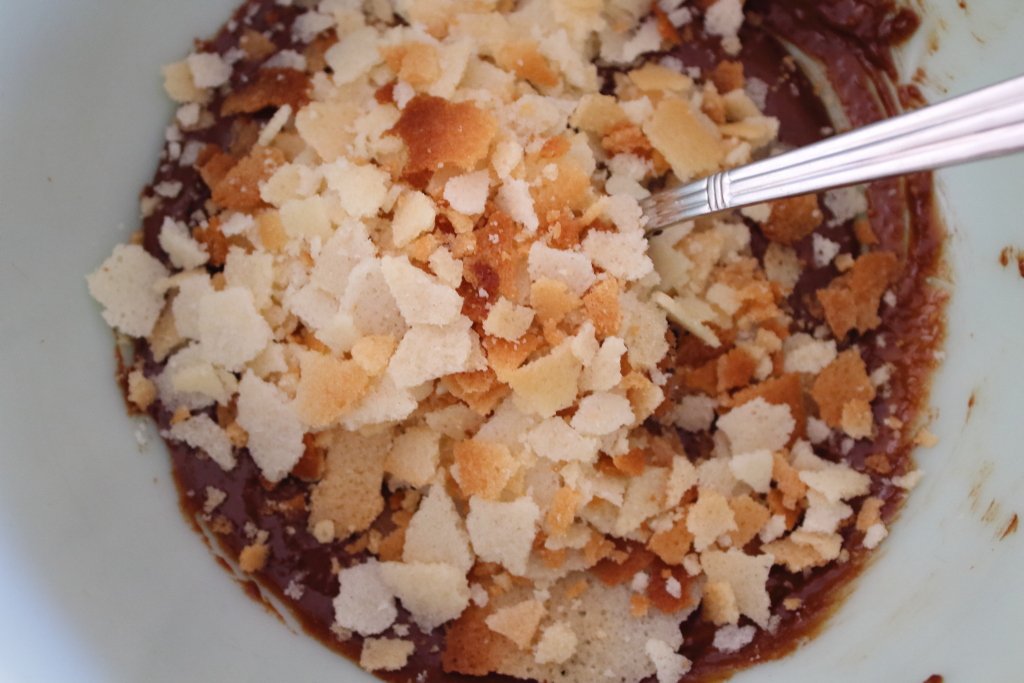
Mix in fueilletine. As with the praline paste, we don’t think not using the exact amount of fueilletine will matter much, so, if you don’t have a scale, scoop out somewhere between 1/2 and 2/3 cup of fueilletine and stir it into the praline paste.
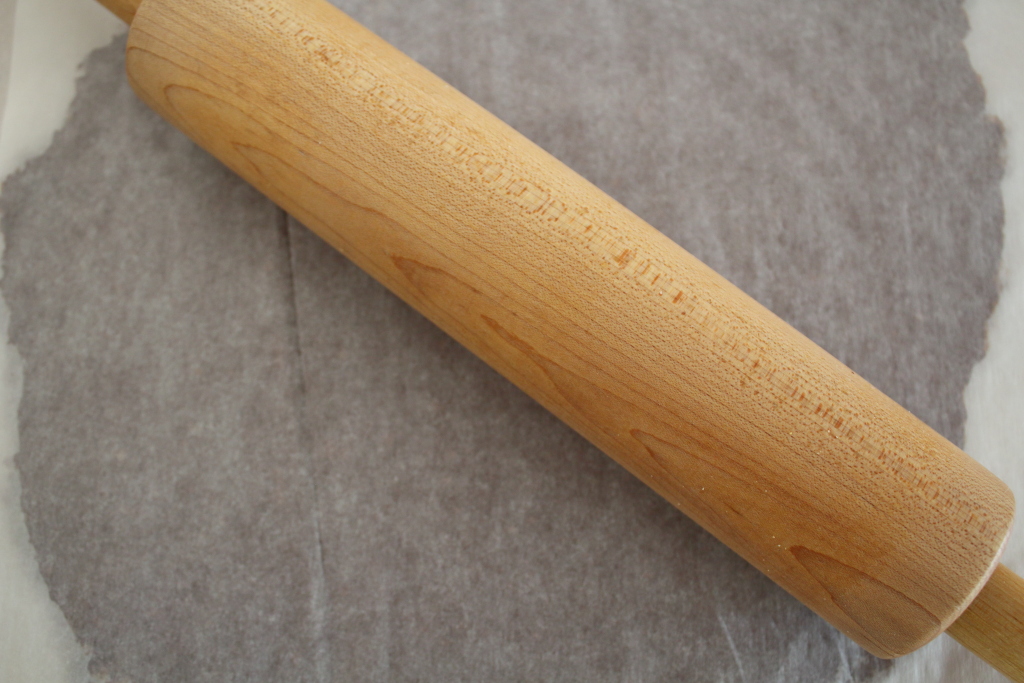
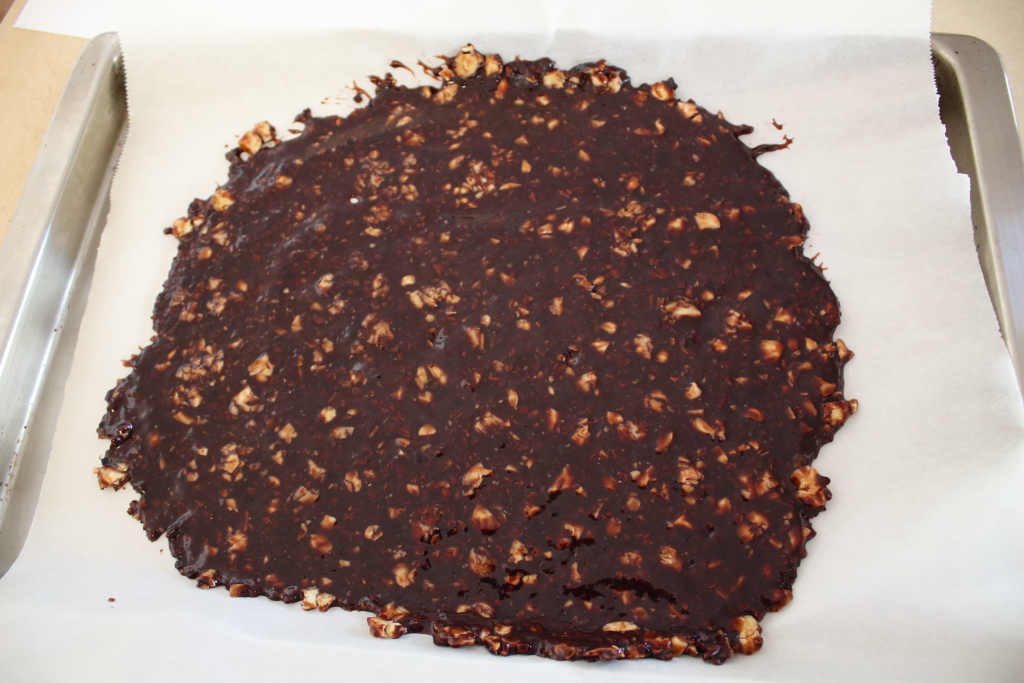
Roll praline. Okay, the praline’s very sticky, so place a piece of parchment on a work surface and scoop the mixture into the center. Waxed paper may work, but we find that it tears easily, so we really recommend using parchment. Place another piece of parchment on top and roll out to less than an 1/8 of an inch. It’ll be a pretty big piece of praline once it’s rolled.
Freeze. Leave the praline between the two pieces of parchment and transfer to a baking sheet. Place in the freezer for at least 4 hours, preferably overnight. Freezing will make the praline easier to cut, and easier to handle, too. It also softens rapidly, so you really want to ensure that it’s completely frozen.
For the crust:
Preheat oven to 325°F. Butter an 8- or 9-inch tart pan with a removable bottom. The original recipe suggested using an 8×1/2 inch tart ring; well, we didn’t have that, but a tart pan, yes, we can do that.
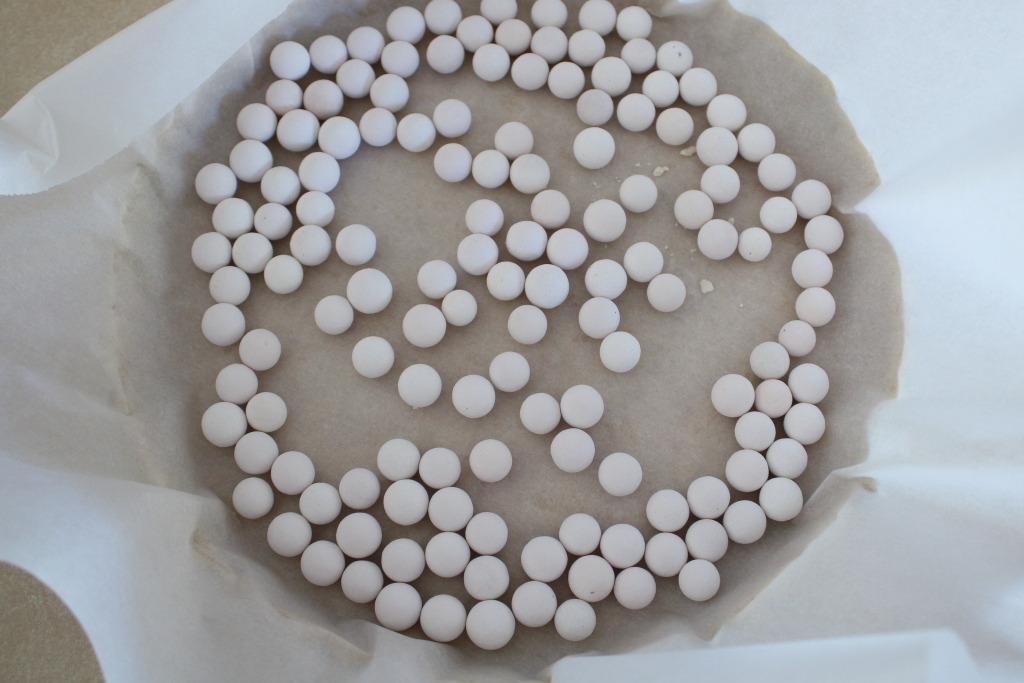
Roll. Place the dough on a lightly- floured work surface and roll to at least a 10-inch diameter circle. Transfer to the tart pan and press into place, trimming away the excess. You can press the scraps together, wrap, and freeze to use for another dessert later. Place a piece of parchment in the tart crust and fill with pie weights. As an aside, for years we’d just use rice for this and it works very well. We’d even cook up the rice for later meals, although we found it to be brittle and prone to breaking while cooking.
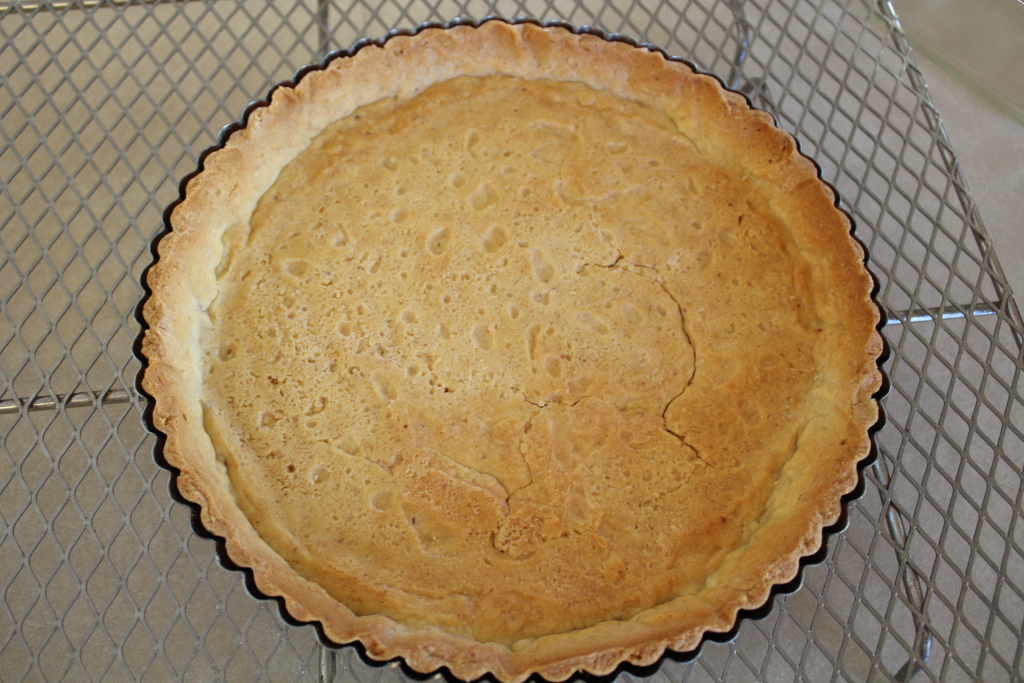
Blind bake. This will take about an hour of baking total: bake the crust and weights for 20 minutes, rotate the crust 180° to ensure even baking, and bake another 20 minutes. Remove the parchment and weights and bake for 20 minutes more or until the crust is golden brown on the bottom.
Cool. Let the crust cool in its pan completely on a baking rack.

Cut praline. Measure the bottom of the crust, and, if you can, find something the same size, or close to it, to use as a template for cutting the praline. This could be an overturned bowl or plate, the cover from a pan, or perhaps a cake pan. We happened to find that, for us, an 8-inch cake ring was perfect. Naturally, if you can’t find an exact match, choose something slightly smaller for a template. Remove the praline from the freezer, leave it on the baking sheet, and peel off the top piece of parchment. Place the template on the praline and use it to guide your cutting. Once cut through, you’ll notice that the praline is softening, so, quick, return it to the freezer.
For the chocolate dentelle:
Preheat oven to 350°F.

Chop hazelnuts. The original recipe said to place the hazelnuts in a tough plastic bag and roll over them with a rolling pin until they were the same size as cocoa nibs (1/8 inch on a side). You can do that, but we simply chopped them with a chef’s knife. Once chopped, we placed them in a small dish along with the cocoa nibs and cocoa. All so we could pour the whole shebang into the syrup at once.
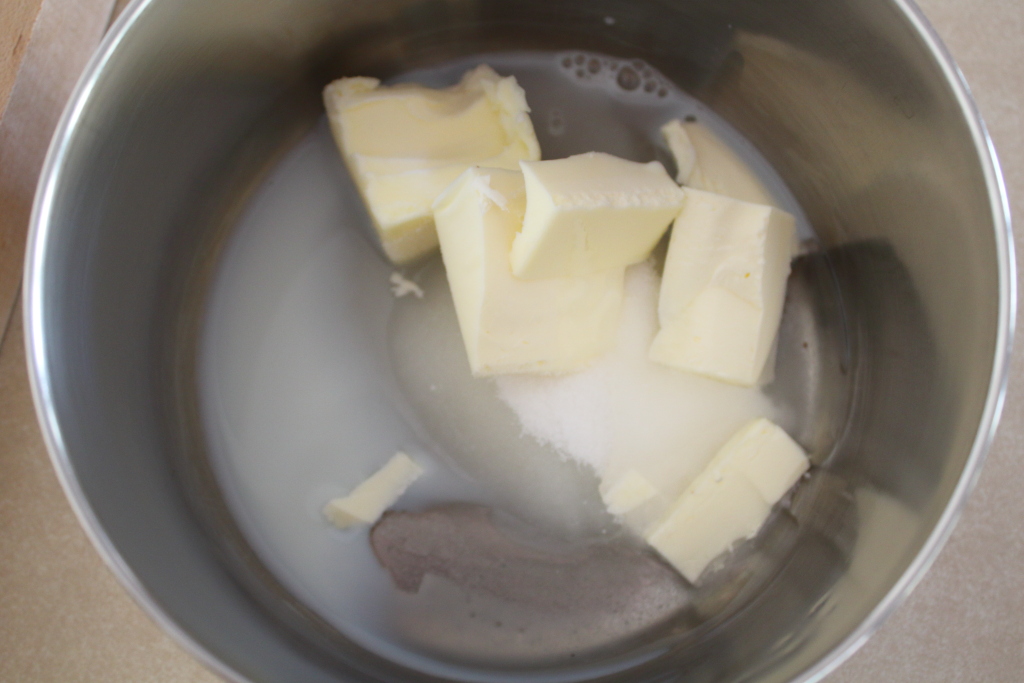
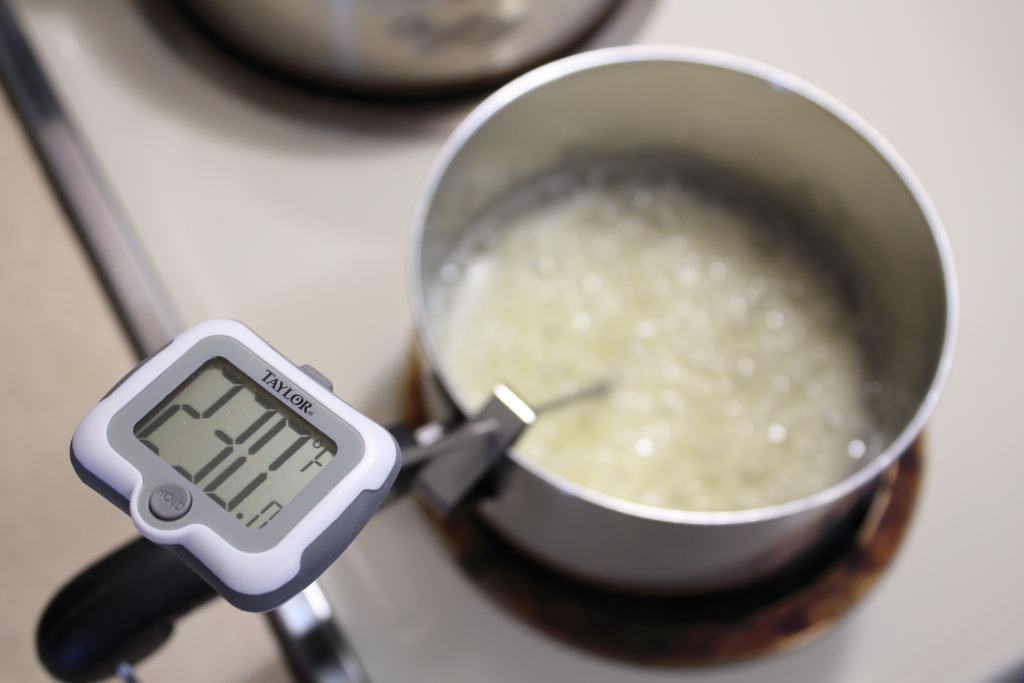
Make syrup. In a medium saucepan over medium heat, combine sugar, butter, corn syrup, and milk, stirring until sugar is dissolved and the mixture comes to a boil. Insert a candy thermometer and continue cooking until the temperature is 230°F. Remove from heat.
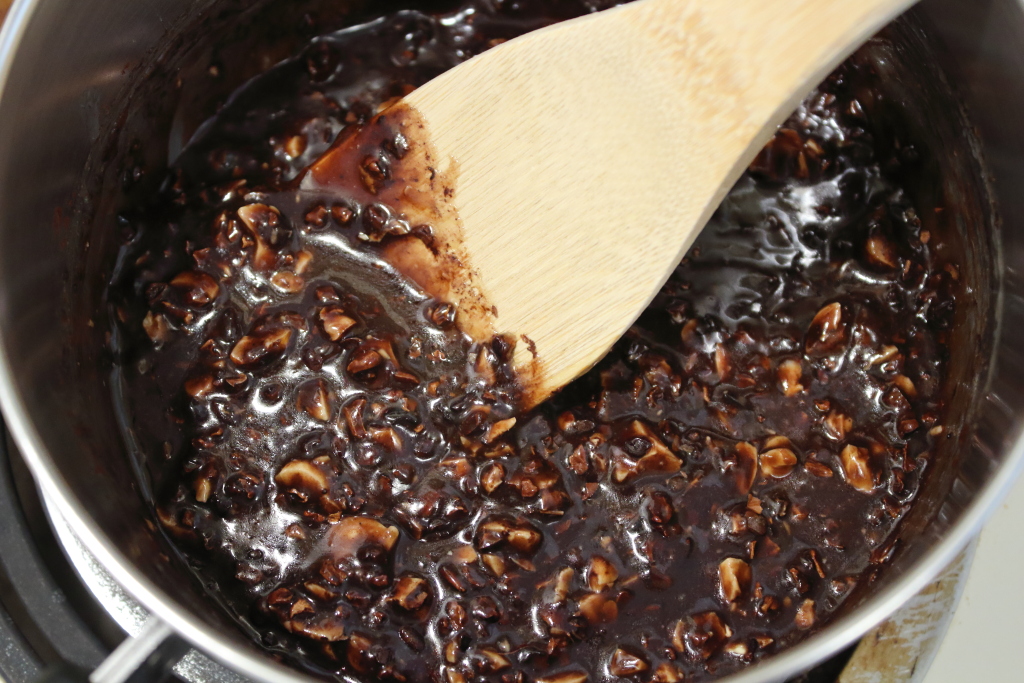
Stir in hazelnuts and cocoa nibs. If you do as we did, you can simply dump the mixture of hazelnuts, cocoa nibs, and cocoa into the syrup and stir to combine.
Roll thin. Another sticky mixture to roll out, so tear off another piece of baking parchment, and scoop the dentelle mix into the center. Place another piece of parchment on top and roll the mixture as thin as possible. Well, pretty thin at least. Peel off the top piece of parchment and transfer the dentelle, along with the other piece of parchment, onto a baking sheet.
Bake. Slide into the oven and bake about 12 minutes. After a few minutes, the dentelle will bubble, then the bubbles will start to decrease in size, and, right about when the 12 minutes are up, you’ll smell the cocoa nibs and hazelnuts. Remove from the oven and place on a cooling rack.
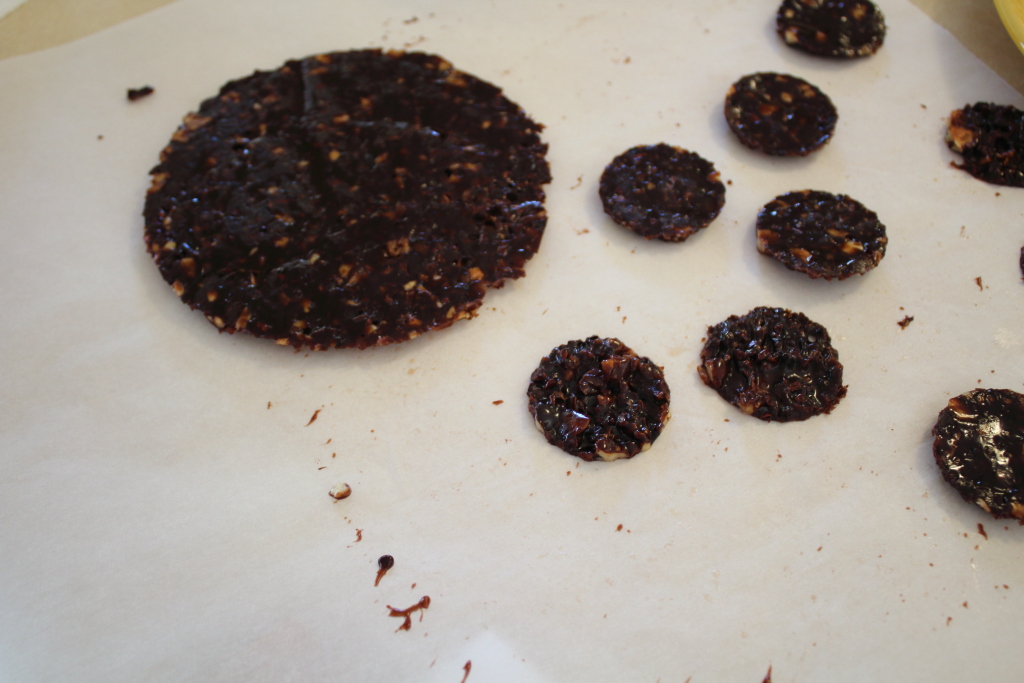
Cool and cut. Let the dentelle cool for about 2-3 minutes, and use that time to find something round, and about 5 inches in diameter, that you can use as a template to cut the dentelle. We used an upturned bowl. After the dentelle has cooled a bit, place the template on top, and use a chef’s knife to cut out a circle. We found it easiest to cut through the dentelle and pull the knife just slightly away from the template to open a small gap. Otherwise, the dentelle had a tendency to run together a bit, sealing up the newly- made cut. Set the dentelle off to the side to cool. We noticed the bottom of our dentelle seemed oily, so we placed it on a paper towel to absorb for about 30 seconds, then moved it to another piece of parchment to cool the rest of the way.
For the ganache:
Melt chocolate. Place the chocolate (the original recipe used 64% cacao; we used 70%) in a large bowl and microwave in 30-second intervals until melted and smooth. Make sure to stir the chocolate between each interval, or you might end up with scorched chocolate (that’s not a good thing). Once melted and smooth, let cool to room temperature or thereabouts.
Simmer cream and corn syrup. Here’s another place we changed the recipe. The original recipe called for 14 grams of trimoline, an invert sugar, and 15 grams of glucose. Both are to prevent crystals from forming in the ganache. We knew that glucose is syrup made from starches, just like corn syrup, so we substituted corn syrup for the glucose. Since trimoline serves roughly the same purpose, we just used corn syrup for that, too. If you have the others, feel free to use them, but corn syrup works fine. Place the heavy cream and corn syrup into a small saucepan over medium heat, stir to combine, and bring to a simmer, stirring nearly continuously to prevent scorching. Once bubbling around the edges, remove from heat.
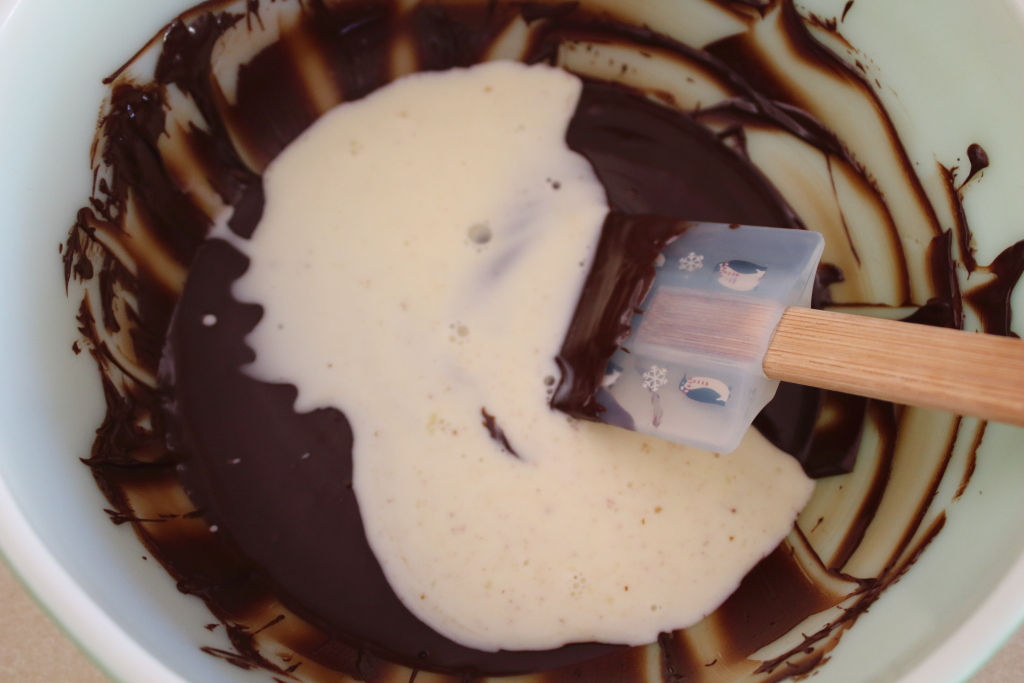
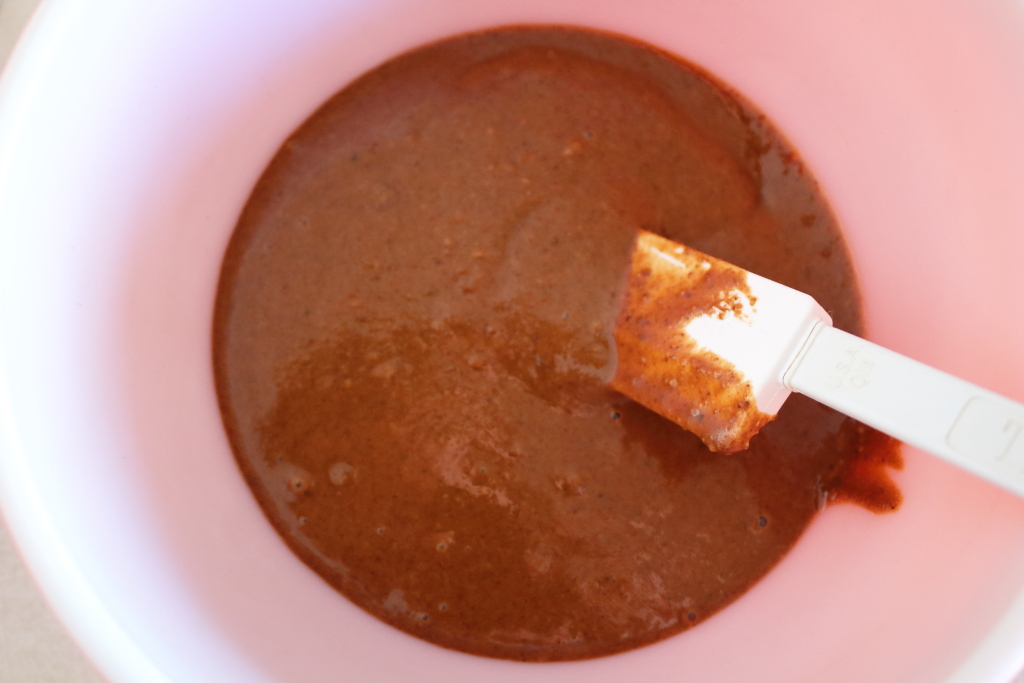
Stir in cream. Add about 1/3 of the cream mixture to the chocolate and use a spatula to incorporate the cream into the chocolate (gradually, please). Stir until it looks smooth and glossy. Repeat two more times to incorporate all the cream.
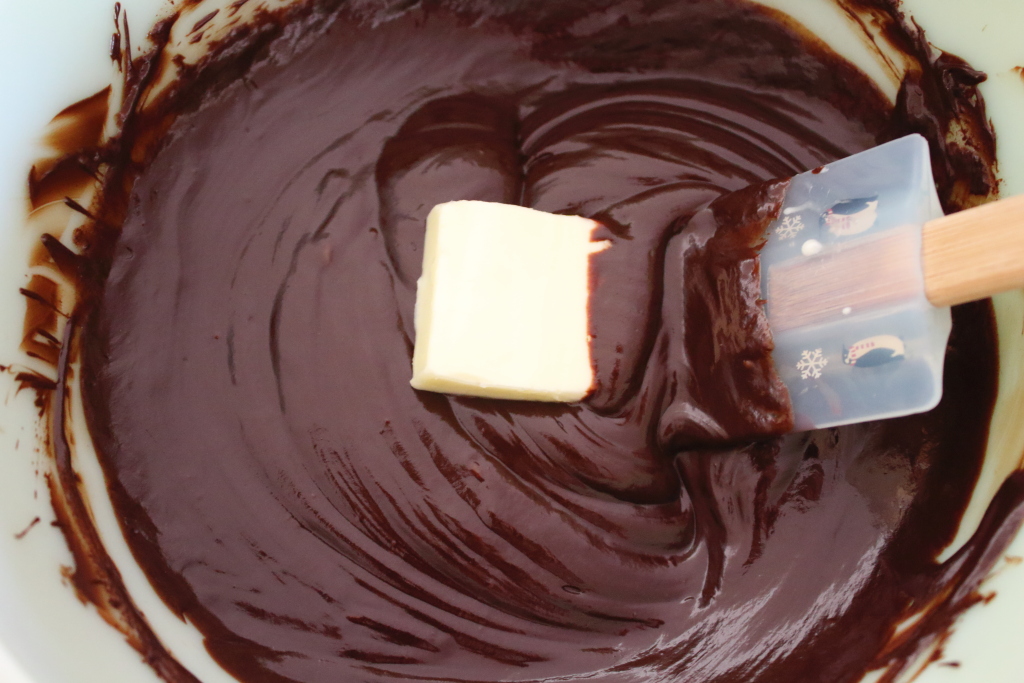
Stir in butter. Place the butter on the ganache and stir in until smooth and glossy.
For assembly:
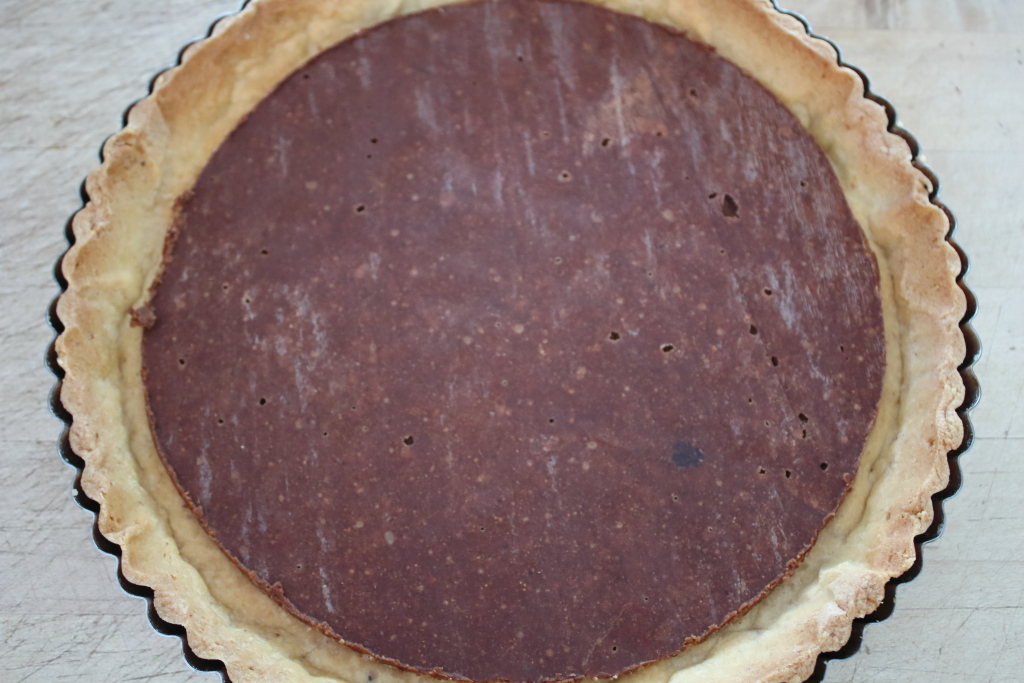
Place praline disk. take the praline disk from the freezer, peel off the parchment, and immediately place the praline on the bottom of the crust. If you measured correctly, it’ll be a perfect fit.
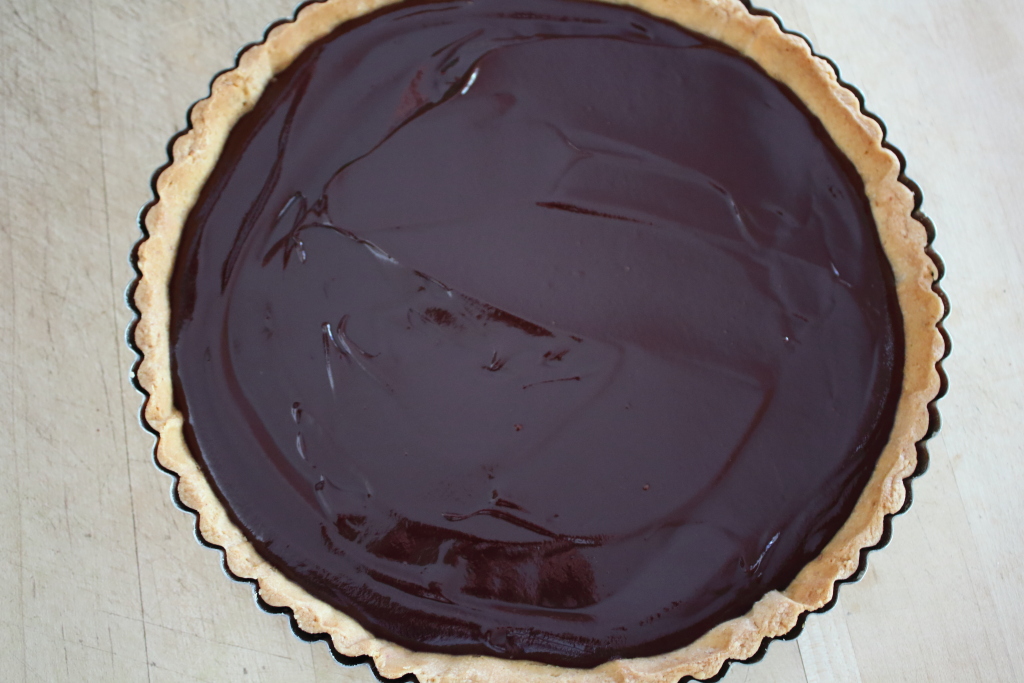
Pour ganache. Pour the ganache over the top and smooth as best you can. We don’t know a trick for getting a really smooth ganache layer; if you know one, please let us know, too.
Stand and cool. Let the tart cool at room temperature for at least 4 hours to allow the ganche to harden. Do not refrigerate, or the ganache will lose its shine.
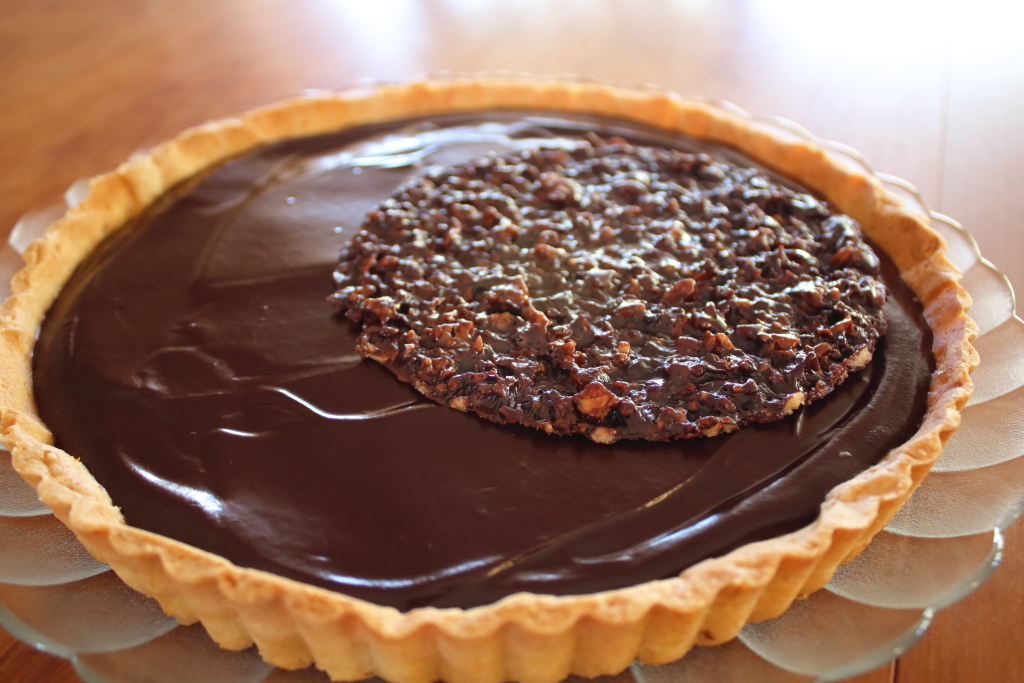
Place dentelle. Just before serving, place the dentelle on the ganache, setting it off to one side, and transfer to a serving plate. Beautiful!
Wow! this tart is delicious. The crust is crisp, kept that way partly by the crispy layer of praline. It’s not too sweet, very, very chocolatey, and the dentelle looks so cool on top. We will remark that we’d consider making the chocolate dentelle for other desserts that might need a crispy crunch. Either as an accent, or we think it would be a great surprise as a base underneath a chocolate cake. Yes, it was a lot of small steps to make this tart, but, really, none was difficult. A definite 5-star dessert, although one for special occasions.
