Okay, we’re giving it away today. No, not the cake, but where we got the recipe, including yesterday’s Dark Chocolate Mousse. This is none other than Gesine Bullock-Prado’s recipe from her latest book, Let Them Eat Cake. Now, just so you know, we’ll be finishing up tomorrow with the recipe for the chocolate ganache, which is used in place of a frosting.
Right now, we’re in the process of testing a few chocolate cake recipes for an upcoming birthday, and we thought that we’d start with this one, as it seems to make a large cake, plus, it’s all chocolate: chocolate cake, chocolate mousse for the filling, and chocolate ganache for the frosting. We know the mousse is great, so, let’s see how the cake turns out.
The Chocoholic Cake
Ingredients
- 280 g all-purpose flour (2 cups)
- 40 g Dutch-process cocoa (1/2 cup)
- 1 tsp baking powder
- 1 tsp baking soda
- 1 tsp salt
- 60 g hot brewed coffee (1/4 cup)
- 115 g bittersweet chocolate, finely chopped (4 ounces)
- 240 g buttermilk (1 cup)
- 200 g brown sugar, packed (1 cup)
- 200 g granulated sugar (1 cup)
- 225 g canola oil (1 cup)
- 3 large eggs
- 1 tsp vanilla extract
Instructions
- Preheat oven to 325°F. Butter three 8-inch cake pans. Line the bottom of each pan with parchment and butter again.
- In a medium bowl, sift together flour, cocoa, baking powder, baking soda, and salt. Re-sift and set aside.
- In a heatproof bowl, pour hot coffee over chocolate. Let stand 3 minutes, then whisk until smooth. Add buttermilk and whisk to combine. Set aside.
- In the bowl of a stand mixer fitted with the whisk attachment, combine oil, brown sugar, and sugar. Beat on medium-low until combined, about 1 minute. With the mixer still on medium-low, add the eggs, one at a time, waiting until each is completely incorporated before adding the next. Add the vanilla and mix in.
- Turn the mixer to low and add half the flour mixture, followed by half the buttermilk. Add remaining flour mixture, followed by the remaining buttermilk. Mix until smooth.
- Divide the batter among the prepared pans (each pan should have about 490g of batter) and bake until the cake springs back when pressed lightly in the center and a skewer inserted into the center comes out clean, about 30 to 35 minutes.
- Let cool 20 minutes before running a sharp knife around the edge and removing the layers from the pans to cool completely.
Ingredient discussion:
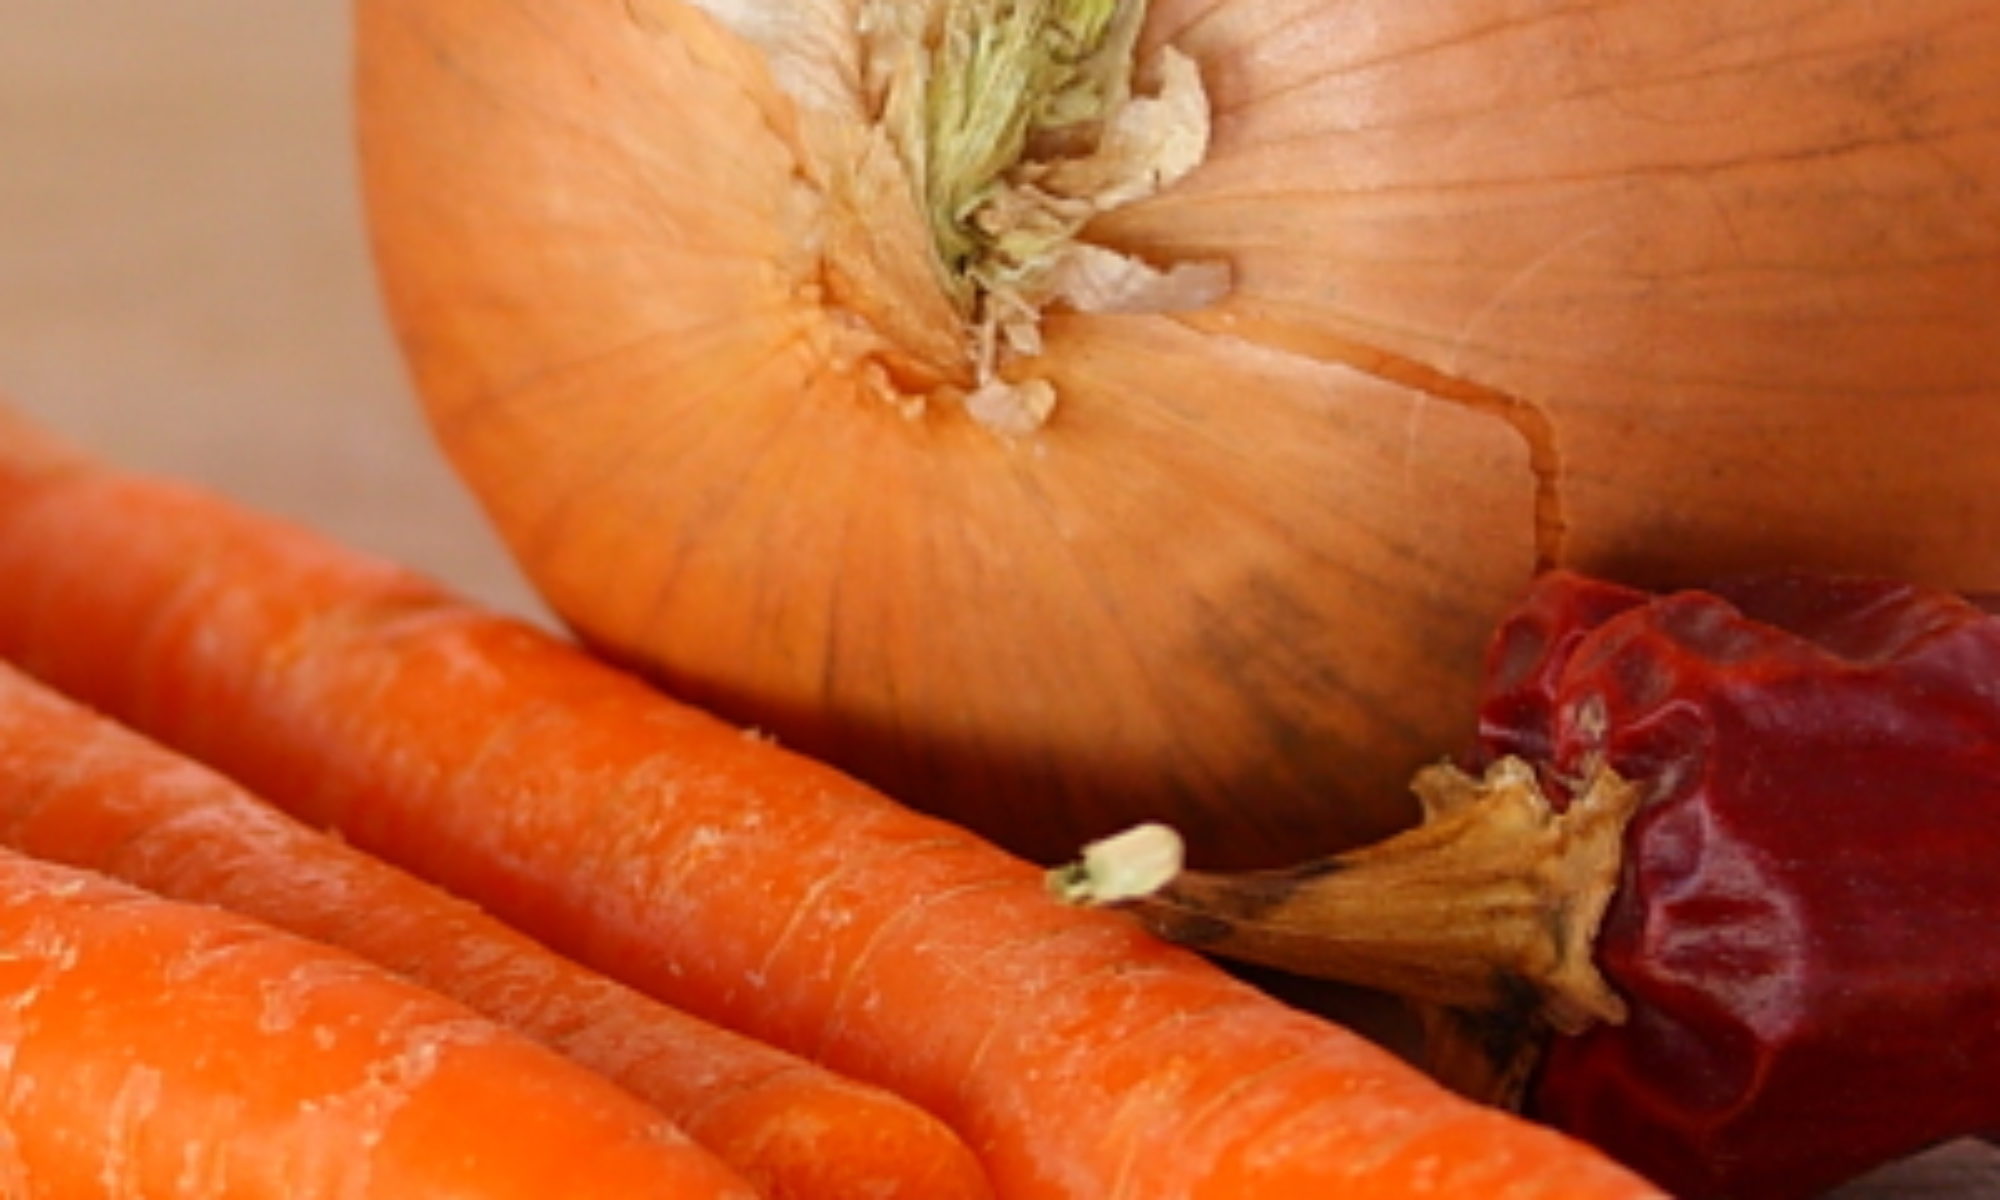
Dutch-process cocoa is cocoa that has been treated with an alkali to reduce bitterness. It’s generally a darker cocoa with a better taste. We use Valrhona dutch-process cocoa. It’s pretty pricey, but, if you use a lot of cocoa, buying in bulk (we get it 3 kg at a time) saves you some cash. For the bittersweet chocolate, go with a good-tasting dark chocolate, something about 70% cacao. We use Callabaut that we get in large bars (5 kg); we think it’s a very good chocolate for the price. As of this writing, a 5 kg bar will set you back around $70, or about $6.50 a pound. Buttermilk, well, we make our own. It’s too easy not to, and you can avoid any of those additives in commercial buttermilk like salt, thickeners, etc. For the eggs, we always try to use eggs that come from hens we know are healthy; that way, we have healthy eggs. Finally, vanilla is 100% real, no imitation. Period.
Procedure in detail:

Mise en place. For cakes, we always get our ingredients measured and ready beforehand. We know we need to let everything come to room temperature, anyway — in this case it’s mainly the eggs — so we might as well prep everything else. At one time, we weren’t so particular about doing so, because it seemed as if we’d use a lot of bowls. We do use a few extra, but it makes baking things like cake a pleasure, and not a chore.
Preheat oven to 325°F. Butter three 8-inch cake pans, then line the bottoms with parchment and butter again. The parchment will really help keep the cake from sticking to the pan. In a pinch, you can also line the cake pans with waxed paper, or dust them with flour, but we really like using parchment.
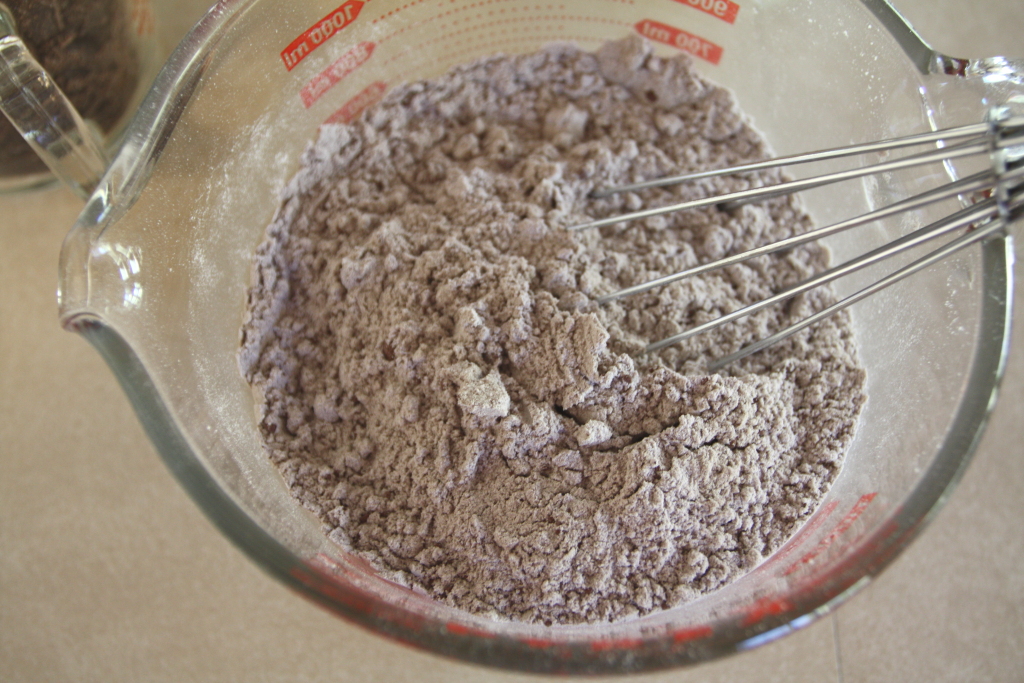
Sift. We didn’t do this, as the original recipe suggested whisking would be sufficient, but it wasn’t, so take the time to sift together the flour, cocoa, baking powder, baking soda, and salt. It’ll break up the lumps in the cocoa. Once sifted, take the time to re-sift to ensure that the leavening ingredients are distributed.

Melt chocolate. If your coffee isn’t hot, heat it up. We just blasted it in the microwave for about 60 seconds. Pour the hot coffee over the chocolate pieces. Let stand for about 3 minutes — the amount of time isn’t super-critical — then whisk until smooth. Mixing coffee and chocolate together is a great way to bring out the chocolate flavor. You won’t even taste the coffee in the cake, just a stronger chocolate.
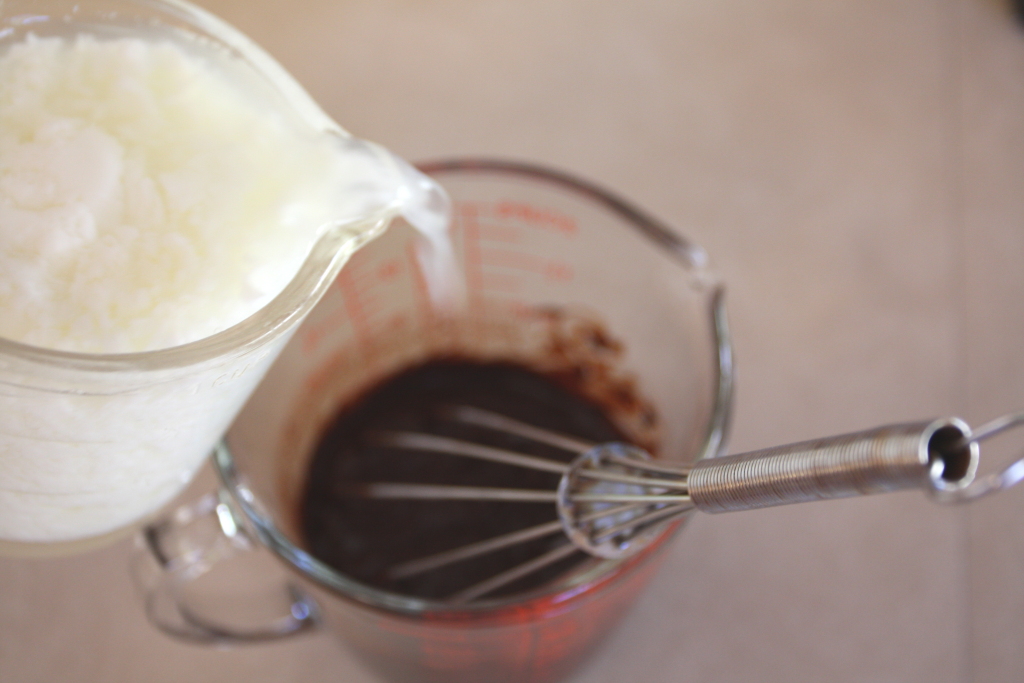

Add buttermilk. Pour the buttermilk into the chocolate mixture and whisk or stir until combined. Set it aside while you work on the rest of the cake.
Mix oil and sugars. Place the oil and sugars in the bowl of a stand mixer fitted with the whisk attachment. Yes, you thought the paddle would be a better choice, and so did we, but this batter is never very thick, so the whisk works fine. Run the mixer on medium-low until the sugars and the oil are well-combined. The sugars don’t dissolve into the oil, so it’ll always look grainy; just be sure you don’t have lumps of brown sugar floating around.

Add eggs. With the mixer still on medium-low, crack the eggs into the sugar mixture, adding them one at a time and waiting until each egg is fully incorporated before adding the next. As you add the eggs, the sugars will start to dissolve and the result will be more batter-like.
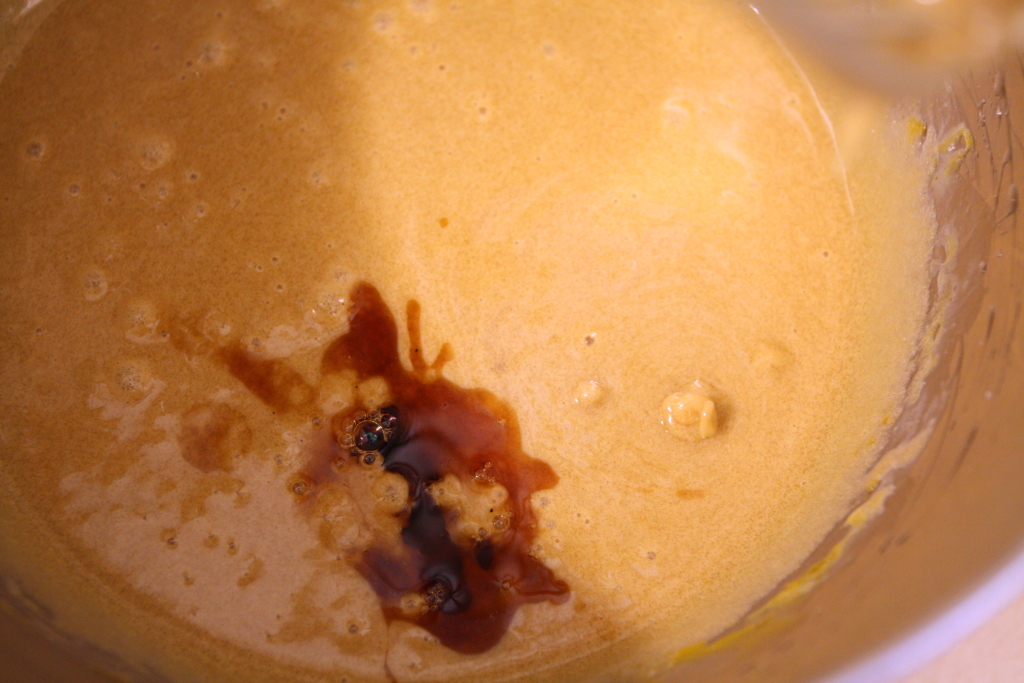
Add vanilla. Now add that delicious vanilla and mix it in. Yes, it does seem a bit counter-intuitive, adding vanilla to a chocolate cake, but vanilla adds great flavor and allows the chocolate to shine.


Add flour and buttermilk mixture. Turn the mixer to low, add about half the flour mixture and let mix in completely, about 15 seconds. Add half the buttermilk mixture and mix until just combined. Feel free to stop the mixer and scrape down the sides of the bowl. Add the remaining flour mixture, beating on low until just combined, followed by the remaining buttermilk mixture, again mixing on low until just combined, about 15 seconds.
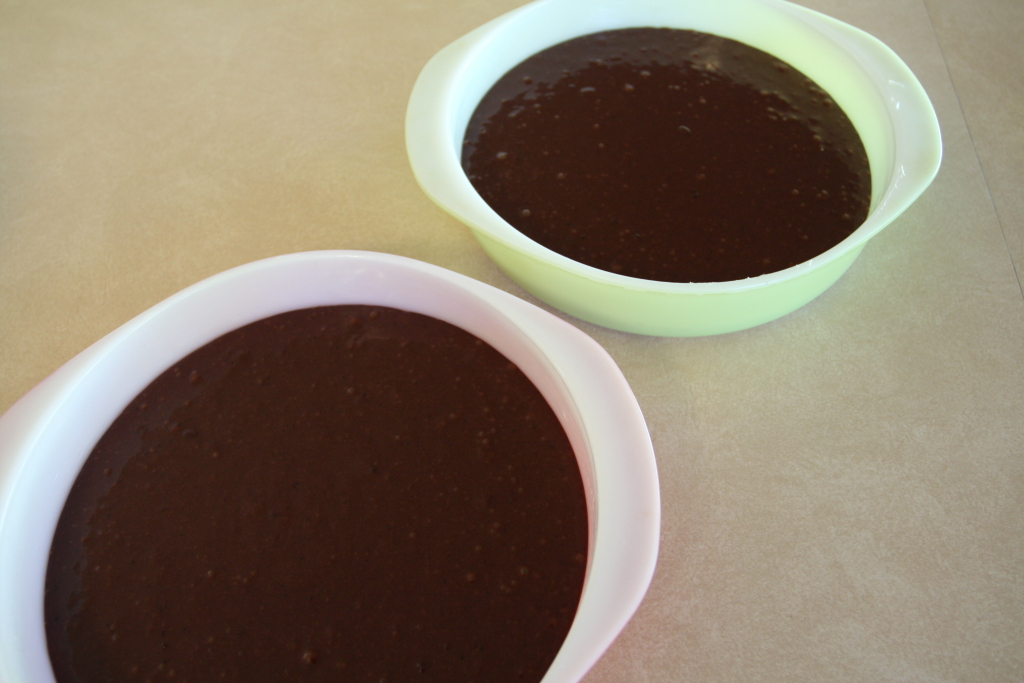
Divide. Pour the batter into the three prepared cake pans. If you’re like us, and only have two cake pans, you’ll have to bake in two batches. To help you out in either case, the amount of batter in each pan will be about 490 grams. Of course, if you don’t have a scale, that won’t help you at all; in that case, do the best you can to divide the batter evenly.
Bake. Slide into the oven and bake until the center of the cake springs back when pressed lightly, and a skewer inserted into the center comes out clean, about 30 to 35 minutes.

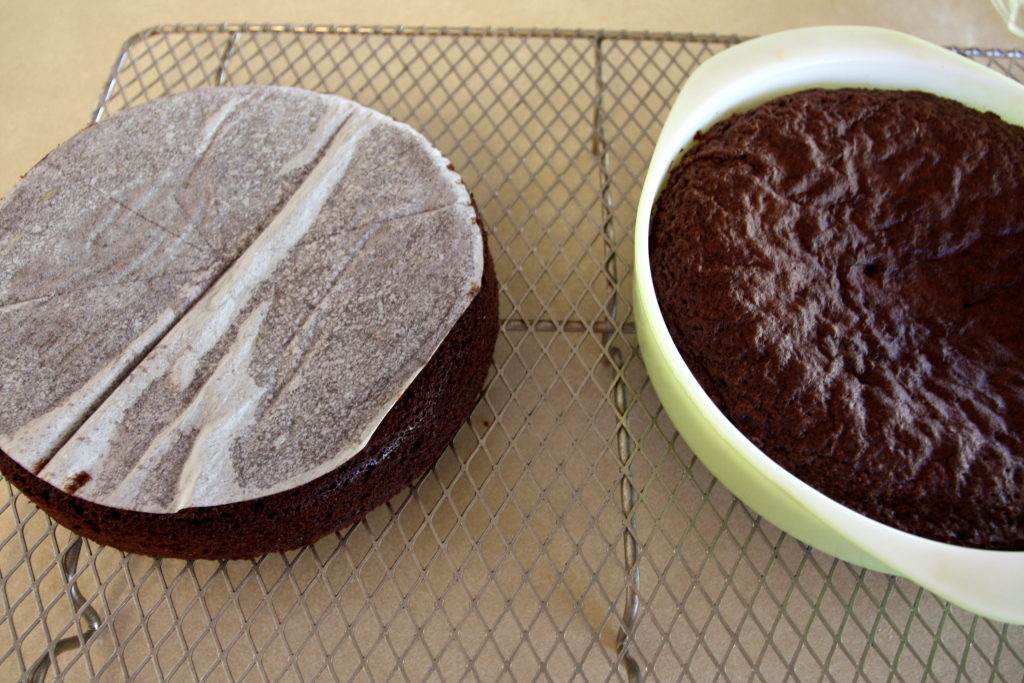
Cool. Place the cakes on a rack and cool about 20 minutes. Run a sharp knife around the edge and invert to release the cakes. Let cool completely.
We’ll show the rest tomorrow, but, suffice it to say, that we use the dark chocolate mousse as a filling between the two layers, and then the entire cake is frosted with a whipped dark chocolate ganache (tomorrow’s post).
This cake is good, but not truly an outstanding chocolate cake. It has good flavor, but the crumb is not as fine or delicate as we’d like. That might just be a problem with chocolate cakes. We also had a problem with the cake not rising completely in the center. It didn’t sink while cooling, it just never quite rose completely. We’ll say four stars.

