
Can you have a Valentine’s Day dinner without a chocolate dessert? We didn’t think so, either; thus, we made up this fudge cake on Saturday so we could have a slice after we got back from seeing ‘Casablanca’ on the big screen at the Loft Cinema (if you’re wondering, it’s the largest movie screen in southern Arizona, even larger than the IMAX screen in town). Naturally, we might have a had a glass of Champagne, too. After all, it was Valentine’s Day.
This recipe comes from Ottolenghi, by Yotam Ottolenghi and Sami Tamimi — you know, the cookbook that looks as if it has a large sweet potato tart on the cover — and reading the ingredients list, it seemed that this would stifle the cravings of the most serious chocolate lover. We changed it ever so slightly, just to make it a bit easier for you to measure. Try scratchin’ out one for your household and see if you don’t agree.
Ottolenghi Fudge Cake
Ingredients
- 230 g unsalted butter, cut into pieces (2 sticks)
- 265 g dark chocolate (52% cocoa), chopped (9 ounces)
- 95 g dark chocolate (70% cocoa), chopped (3 1/2 ounces)
- 290 g light brown sugar (1 1/2 cups)
- 4 tablespoons water
- 5 large eggs separated
- pinch of salt
- cocoa powder for dusting
Instructions
- Butter a 9-inch springform pan. Line with baking parchment and set aside.
- Preheat oven to 350°F and place a rack in the center of the oven.
- Place the chocolate and butter in a microwave (or over simmering water) and heat, in 30-second increments, until the butter has melted and the chocolate has begun to melt.
- Place the brown sugar and water in a saucepan over medium heat and bring to a boil, stirring very often.
- Pour boiling sugar over chocolate mixture and stir until completely melted and smooth.
- Add egg yolks, one at a time, incorporating completely before adding the next. Set aside until cool.
- In the bowl of a stand mixer fitted with the whisk attachment, whip egg whites and salt until stiff but glossy peaks form.
- In three additions, fold egg whites into chocolate mixture.
- Pour two-thirds of the batter into the prepared pan, and bake 45-55 minutes, or until a skewer inserted into the center comes out mostly clean.
- Remove from oven and let cool completely on a baking rack.
- If needed, use a spatula to push down the cake, then pour remaining batter over the top and smooth.
- Bake an additional 30 minutes, or until a skewer inserted comes out with clumps of cake clinging to it.
- Cool completely before removing from the springform pan.
Ingredient discussion:
Of course, use the best chocolate you can afford. There’s nearly a pound of chocolate in here; you’ll definitely taste it, so you better like it. We used Callabaut chocolate chips (52%) and Callabaut Dark (70%) chocolate. While expensive, you can buy large quantities online to bring the cost-per-ounce down to a reasonable level. Of course, if you live in a hot climate, order during the winter. Our chocolate chips melted during transit, so now they’re more like chocolate blobs of varying sizes. Eggs, free-range is the way to go, baby. Always. Healthy hens mean better eggs. Simple, right?
Procedure in detail:

Butter and line pan. Butter a 9-inch (or 8-inch) springform pan, then line with baking parchment. So, why butter and then line? It helps the parchment stick to the bottom and sides of the pan, no other reason that we can discern.
Preheat oven to 350°F. As always, when baking a cake, move a rack to the center of the oven.
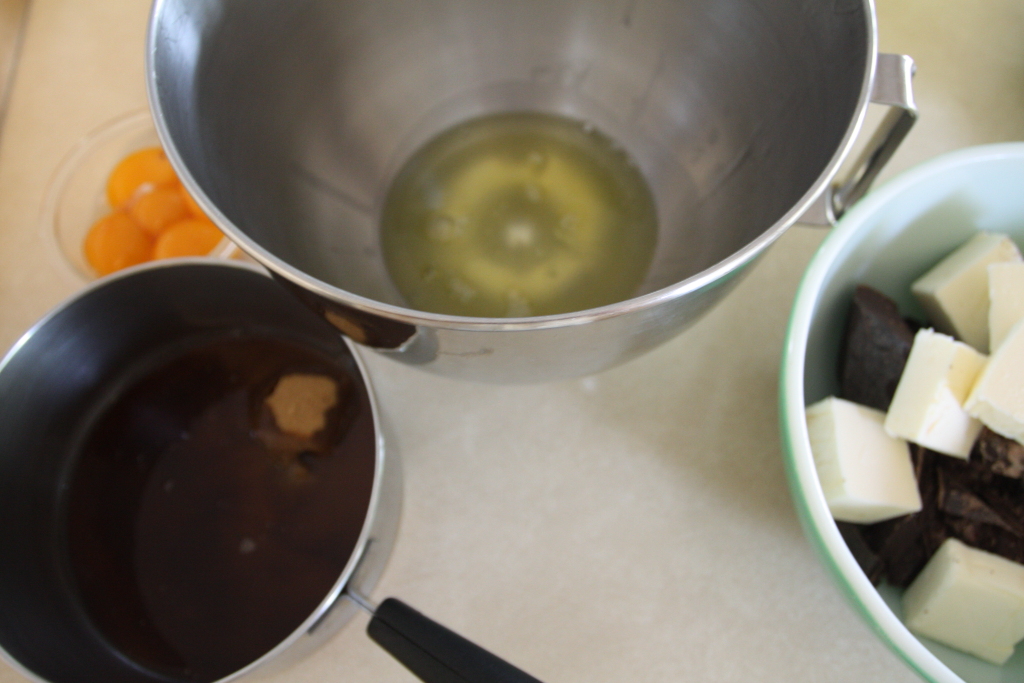
Mise en place. Also as always, when making cakes, we get all the ingredients measured and ready before starting. Measure the chocolate into a large bowl, add the butter, then separate the eggs, placing the whites in the super-clean bowl of a stand mixer, and the yolks in a small bowl.

Melt butter and chocolate. Place the bowl of butter and chocolate in a microwave and heat it in 30-second increments, stirring in between, until the chocolate starts to melt. The butter will be completely melted. Set aside. We do this rather than chop the chocolate into small pieces — when we chop chocolate, pieces fly all over the counter, so melting like this is just easier and less messy.
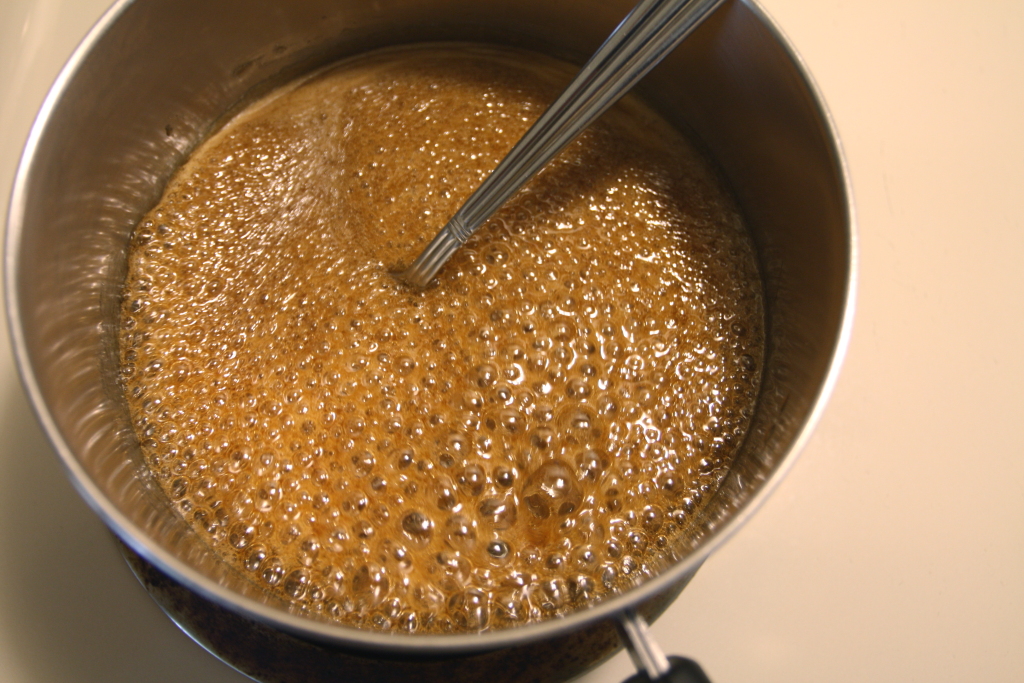
Boil sugar. Place the sugar and water in a saucepan over medium heat, and, stirring very often, bring to a rolling boil. Watch carefully or the sugar will boil over, making a mess. Immediately pour over the chocolate and butter mixture.

Finish melting chocolate. Stir the sugar into the chocolate and butter mixture until it’s smooth and all the chocolate has melted.

Add egg yolks. Add the egg yolks one at a time to the chocolate mixture, stirring to incorporate each one completely before adding the next. Set the mixture aside to cool until barely warm.
Whip egg whites. Add a pinch of salt to the egg whites — if you’ve done the mise en place the whites are already in your mixer bowl — and start whipping, increasing the speed of the mixer as the whites become foamy. Keep whipping until the egg whites hold stiff peaks, but still look glossy.
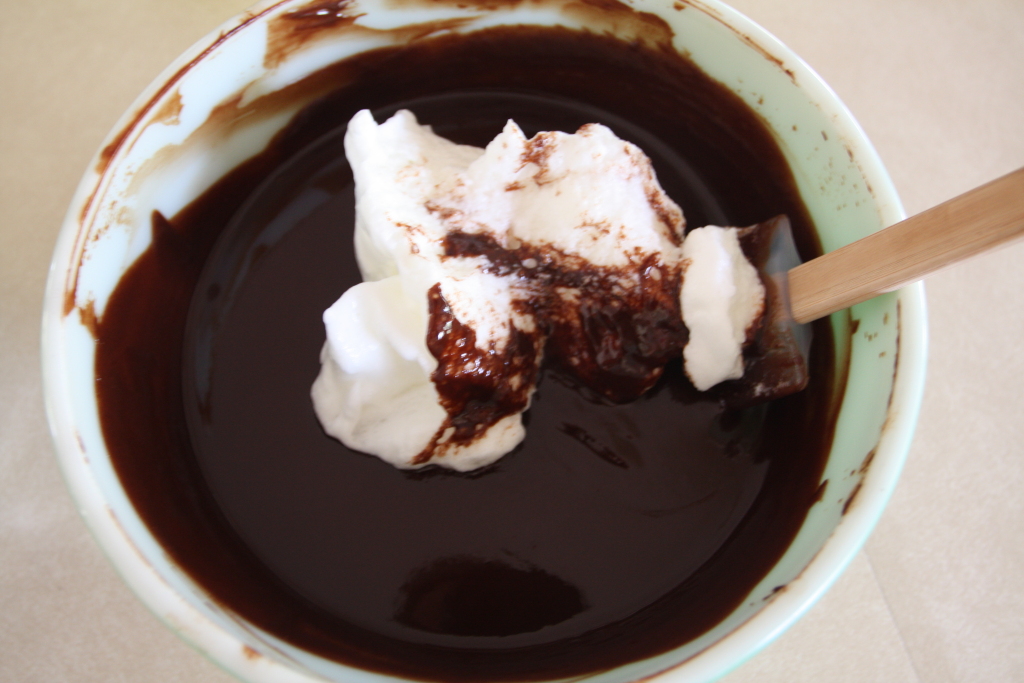
Fold in whites. In three roughly equal additions, fold the egg whites into the chocolate mixture. Keep folding until no white streaks remain.

Pour into prepared pan. Pour about two-thirds of the batter into the prepared pan. The remaining batter will be used later, so just set it aside and try not to taste too much. Spread the batter smooth.
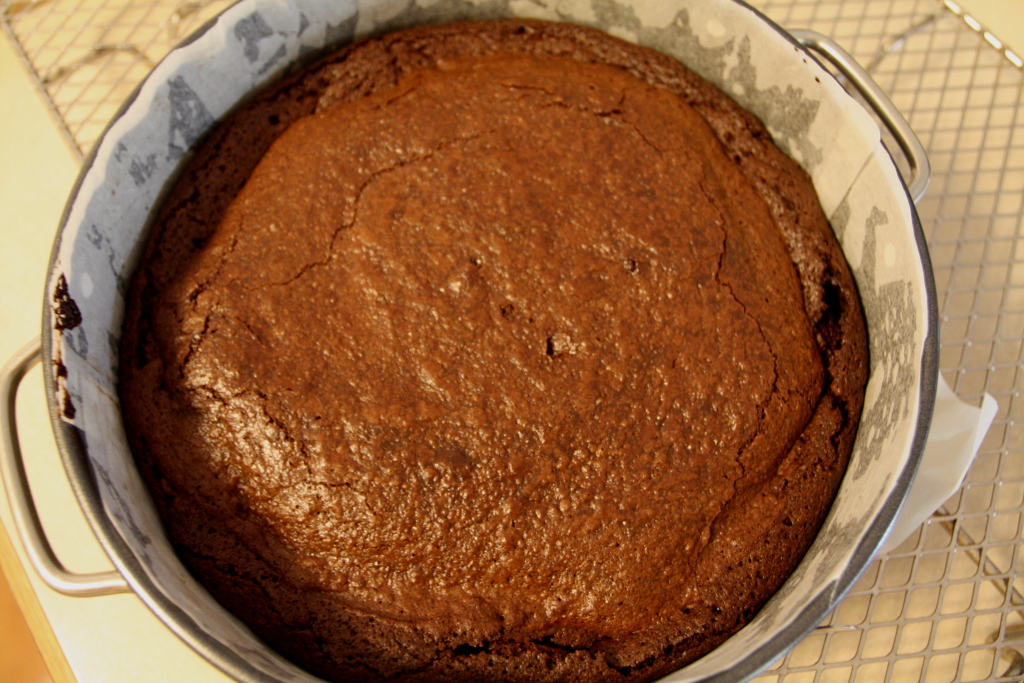
Bake. Place the springform pan on a baking sheet — nearly all springform pans leak, and you don’t want a puddle of butter on the bottom of the oven (been there, done that, cleaned it up) and bake for 45 to 55 minutes. The original directions said that a skewer inserted into the center will come out clean when the cake is done. That never happened for us, so we took it out when it seemed mostly done.
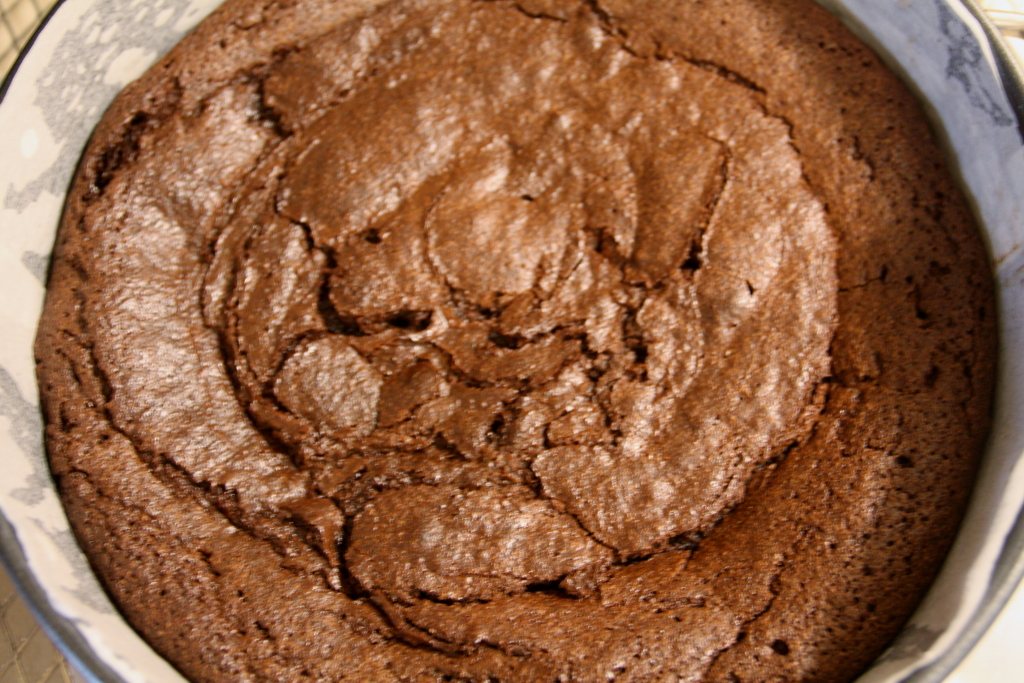
Cool. Place the cake on a rack and let it cool completely. As it cools, the cake will deflate. Once cool, if you need to (we didn’t), press down the top with a spatula. Depending on your schedule, you can turn the oven off for about an hour while the cake cools. Just remember to preheat it back to 350°F for the second baking.
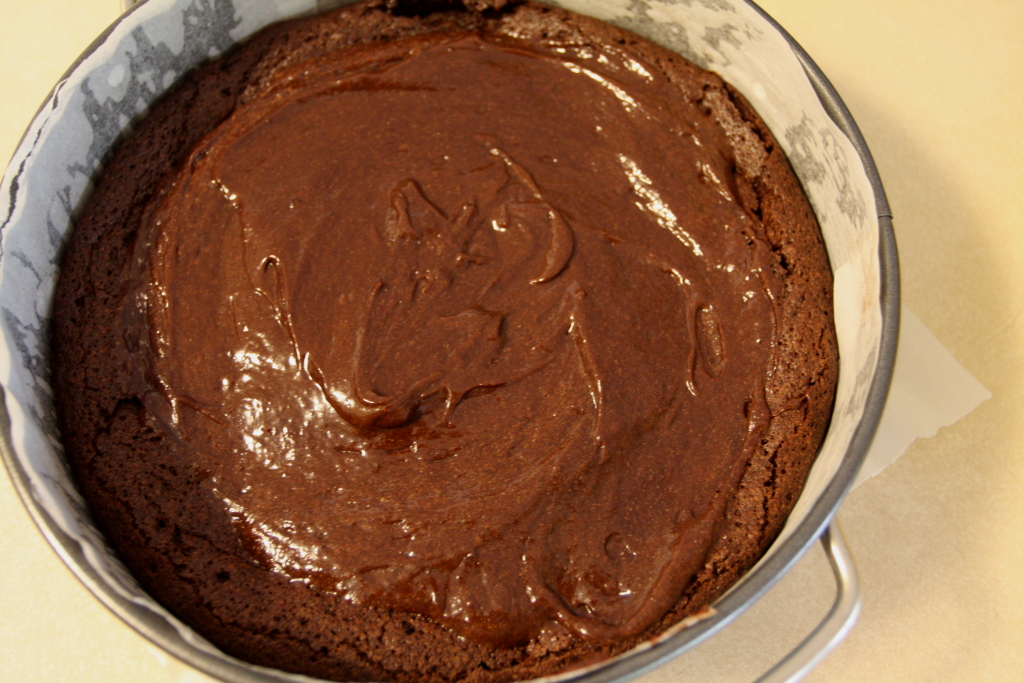
Add batter. Pour the rest of the batter into the depression on the cake. Smooth it off and back into the oven with it. Let it bake for another 30 minutes, or until clumps of cake still cling to a skewer inserted in the center.
Cool. Once again, place the cake on a rack to cool completely before attempting to remove the springform pan. We headed off to a movie for a couple of hours.

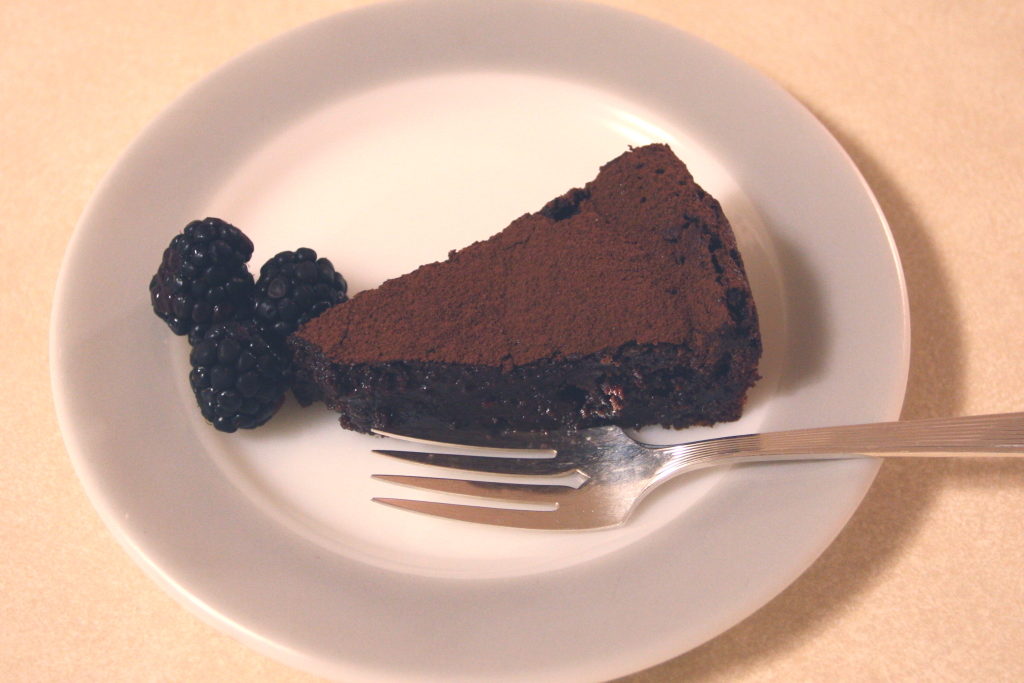
Plate and dust. Carefully remove the sides of the springform and very carefully — this cake is very fragile — slide the cake off onto a plate. Our cake broke a bit, but it can be stuck right back together and still look nice. Finally, dust the entire top with cocoa powder.
We expected that the cake would have two different textures from the two different bakings. It did, but it was only noticeable when the cake was refrigerated and chilled through completely. At room temperature, the cake was pretty much like any other flourless chocolate cake: rich, moist to the point of falling apart, and somewhat greasy from all the butter. When cold, we actually liked the cake better. It was densely chocolate with a crusty edge and an even denser bottom crust. While it wasn’t a difficult cake to make, and it was very good, we don’t think the added effort of baking, cooling, and baking was really worth it. Four stars.


I made the mistake of using “2 sticks” of butter, not noticing they weighed more grams than the recipe called for (twice to be exact!). My word of warning to less frequent bakers, read measurements/amounts, carefully! I knew something was off by the consistency and color of the batter. I went ahead and started baking, then quickly realized what the problem was. I quickly read many forums on “too much butter,” etc., but decided to go ahead and bake the full hour. It is now cooling very nicely, and holding its shape. We’ll see how it holds, and of course, how it tastes, in due time! If it’s way too gooey, I’ll simply heap on the whipped cream and berries! Imperfect cakes can be charming. I’ll do better next time!
Oops! That kind of thing happens to everyone at least once.
All the best,
Shawn
I really like this website.. As a relatively new baker, I find seeing the photos helps a great deal.. I can see what the mixture looks like, and it certainly makes it easier to follow step by step..
I just made this cake today but found the second bake simply didn’t cook… The intital bake worked perfectly and the knife came out clean after 40 mins but when I put it back in for the second time, I cooked it for 25mins before checking it and could see it was still wobbly so left it for a further 15 mins…still no where near cooked…it needed up being in for over an hour!! It tastes fine but the outside is seriously crunchy :-/
Does anyone have any thoughts on what went wrong?
If I remember correctly, during the second baking the interior doesn’t completely bake. Odd, I know, but that allows the center to take on a dense fudge-like texture after cooling instead of a cake-like texture. In this regard, this cake is similar to the Mi-Cuit (meaning half-baked) and Chocolate Molten Lava Cake.
All the best,
Shawn
Can you freeze this cake ?
As you may already know, most cakes freeze very well, and if memory serves me correctly, this cake is not an exception. When we made it, it was way too much for two people, so we sectioned into smaller portions and popped it in the freezer. Then when we wanted a little smackeral of something, we thawed a section for a ready-made treat.
All the best,
Shawn
Thanks, I can get prepared for Christmas during lockdown !
This has turned out brilliant both times I’ve made it. It’s an absolute crowd pleaser at dinner parties and best served with creme Fraiche and berries! Thank you for sharing.
You are most welcome and I’m glad it was such a hit.
All the best,
Shawn