
We have this idea, perhaps mistakenly, that most people don’t make their own pasta because it seems either too hard, or they think that they need some sort of special equipment. While a pasta roller is really nice to use, it’s in no way essential. And, sometimes, you just want your pasta to have that rustic texture, so it looks homemade, as well as holding the sauce better than if it were more like store-bought.
Since we know that making pasta dough takes only a few minutes, and requires nothing more, equipment-wise, than a bowl, fork, and some plastic wrap, we’ve been looking for pasta shapes that we can make by hand. You might think that’s a bit odd, since we can run out to the store and buy just about any pasta shape, or, using a pasta machine, quickly pass the dough through the rollers and cutters, and presto, perfect pasta. Of course, sometimes we make it by hand because we like scratchin’ out our own meals. And we know that scratched pasta is far and away better than the dried stuff at the stores.
This is really a technique post, and not a recipe, but you’ll need to start by making a batch of pasta dough. You can use a basic pasta dough, or, to be traditional for pici, use an egg-less pasta dough (ours is a pasta dough made with just egg whites). Oh, and if you’re wondering how to pronounce pici, we think it’s pronounced somewhat like peachy. Finally, we first saw how to make pici by watching this video, but we had to modify the technique, which is what we show below.

Cut dough. Cut off a chunk of dough. About the size of two walnuts is a good amount to start. After you’ve made a few, you’ll have a better idea how much to use.
Flour and roll. Our dough was a bit sticky, so we quickly dusted it with flour; if your dough isn’t sticky, you can try rolling it as is. Once floured, or not, roll the piece of dough out so it’s a rough circle about 1/16th of an inch thick. No need for precision here; we’re making a rustic pasta.
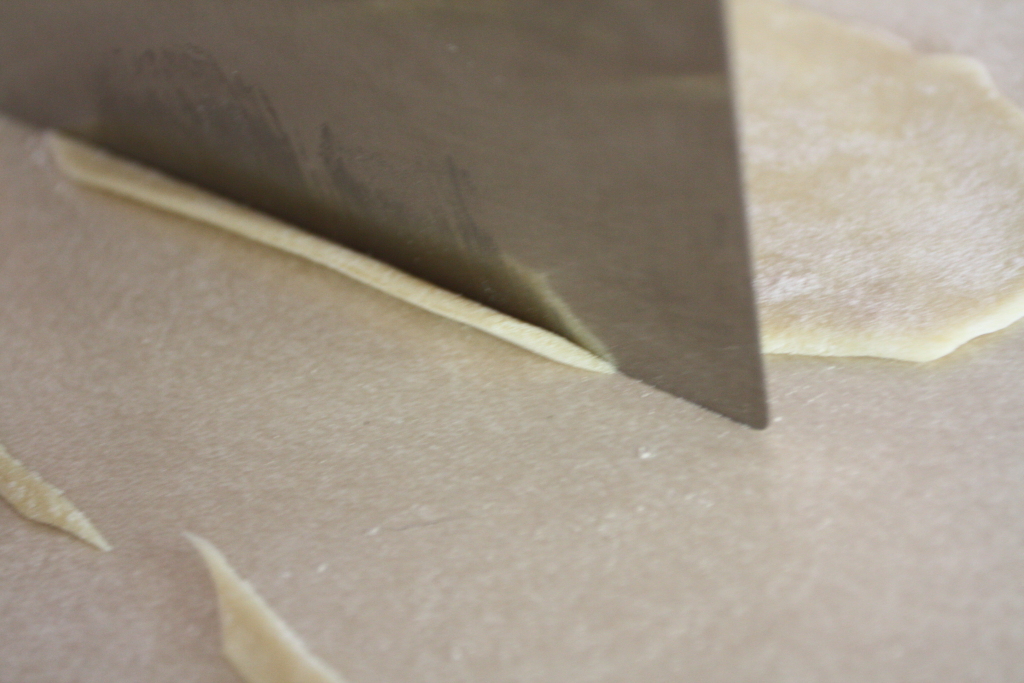
Cut strips. Use a bench knife and cut the dough into strips about 1/8 inch wide. Again, it doesn’t matter if some are longer, shorter, wider, or skinnier; pretty much any strips will work.
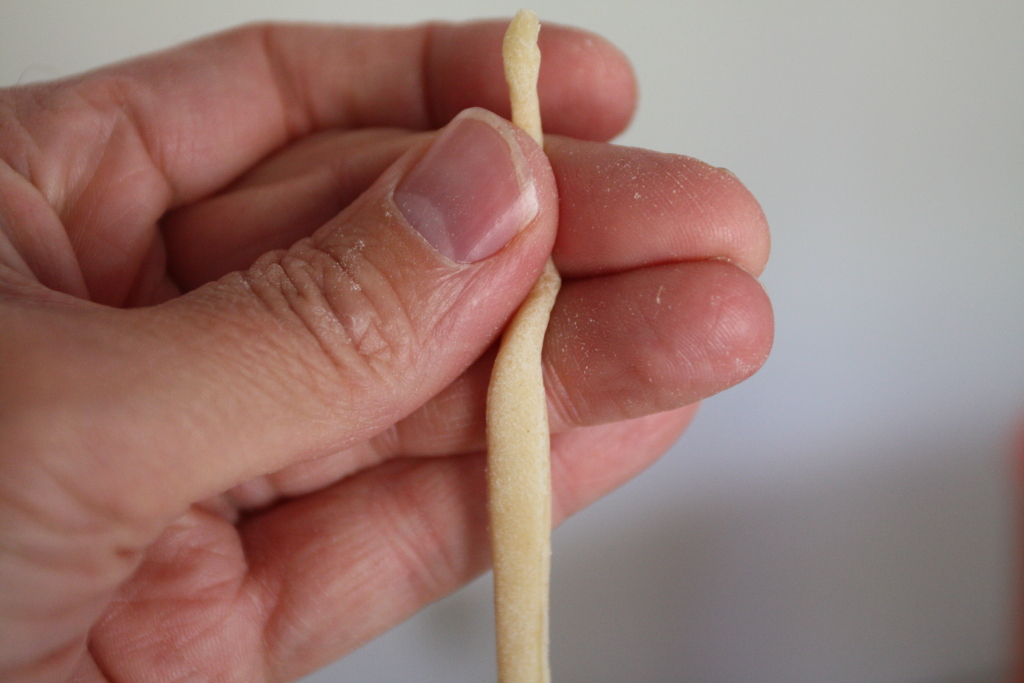
Roll strips. Now, here’s where we had to modify the technique. When we tried rolling the rough on the counter, it just slid, instead of rolling. Bummer. But we found that we could roll it out between out thumb and finger, working from one end to the other. It reminded us of twisting yarn.
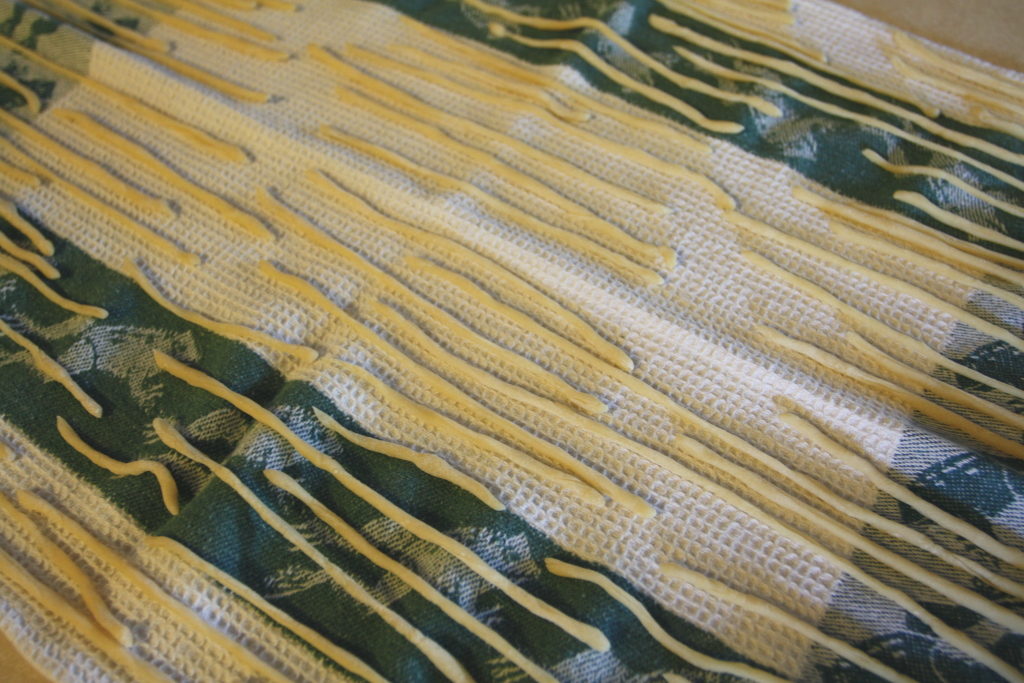
Dry. Once a strip is rolled into a pici, place it on a clean dish towel to dry.
Of course, when it comes time to boil up the pasta (use salted water, natch), it will cook faster than store-bought, and the time it will take depends on the thickness, and how long the pasta dries: the watch-words are “check the pasta often.”
This was a fun shape to make. While we wouldn’t want to make enough for a dinner for eight, say, it was really no trouble for us to make enough for two in about 30 minutes. And, since this is kind of fun, we think that, if you make this for a large family, have ’em all help rolling the pici. It’s easy enough for a child could do, and we think that most kids would find it fascinating to make their own noodles. We’ll make this shape again.
