

Just the other day, we put up a recipe for making Chocolate Caramels that are quite tasty. We thought in all fairness that, mainly for the one person out there who doesn’t like chocolate, we should include a vanilla caramel recipe. Fair’s fair, right?
Now, we had to keep in mind that we’ve already put up our best caramel recipe, the one that we use exclusively for making Bear Paws. We’ve never turned that one into simple caramel squares for eating plain. They would be great, but we just don’t do it. As with people, different caramels fulfill different jobs.
This particular recipe is modified from one found in what we think is the most useful cookbook ever: The Joy of Cooking, by Irma S. Rombauer and Marion Rombauer Becker. Over the years, I think there’s been one recipe from Joy that didn’t turn out well. One. We know of no other cookbook with such a track record.
Well, let’s scratch out some caramel.
Makes about 2 1/2 pounds
Salted Vanilla Bean Caramels
Ingredients
- 680 g dark corn syrup (2 cups)
- 400 g sugar (2 cups)
- 225 g unsalted butter (2 sticks or 8 ounces)
- 240 g heavy cream (2 cups) divided
- 2 vanilla pods
- Kosher salt
Instructions
- Butter a 9x13 inch pan. Set aside.
- Split vanilla bean pods and scrape out the inside pulp. Keep pods for another use.
- In a large heavy-bottomed saucepan over medium high heat, combine corn syrup, sugar, butter, and 1 cup of cream.
- Bring to a boil, stirring to dissolve sugar. Insert a candy thermometer and cook, stirring continuously, until the temperature reaches 244°F.
- Remove from heat and, while stirring, slowly add remaining cream. Return to heat and cook until the temperature again reaches 244°F.
- Remove from heat, stir in vanilla pod scrapings, pour into buttered pan, and let cool completely.
- Invert pan over waxed paper to remove, sprinkle lightly with salt, cut into 1-inch squares, and wrap in pieces of waxed paper.
Ingredient discussion:
Go for broke and use those vanilla pods. One of the nice thing about using pods instead of extract is that you have little flecks of vanilla that run through the caramel. Do you really need dark corn syrup? Probably not, but, regardless of what you use, we’d suggest that you use a brand without high-fructose corn syrup. What about the salt? We used kosher because it was the flakiest salt we had in the house. If you have a flaky sea salt, well, use that. Unsalted butter is a must, especially since you’ll be sprinkling the caramel with salt for a contrast. If you use salted butter, there won’t be a contrast. Finally, we use organic cream, since it’s the only kind we can find that doesn’t have additives like carrageenan (seaweed extract to make the cream appear thicker).
Procedure in detail:
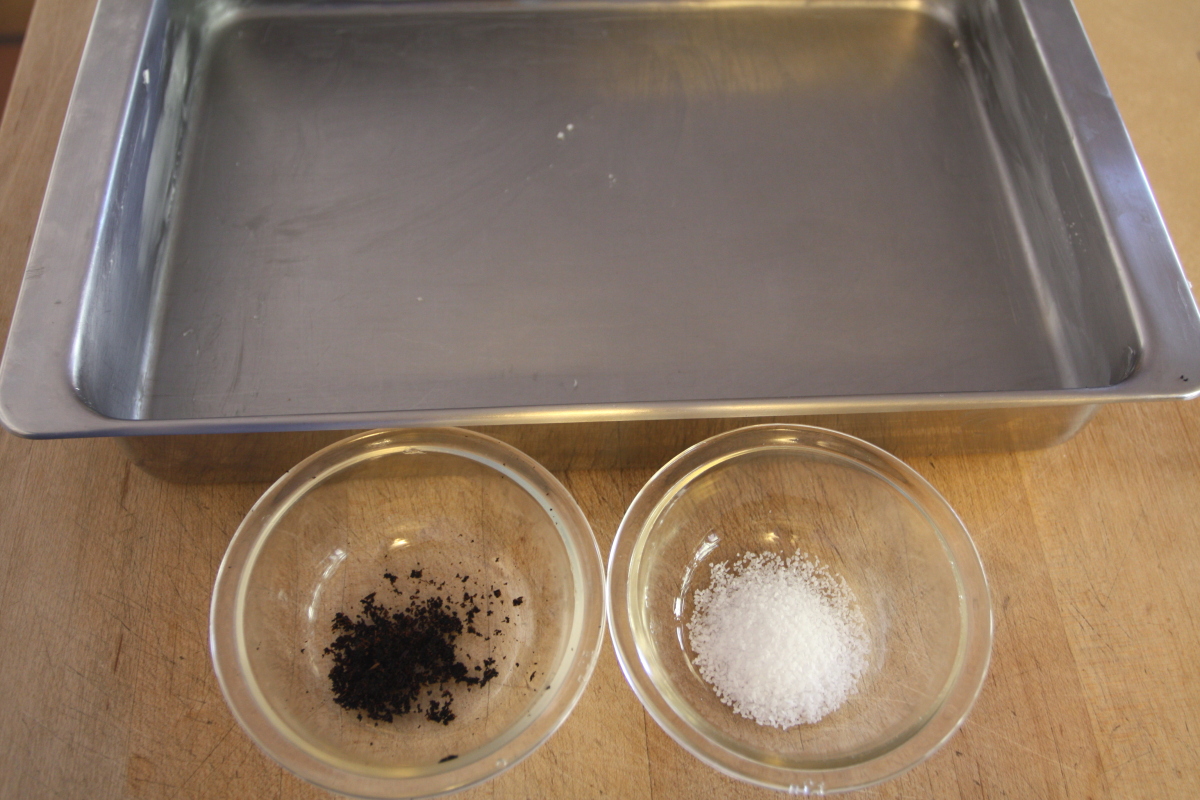
Mise en place. Butter a 9×13 inch pan and set it aside. You don’t need to slather on the butter, a little dab will do ya. Split the vanilla pods and scrape out all that yummy vanilla from the inside. Keep the pods for another use, such as making vanilla sugar. And, while you’re at it, might as well put just a bit of salt in a bowl for sprinkling on the caramel later. Hate to forget the salt when you’re enthralled by the scent of vanilla caramel.
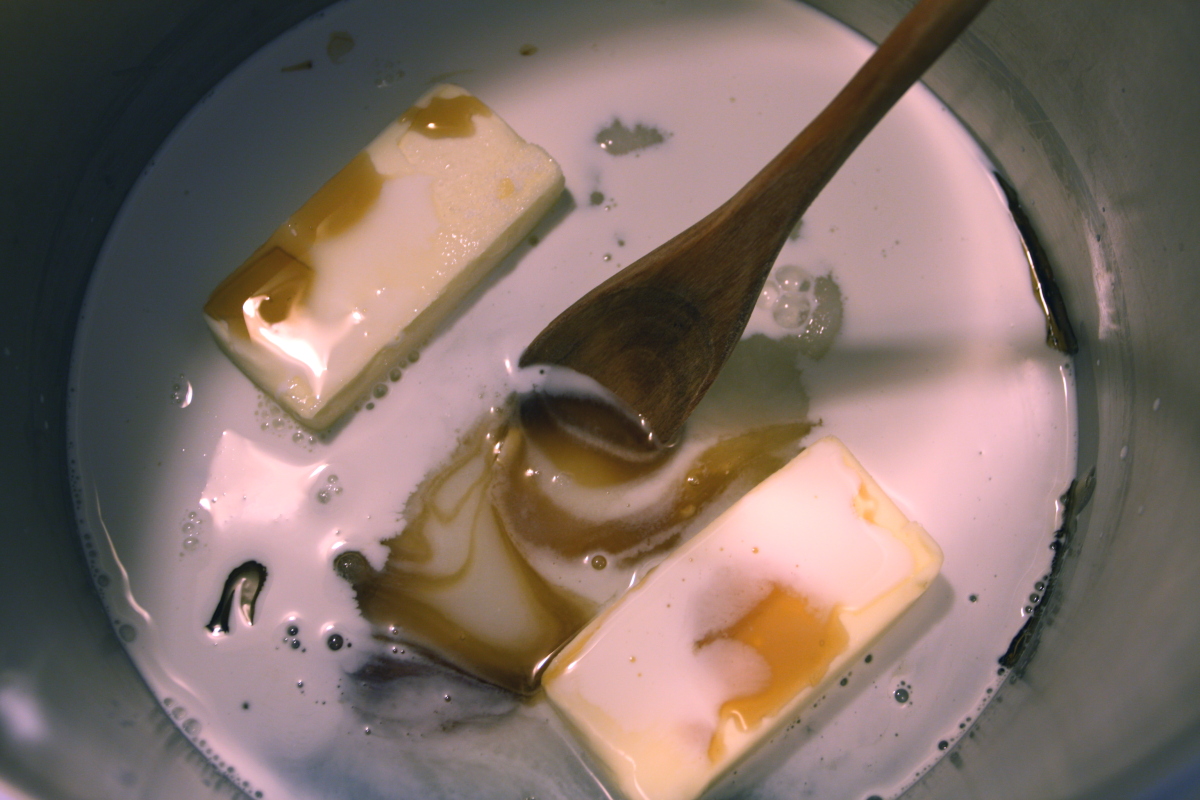
Combine ingredients. In a large, about 3 to 4 quart, heavy-bottomed pan, combine the syrup — 2 cups is a full 16 oz bottle of syrup, convenient, huh? — sugar, butter, and 1 cup cream.
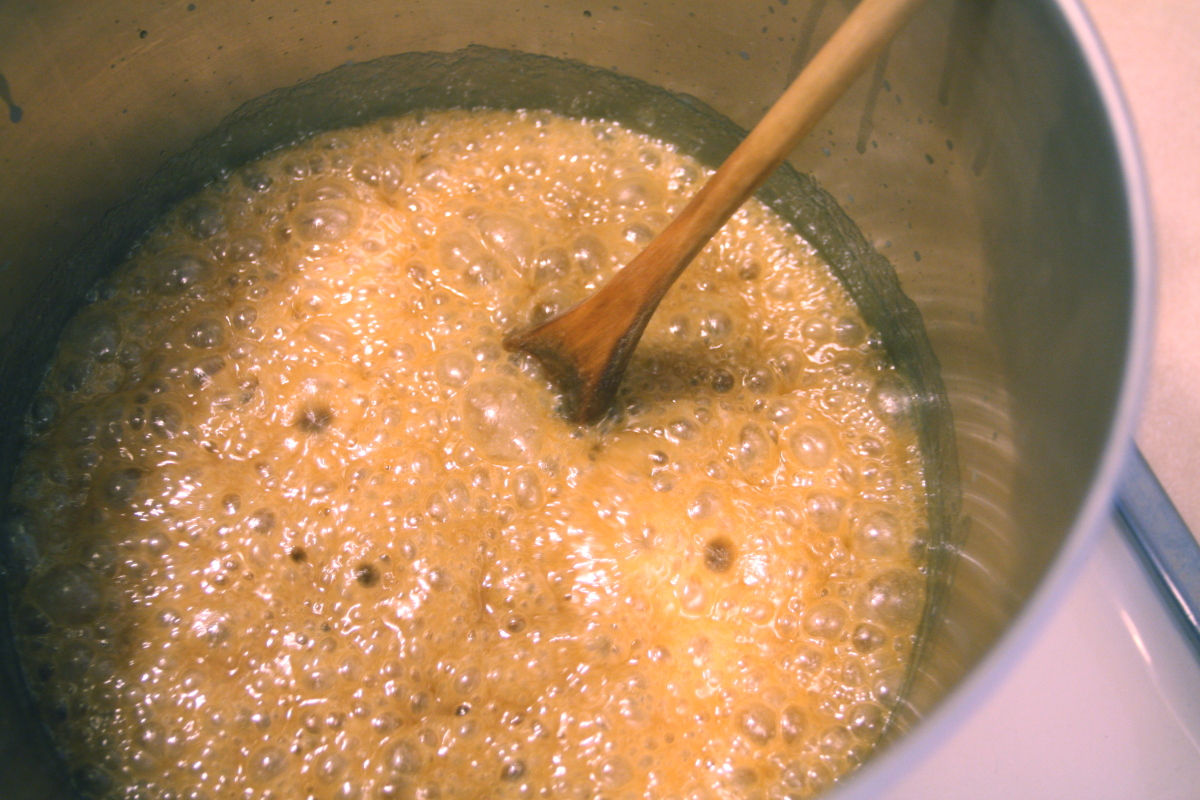
Cook caramel. Place the pan over medium-high heat and, while stirring to dissolve the sugar, bring the caramel to a boil. Insert a candy thermometer — a digital thermometer is a real boon — and boil, while stirring, until the caramel reaches the firm ball stage, 244°F. If you live at a higher elevation, you can reduce this temperature for every 1000 feet of elevation. We live at 3000 feet, so we cook the caramel to 241°F.
Add cream. Remove the caramel from the heat. Sure, it’s caramel now, but we’re going to make it better caramel. Carefully, while stirring — making caramel is all about stirring — slowly pour in the remaining cup of cream. It will sputter and spatter at first, hence the need to be careful, as it’s not fun to get a spatter of hot, sticky caramel stuck to your skin. Ouch!
Cook caramel. Return the caramel to the heat, bring it back to a boil, and, once again, cook the caramel (what did we say about stirring and caramel making? Right, keep stirring) until it again reaches 244°F.
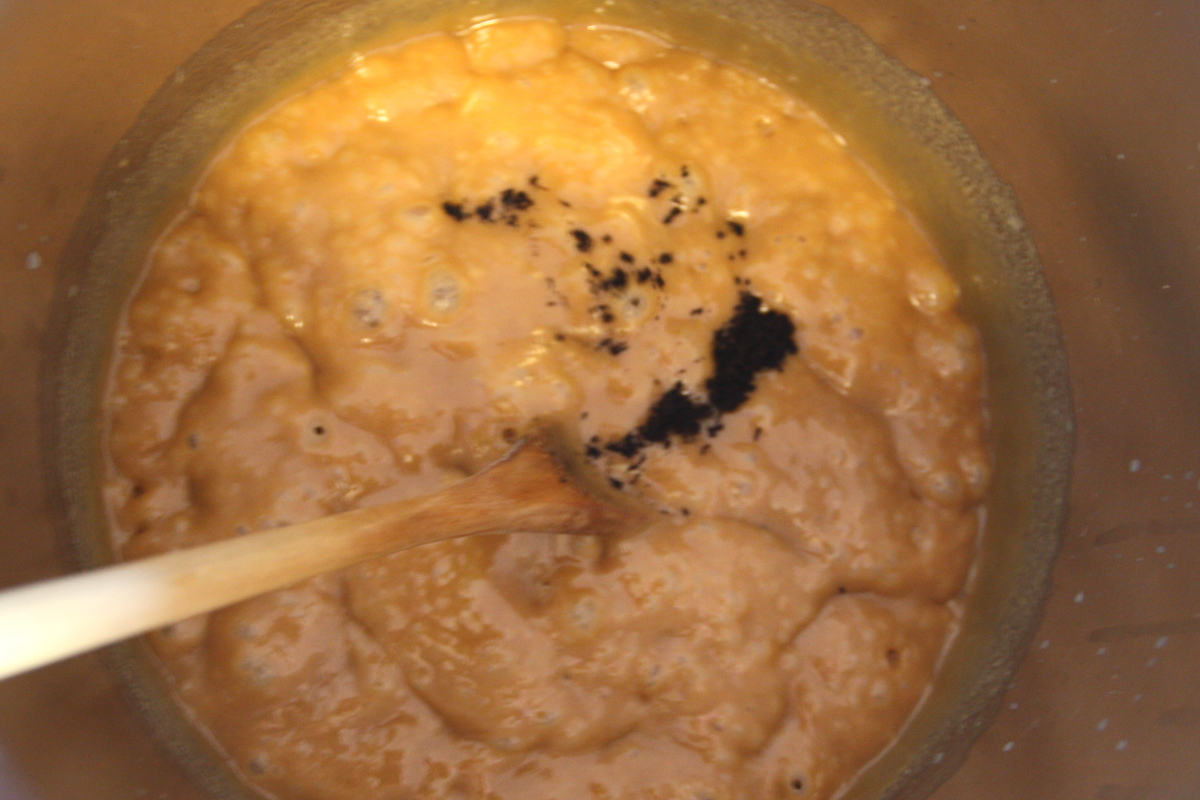
Add vanilla. Remove the caramel from the heat and stir in those vanilla scrapings. Smell all that vanilla aroma as the scrapings heat up. That’s what’s going into your caramel to flavor it. I’m sure you want a taste, but it’s hot, very hot, 244°F hot, so don’t taste, yet.
Pour into pan. Remember that pan you buttered way back when? Still have it around? Good, pour the caramel into that pan without scraping the sides of the cooking pan. We know, we know, it’s tempting, since a bunch of caramel sticks to the sides and bottom, but don’t scrape. Why? It’s possible, although we haven’t had it happen, that you’ll scrape up a sugar crystal along with the caramel. All the other sugar in the caramel, which is all caramel basically is, will see the crystal and want to be a sparkly little crystal, too. And, before you know it, you have sugar crystals throughout your caramel, making it gritty. What we do, as a compromise, is to scrape the last remaining caramel into a small dish for a chef’s snack.
Cool. Cool your heels while the caramel cools. It’ll take about 3 hours.
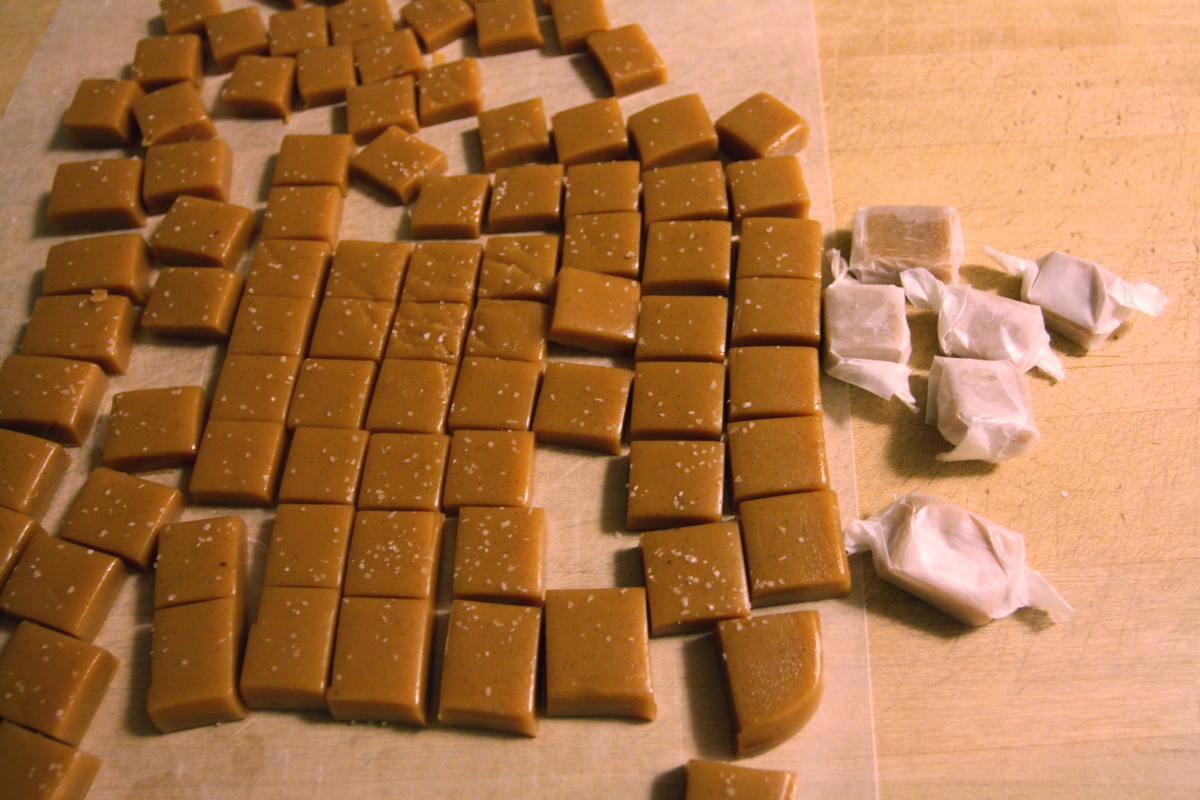
Turn out caramel. Invert the pan over a piece of waxed paper and “help” the caramel out with a small spatula. Don’t force it; just be encouraging as you pry around the edges. Before you know it, you’ll have a caramel slab right before your eyes.
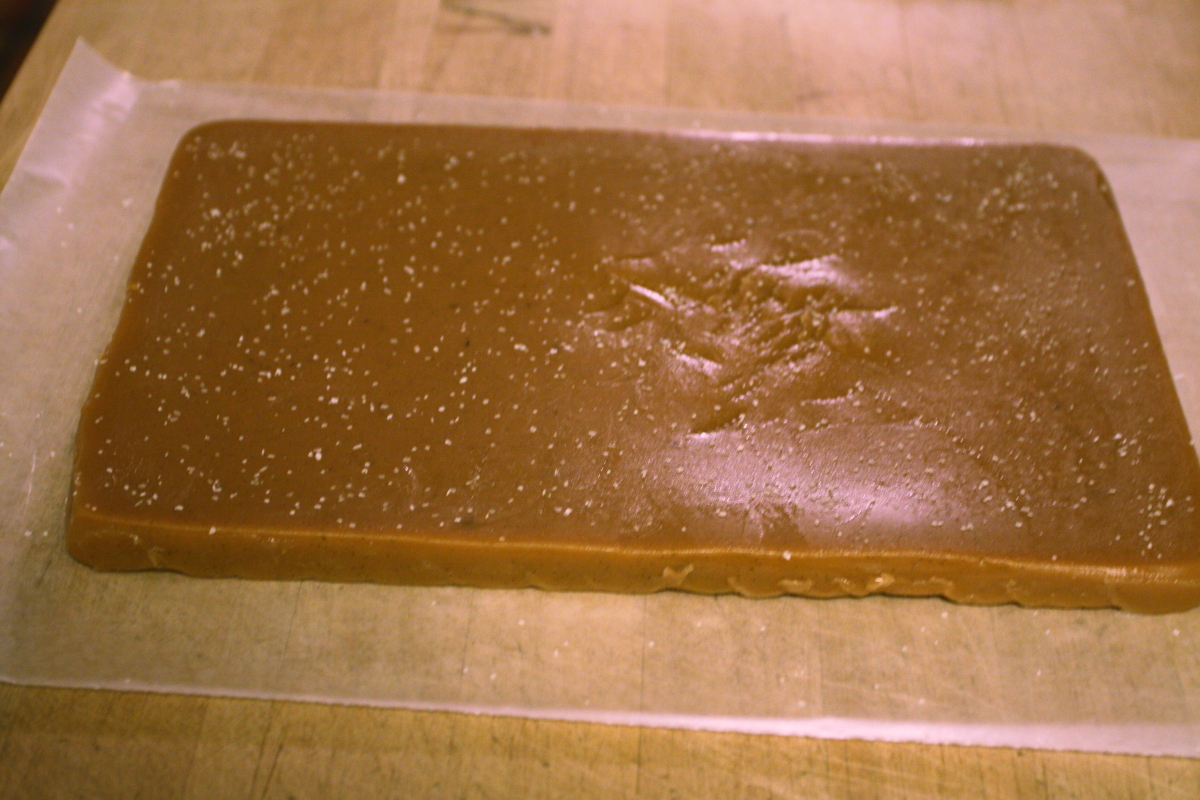
Salt. Just a sprinkle. You’re not making a salt lick here, so just a slight sprinkle across the caramel. We like to think about a 1-inch square and try to get about 10 grains of salt per square. We don’t recommend counting the grains, either.
Cut and wrap. Using a large chef’s knife, cut the caramel into 1-inch strips, then cut those strips into 1-inch squares, and wrap the squares in pieces of waxed paper. You could buy fancy candy wrappers if you want; they’ll look nice, but they’ll get thrown away after unwrapping, anyway.
This was the first time we made this caramel, and, while it’s a very good caramel, it doesn’t reach the heights of caramel-dom that our favorite cream caramel does. But, don’t let that dissuade you from trying this version. It does have a stronger vanilla flavor; plus, it has a bit of salt on the outside, making a nice contrast, both of which make it a standout candy. And, of course, it’s far, far better than the commercial stuff they call “caramel.” The other downside is that it’s more trouble to make, since it gets cooked to 244°F twice. It takes about 20-30 minutes each time, so cooking this caramel takes a total of about an hour. Weighing everything, the pros and the cons, we give this four stars. A high four stars, though.

