Happy Fourth of July! And, to celebrate, we’re providing you with the recipe that Martha used for George’s snack while he was crossing the Delaware. Okay, you caught us, that’s not true. In fact, we really don’t know the history of brownies, at all. For all we know, these are an ancient Aztec dish perfected in Mesoamerica. We do know that brownies are just plain tasty and that this is about the best recipe we’ve tried.
Now, we won’t claim this recipe as our own; instead, we originally found it on the back of a box of Hershey’s unsweetened baking chocolate. But it is a good one. Like most brownie recipes, it’s easy, but, unlike some, it concentrates on the chocolate flavor. None of those blond brownies here.
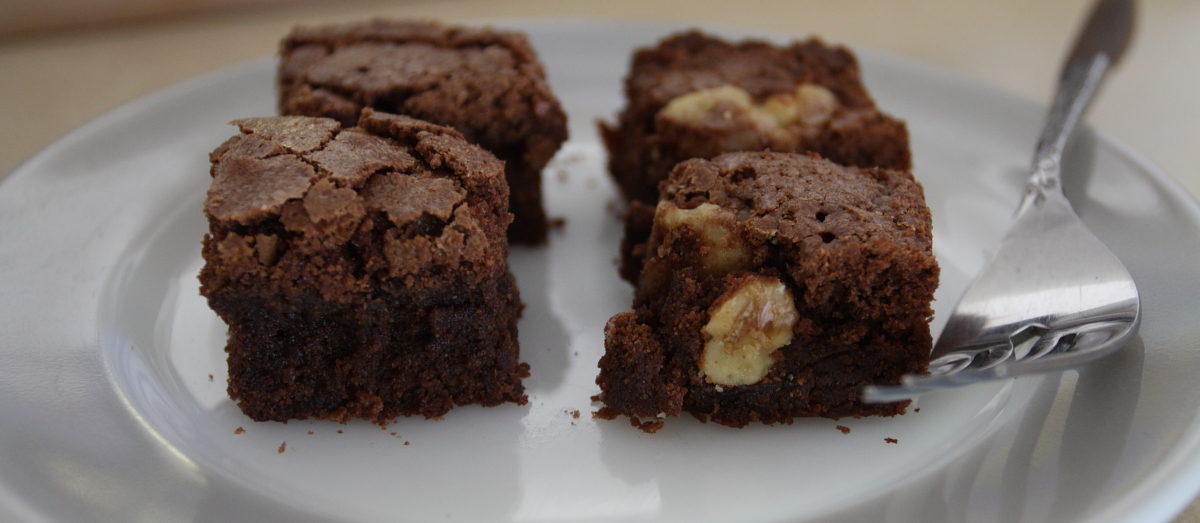
Finally, all the photos were taken for a double batch. The recipe below makes a single 9×13 pan of brownies.
Brownies, that All American Treat
Ingredients
- 4 ounces unsweetened chocolate
- 16 Tbs 2 sticks unsalted butter
- 2 cups sugar
- 4 large eggs
- 1 cup all-purpose flour
- 1 tsp kosher salt
- 1 tsp pure vanilla extract
- 1/2 cup walnuts optional
Instructions
- Preheat oven to 350°F and place rack in middle of oven.
- Butter a 9x13 baking pan.
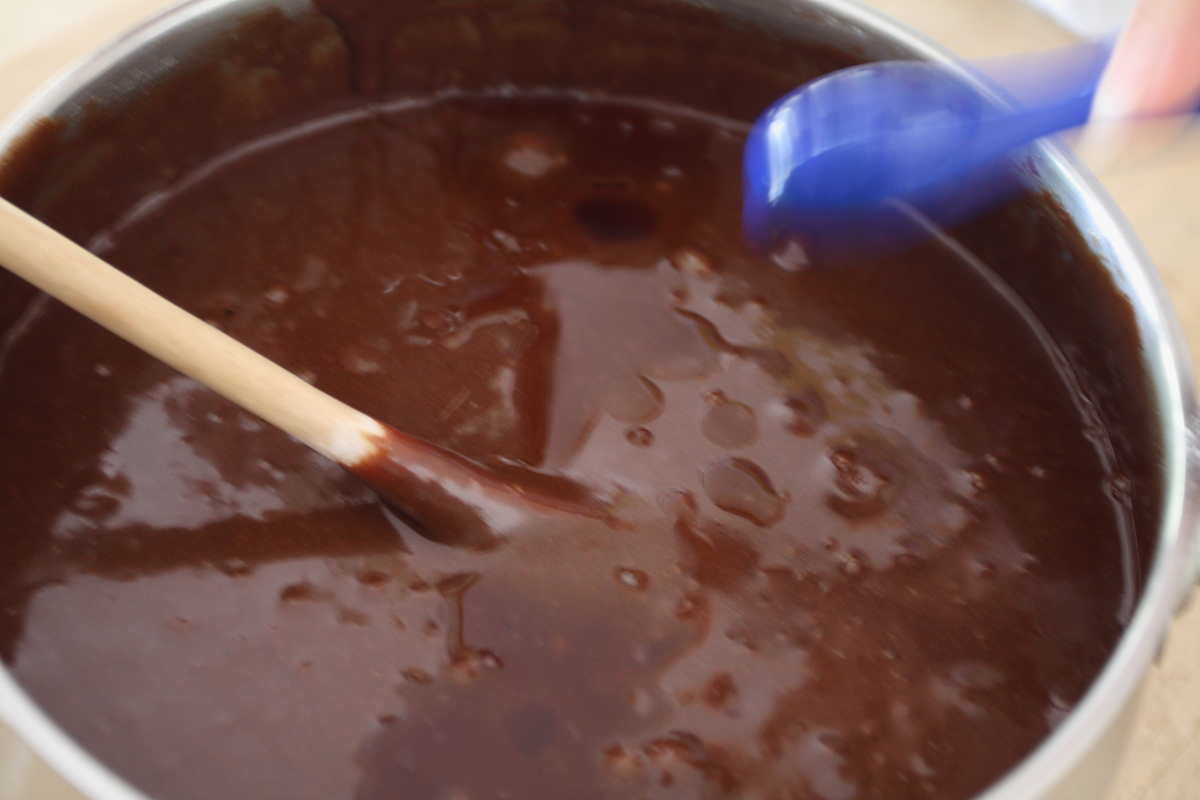
- In a heavy-bottomed saucepan over low heat, melt chocolate and butter. Once melted, remove from heat.
- Add sugar, a cup at a time, mixing completely between additions.
- Add eggs, one at a time, mixing completely between additions.
- Add flour, mix thoroughly.
- Add salt, mix thoroughly.
- Add vanilla, mix thoroughly.
- Pour into prepared pan. Sprinkle nuts on top, if using.
- Bake 35-40 minutes, or until a toothpick inserted in the center comes out clean.
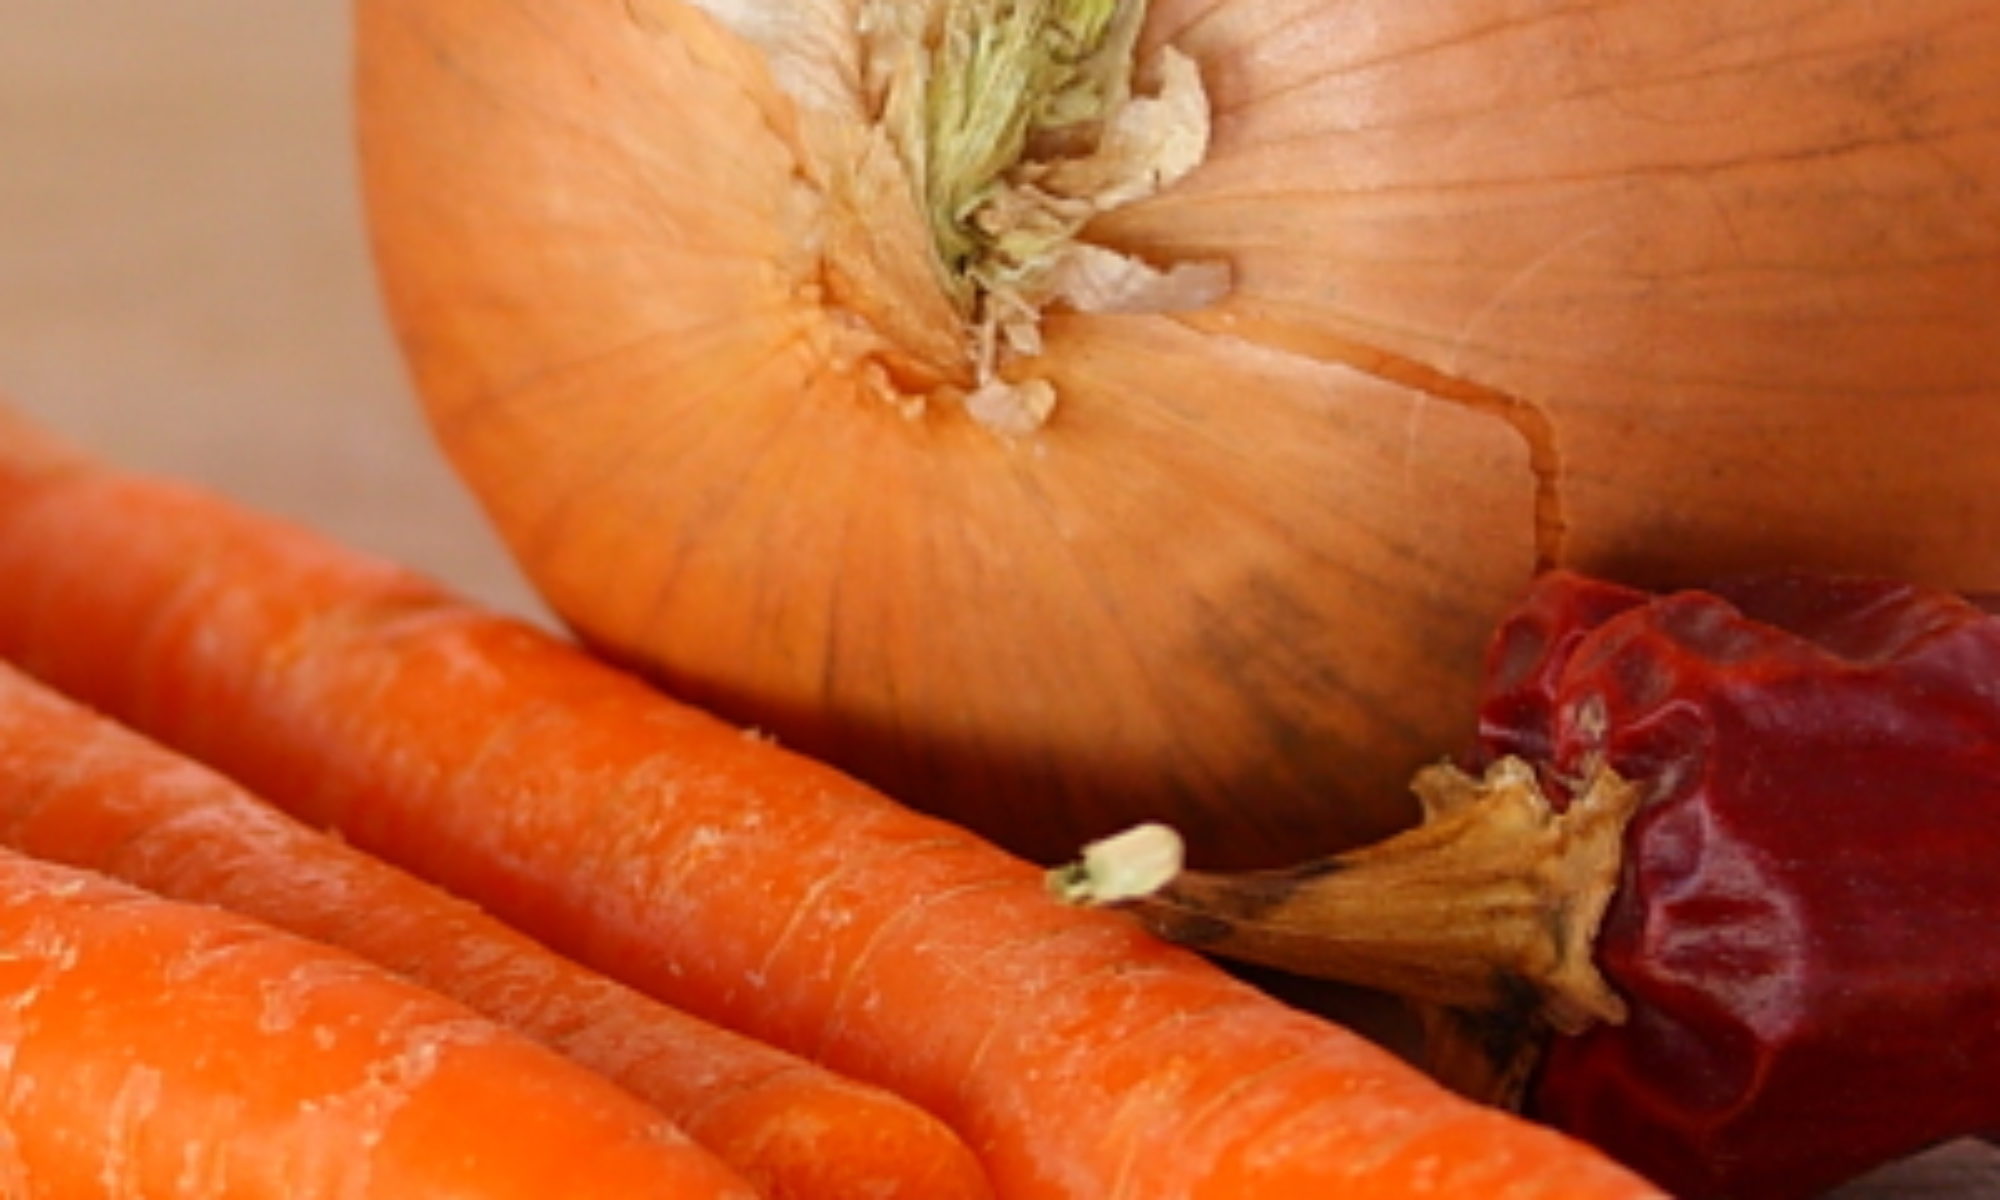
Ingredient discussion:
Always use unsalted butter; otherwise, you’re letting a complete stranger “help” with your baking. Chocolate: we normally use Baker’s Chocolate and have had great success. Nuts: we mark them as optional since some people are allergic. We aren’t, so they really aren’t optional. Vanilla extract: imitation vanilla is not allowed in our house; don’t allow it in your house, either. Eggs, use the best you can — generally that means pastured eggs. As an aside, the labels on eggs mean almost nothing, so try to source your eggs locally.
Procedure in detail:
Preheat oven to 350°F. Adjust rack to the middle of the oven.
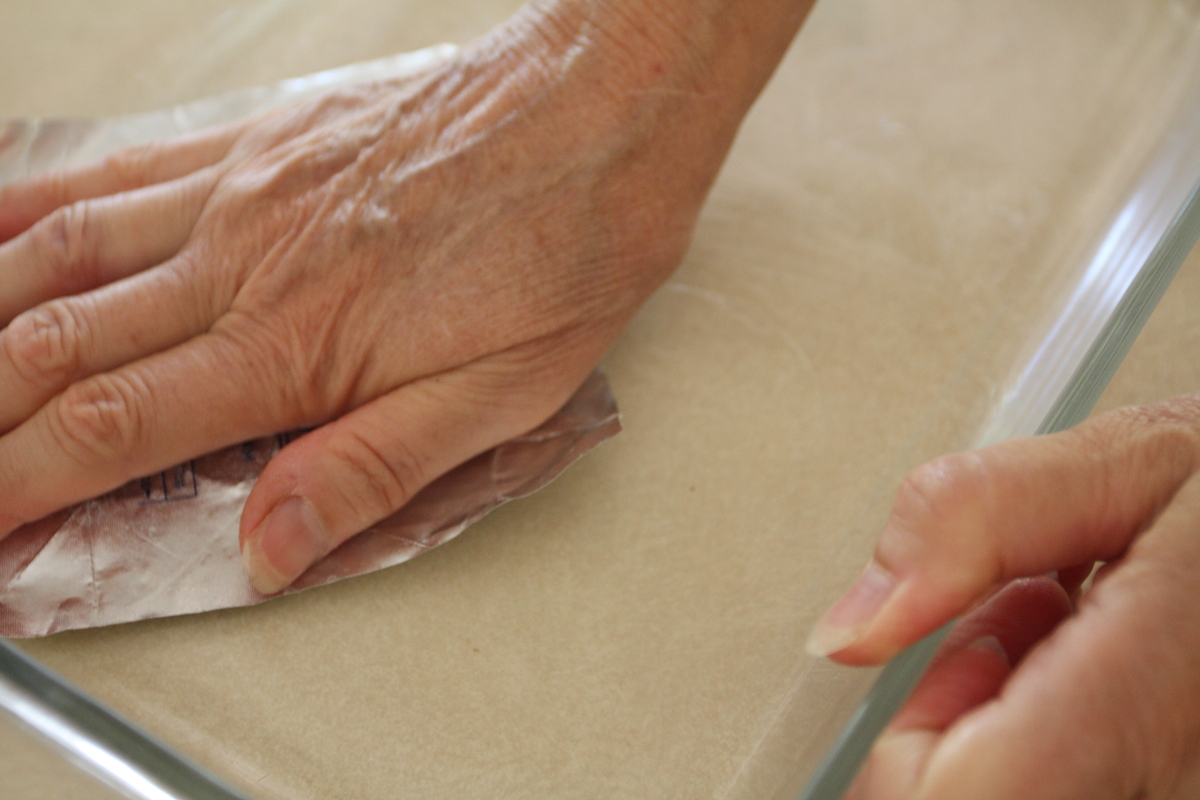
Butter pan. We use the wrappers from the sticks of butter; there’s always enough to give just a light coating of butter; you might need a bit more. We also prefer the texture that a metal baking pan provides, but feel free to try it with a glass pan. You can never taste-test too many brownies, right?
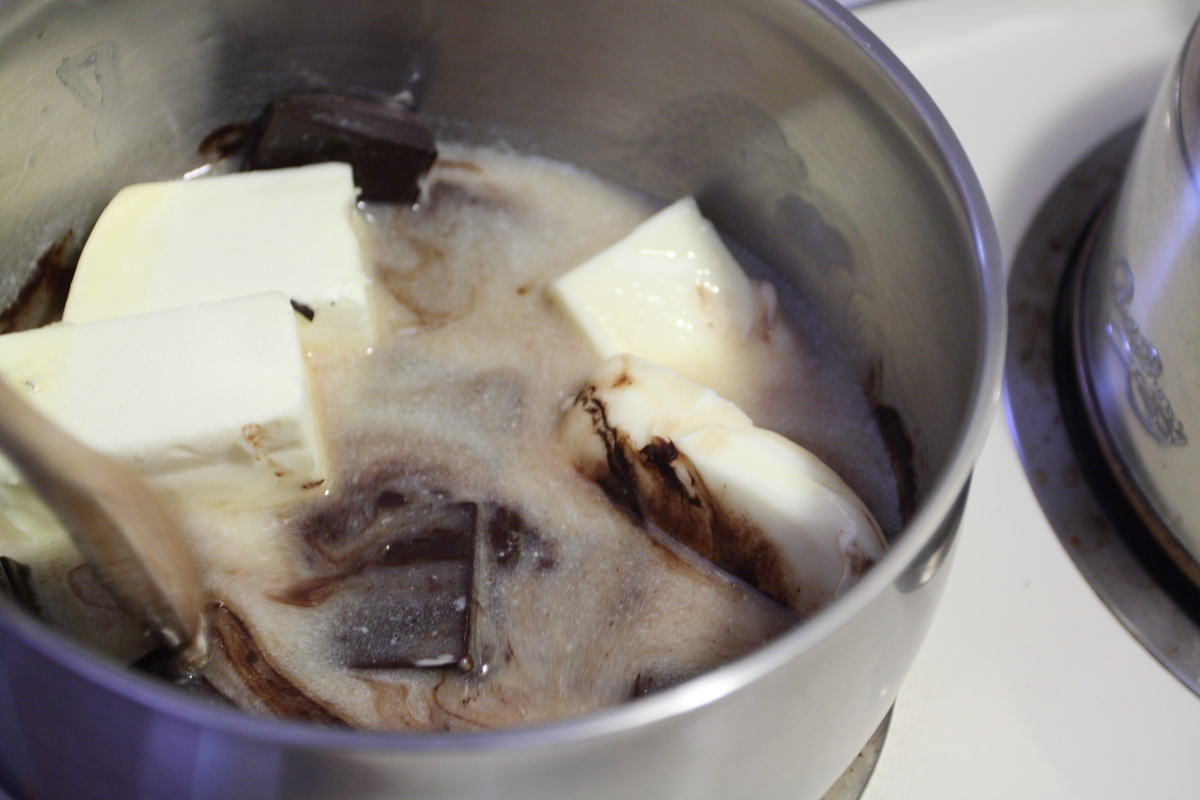
Melt butter and chocolate. In a heavy-bottomed sauce pan over low heat, melt the butter and chocolate, stirring continuously. Once melted, immediately remove from heat and let cool for a few minutes.

Add sugar. Stir in the sugar a cup at a time, making sure it’s fully incorporated before moving on.

Add eggs. As with the sugar, stir in each egg separately, making sure it’s fully mixed in before adding the next.
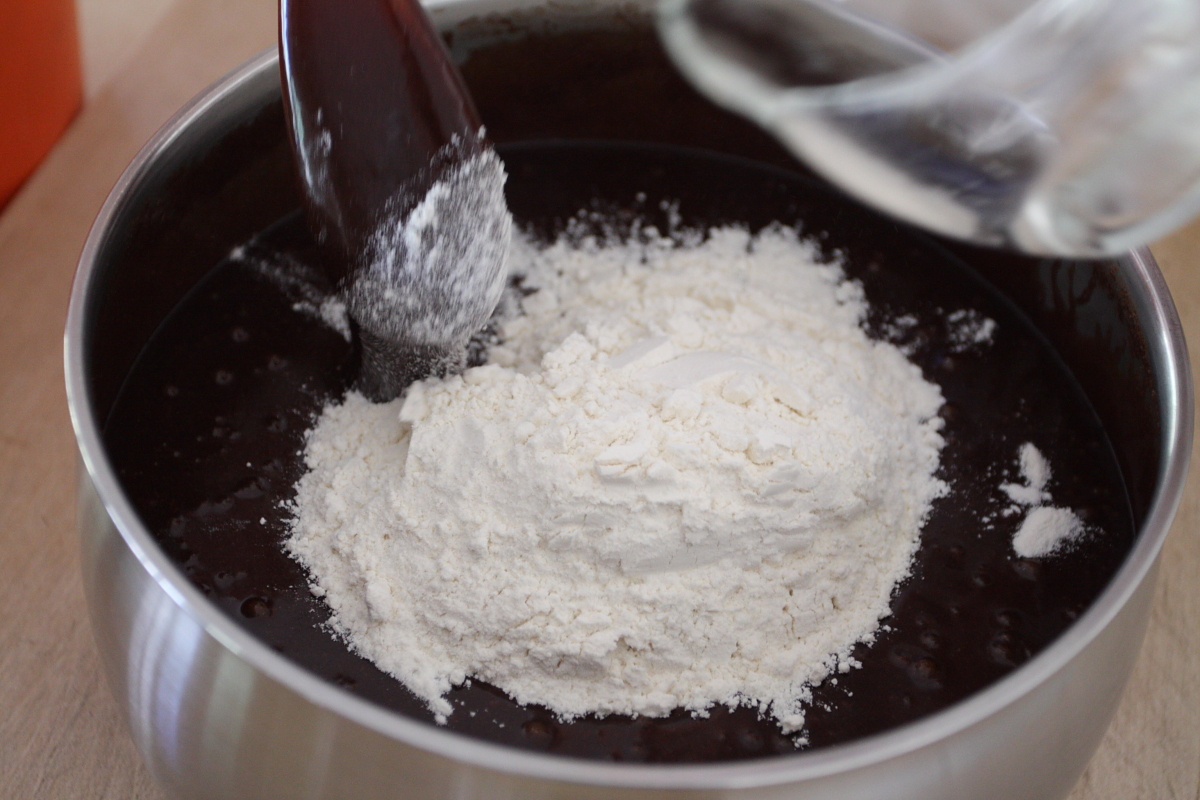
Add flour. Stir in the flour until it, too, is completely mixed in.
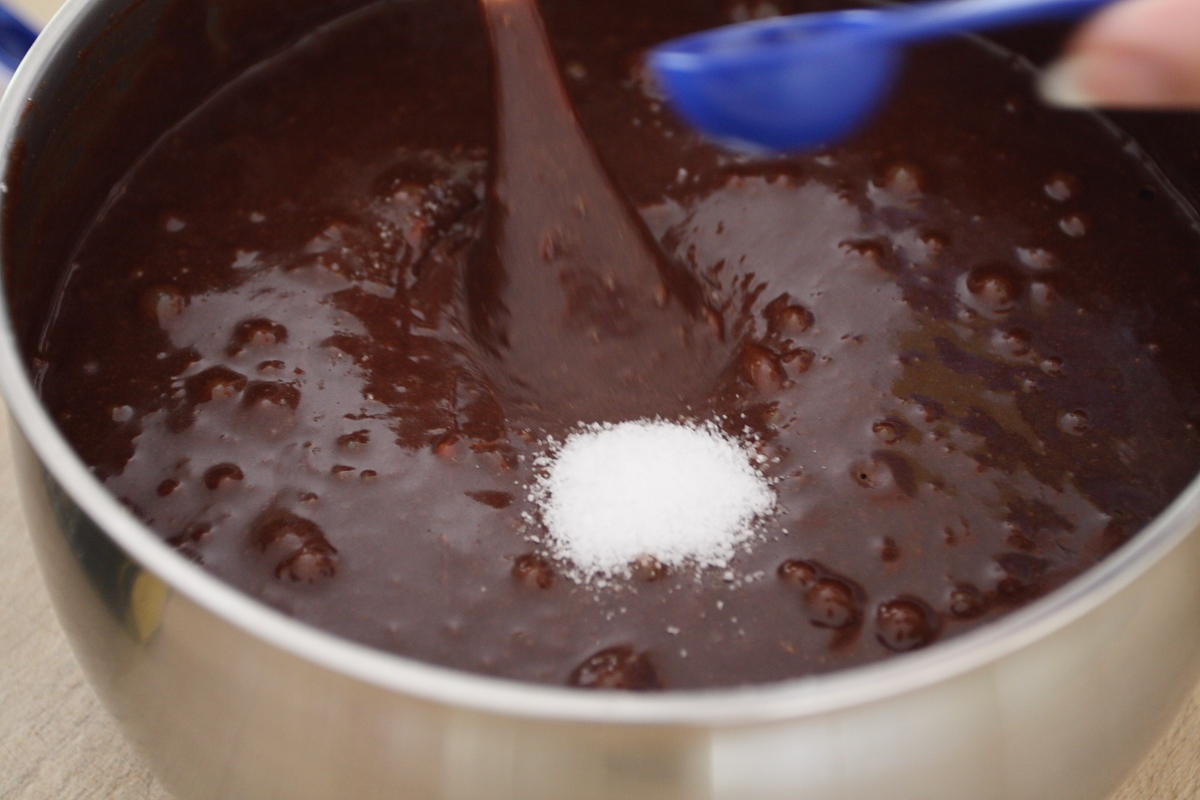
Add salt. A lot of stirring, huh? This one’s fast since there is so little salt. Stir until mixed.
Add vanilla. Stir that in, too, while resisting the temptation to “accidentally” stick your finger in the batter. We already know that trick, so be bold about it, and blatantly use your finger to taste the batter. Ah, what the heck, stir some more.
Pour into prepared pan. Scrape in all the batter. Use a rubber spatula if you need to; that’ll be one more implement to lick off, we mean clean, later.
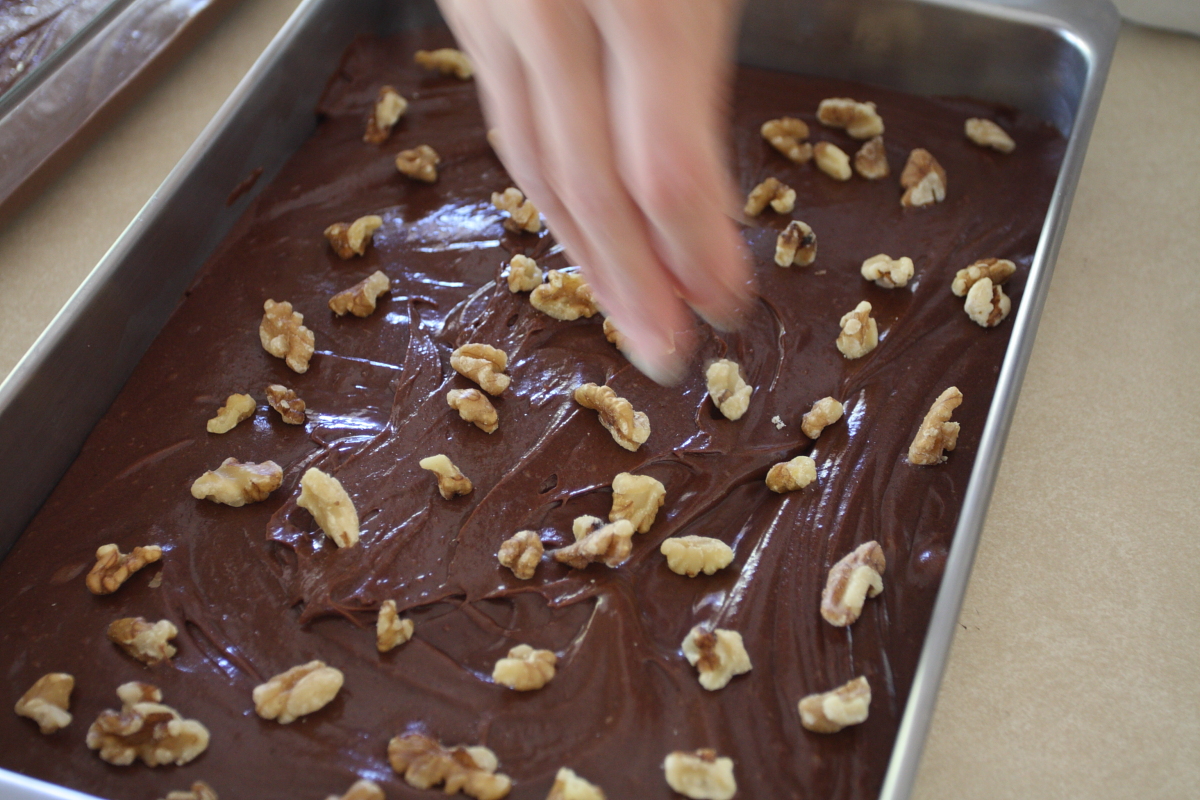
Add nuts. Sprinkle the walnuts over the top and press them lightly into the batter. Careful, so your finger doesn’t slip (wink, wink, nudge, nudge) into the batter.
Bake. Slide into the middle of the oven and bake 35-40 minutes, or until a toothpick inserted into the center comes out clean.
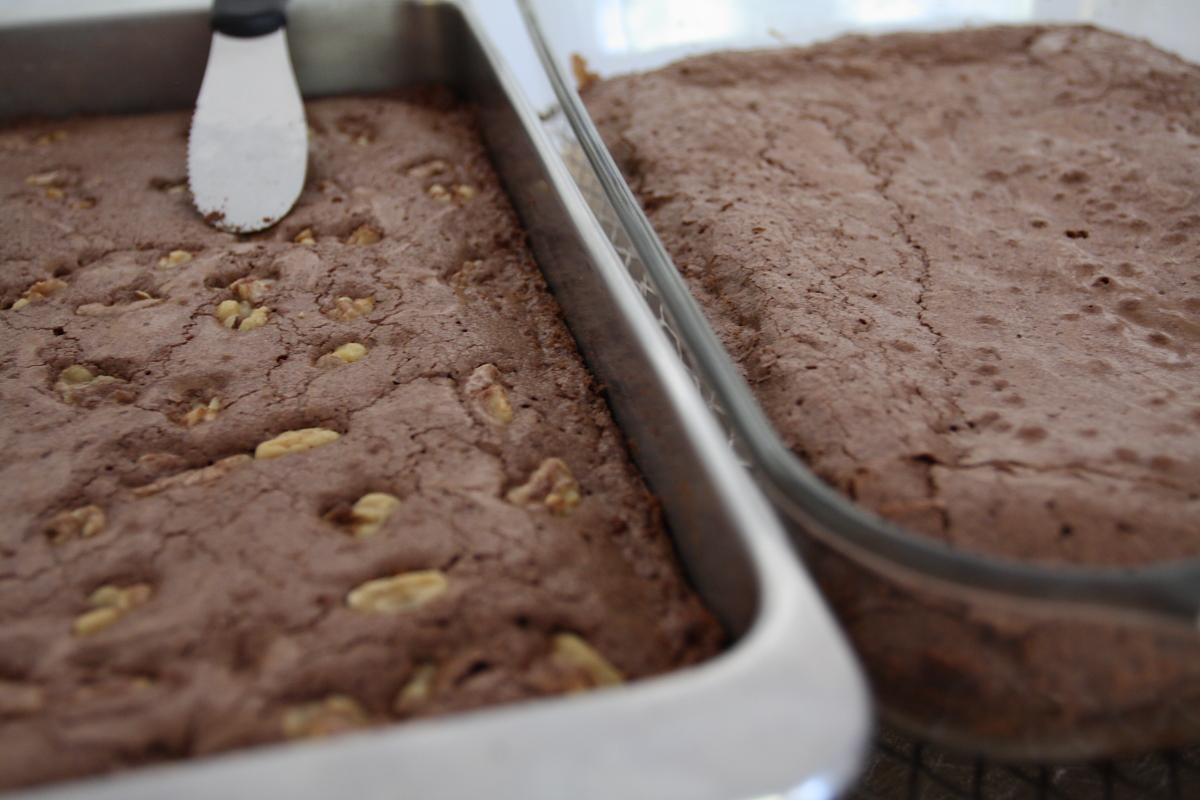
Cool. Yep, the hardest part, place the brownies on a rack, and wait for them to cool completely. Wait. Wait.
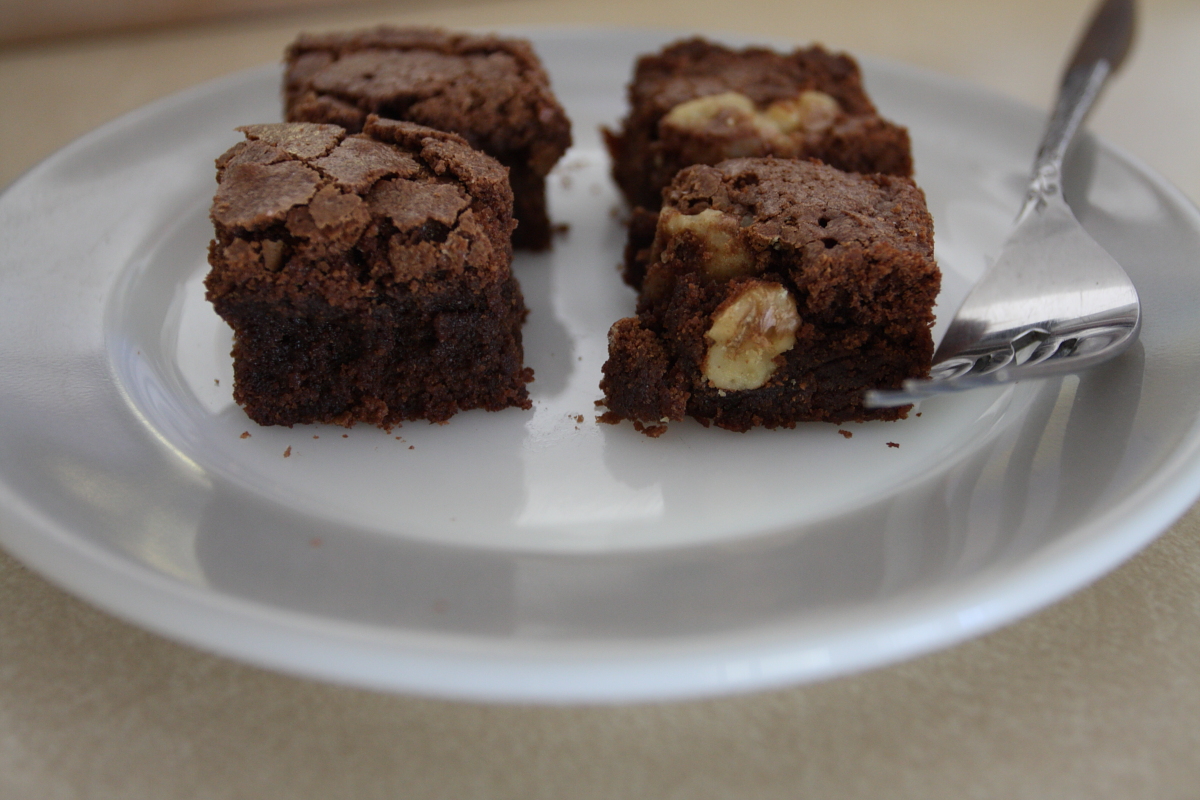
Serve and enjoy. We like to cut ours into small squares, about an inch on a side. It seems far better to have four or five small brownies, rather than one large brownie.
As we said above, this is really the only recipe for brownies that we use. It’s not really any different from most recipes “out there,” but it is the one we like best, and we can say that people ask for it time and time again, which is always nice to hear. Five stars (that’s if you put in the nuts; otherwise, just four).
