
We really like putting together mini-muffins when we need to make snacks for the church’s social hour. They’re fast to put together, fast to bake, and easy to eat. What more could you want in a snack? Well, for us, we want variety, too. No one wants the same favor muffin each time; they want to try something new, and so do we. Fortunately, muffins fit the bill for that, too, because it’s easy to change the ingredients that add the flavor, and have an entirely different muffin.
That’s exactly what we did here. We started with our Cheddar and Dill Muffins recipe, left out the dill, added finely diced onions, and we had our Cheddar Onion Mini-Muffins. Note that you can make regular-sized muffins, too; just increase the baking time to about 20-25 minutes.
Cheddar and Onion Mini Muffins
Ingredients
- 280 g all-purpose flour (2 cups)
- 1 Tbs sugar
- 1 Tbs baking powder
- 1 tsp smoked paprika
- 1/2 tsp garlic powder
- 1/4 tsp kosher salt
- 120 g grated sharp Cheddar cheese (4 ounces or 1 cup)
- 1/3 cup finely diced white onion
- 120 g buttermilk (1/2 cup)
- 60 g milk (1/4 cup)
- 100 g canola oil (1/2 cup)
- 2 eggs
Instructions
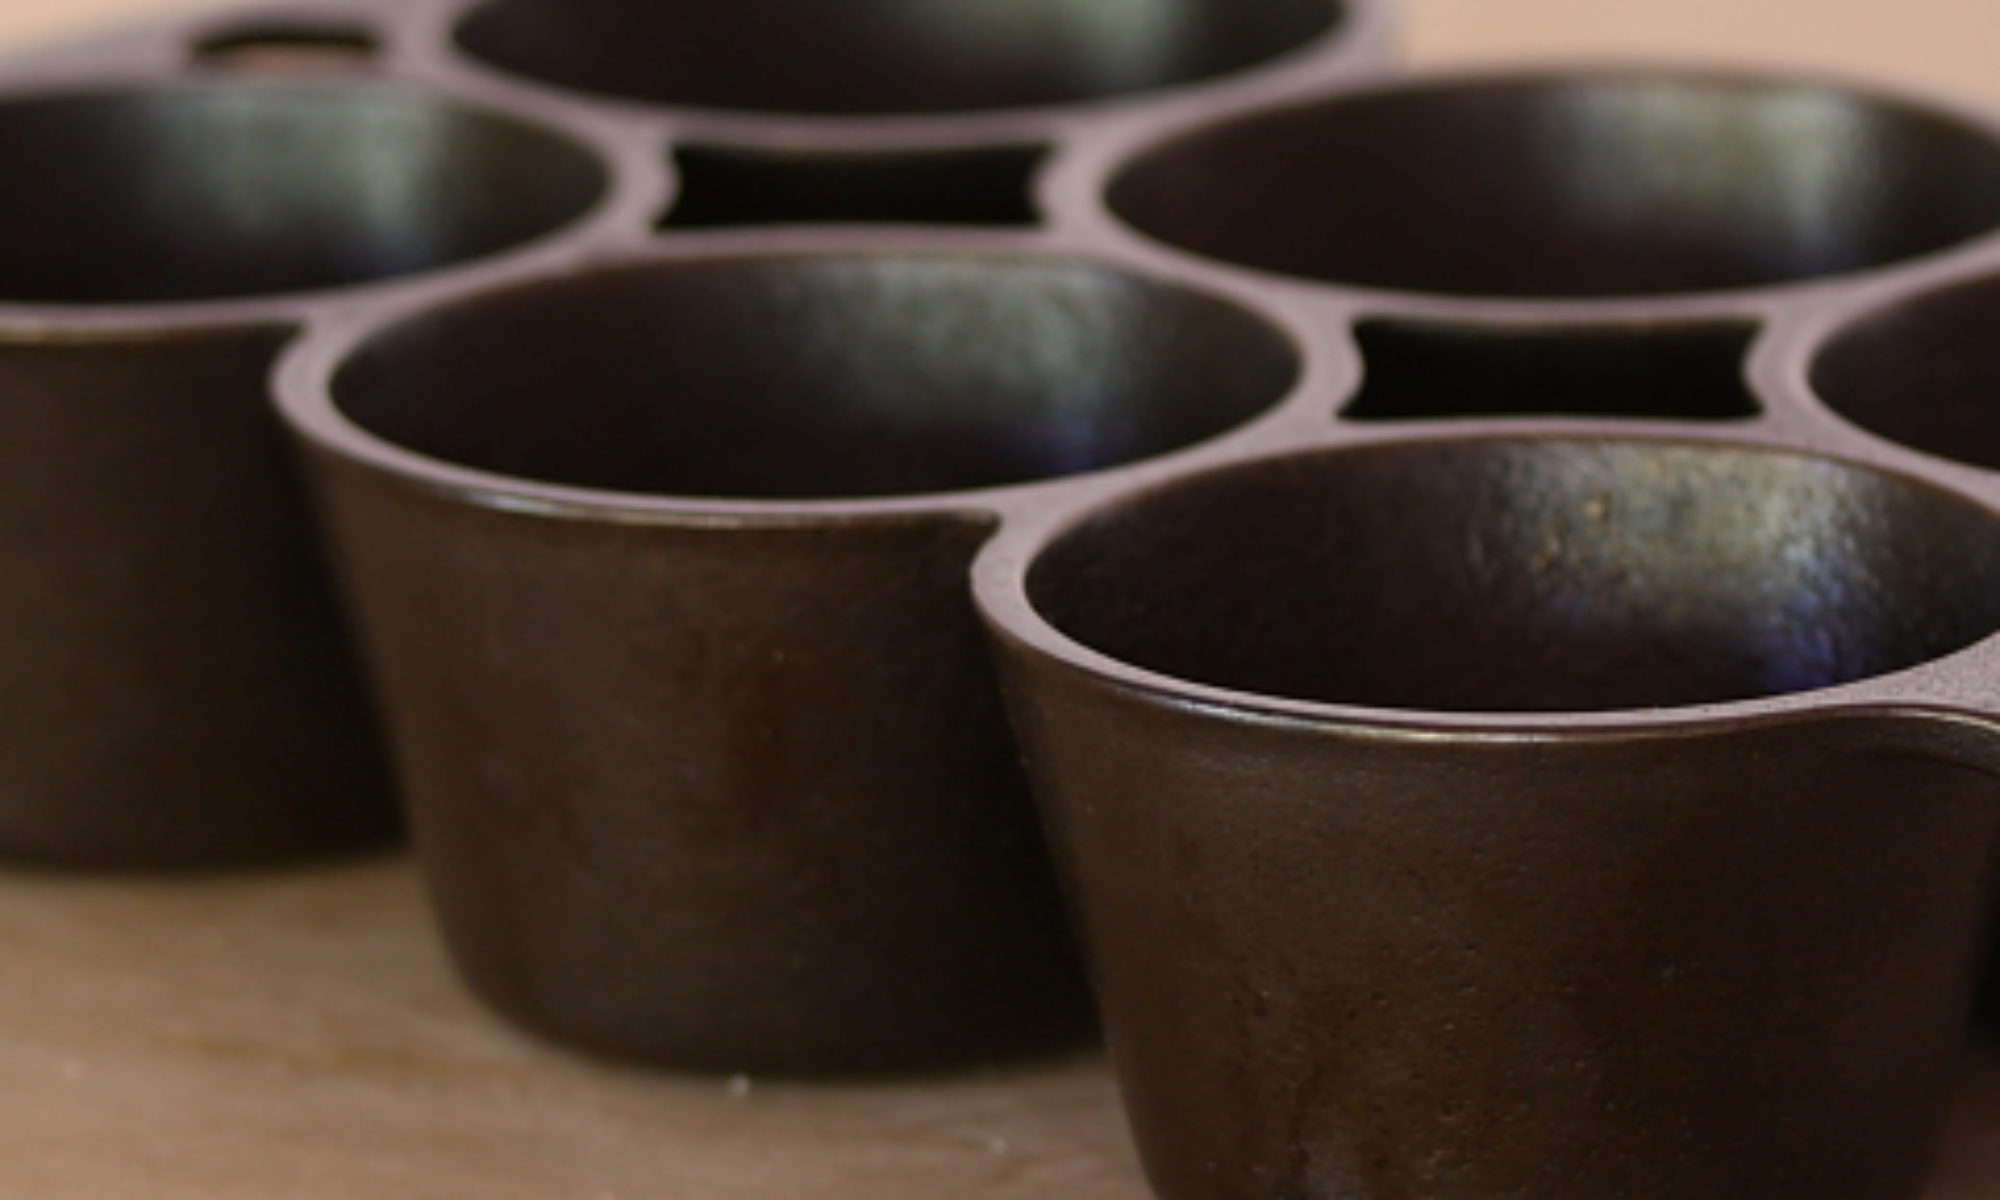
- Preheat oven to 350°F. Line mini-muffin pans with papers.
- In a large bowl, whisk together flour, sugar, baking powder, smoked paprika, garlic powder, and salt. Add cheese and onions, and stir to coat.
- In a medium bowl, whisk together buttermilk, milk, canola oil, and eggs. Pour mixture over flour mixture and stir until combined.
- Transfer batter to a piping bag and pipe mini-muffin cups 3/4 full.
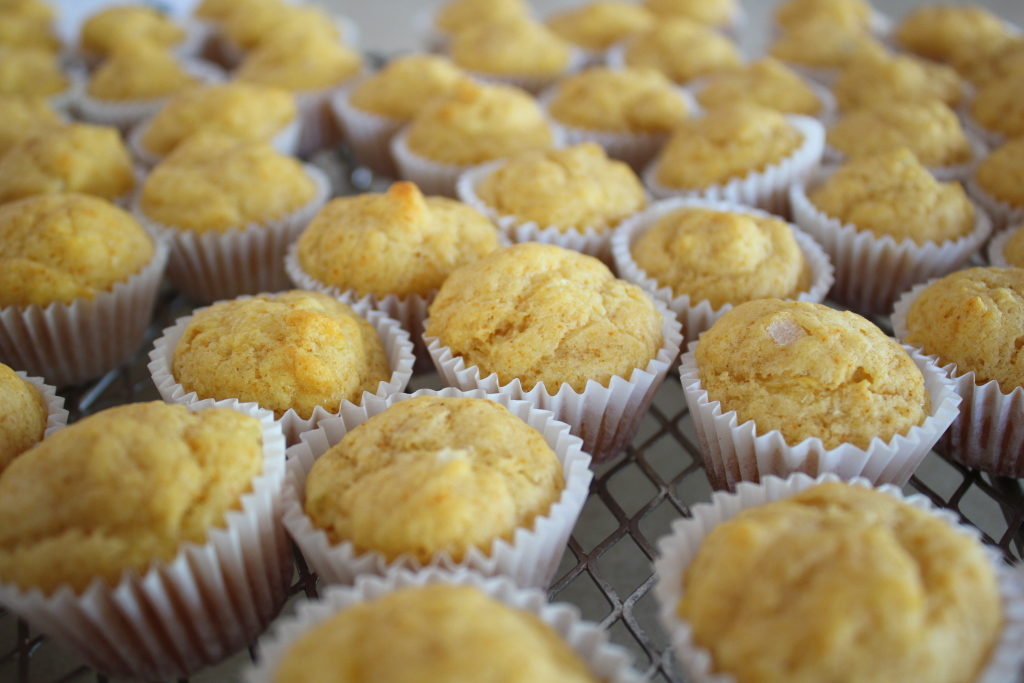
- Bake 16 minutes, rotating front to back and top to bottom halfway through, or until a skewer inserted into the middle comes out clean.
- Let cool on a baking rack.
Ingredient discussion:
Think of the spices we’ve chosen as suggestions. Feel free to modify and change them as you see fit. We would. For example, we might use just a bit (1/4 tsp) of cayenne pepper in place of the smoked paprika, so we’d have slightly spicy muffins, and we might omit the garlic powder completely. Who knows? It’s whatever sounds good to you. For the cheese, we used some sharp Cheddar that we had in the fridge. If we didn’t have that, we might have used almost any strong flavored cheese, so feel free to experiment. If you don’t have buttermilk, feel free to use just milk. It’ll work, too. And, of course, any neutral flavored oil will work in place of canola oil.
Procedure in detail:
Preheat oven to 350°F. Line mini-muffin pans with paper liners. Of course, you can make regular-sized muffins, instead — we think this will make about a dozen regular-sized muffins. Just bake longer, say, 20-25 minutes. We always like using the paper liners regardless of the size, because they make it easier for people to pick up the muffins.
Whisk dry ingredients. In a large bowl, whisk together the flour, sugar, baking powder, whatever spices you’re using, and the salt. Whisking helps to mix everything thoroughly, ensuring that no one gets a muffin that has too much baking powder, or too little salt. We think it’s more effective than just stirring with a spoon, but, we’d use a spoon if we had to. Heck, we’d probably even swish everything around with our clean fingers, if needed.
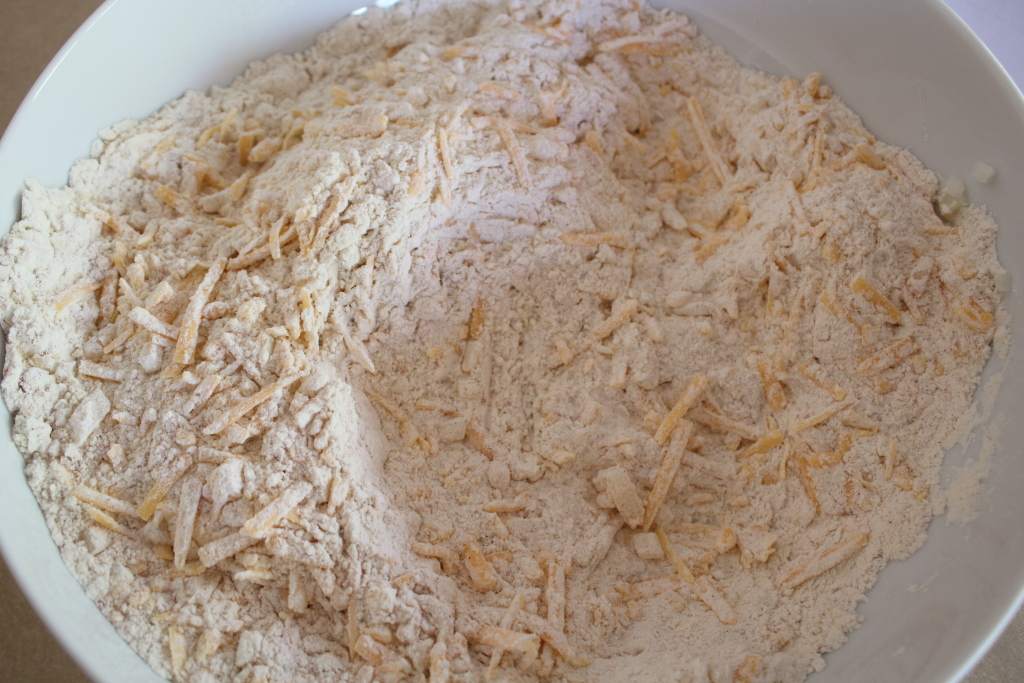
Add cheese and onions. Stir in the cheese and onions; here, we suggest switching to a spoon. Cheese can get trapped in the center of the whisk and we have to shake it out, so sometimes a large spoon is more effective. Stir until all the cheese is broken apart and the diced onions are coated with flour.
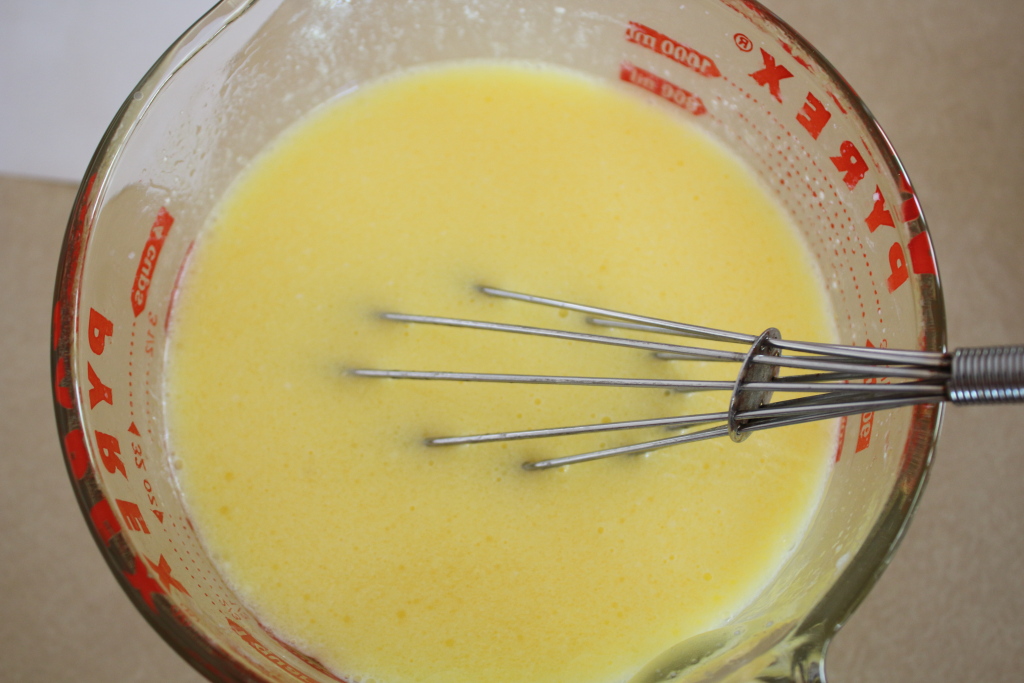
Whisk liquid ingredients. We’re never sure this is really required, but let’s just mix together the liquid ingredients in a separate bowl. Place the buttermilk, milk, canola oil, and eggs in a medium bowl and whisk until uniform. We do this to make sure that the eggs are well beaten and the oil is somewhat emusified into the other liquids.
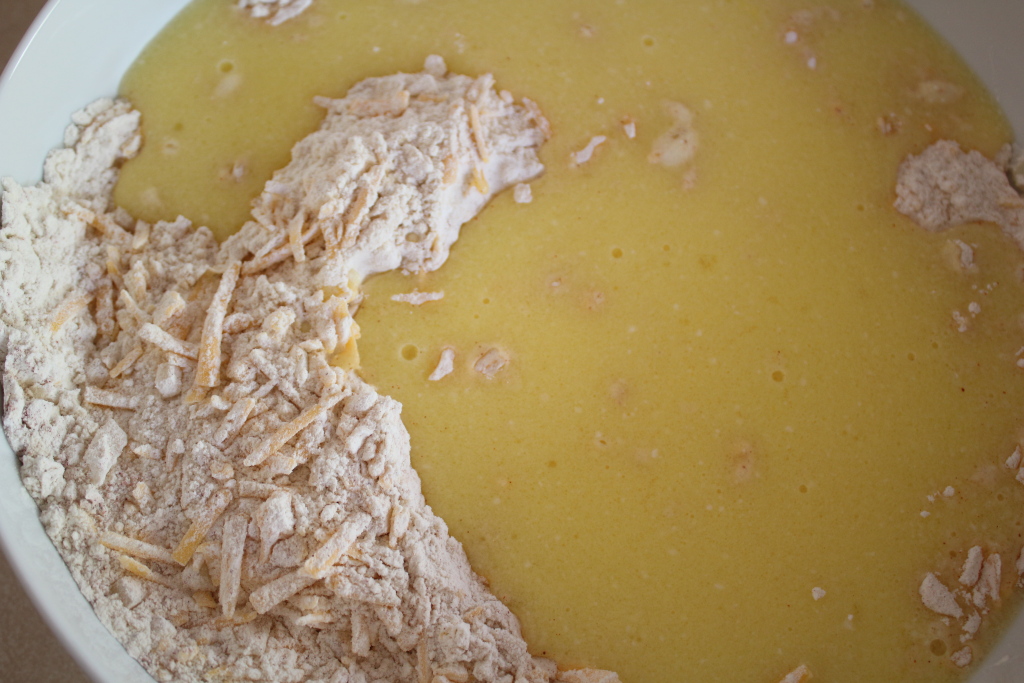
Make batter. Pour the liquid ingredients into the dry ingredients and simply stir until the flour mixture is fully hydrated. Once mixed, stop stirring, or you might develop the gluten, making a slightly tougher muffin.
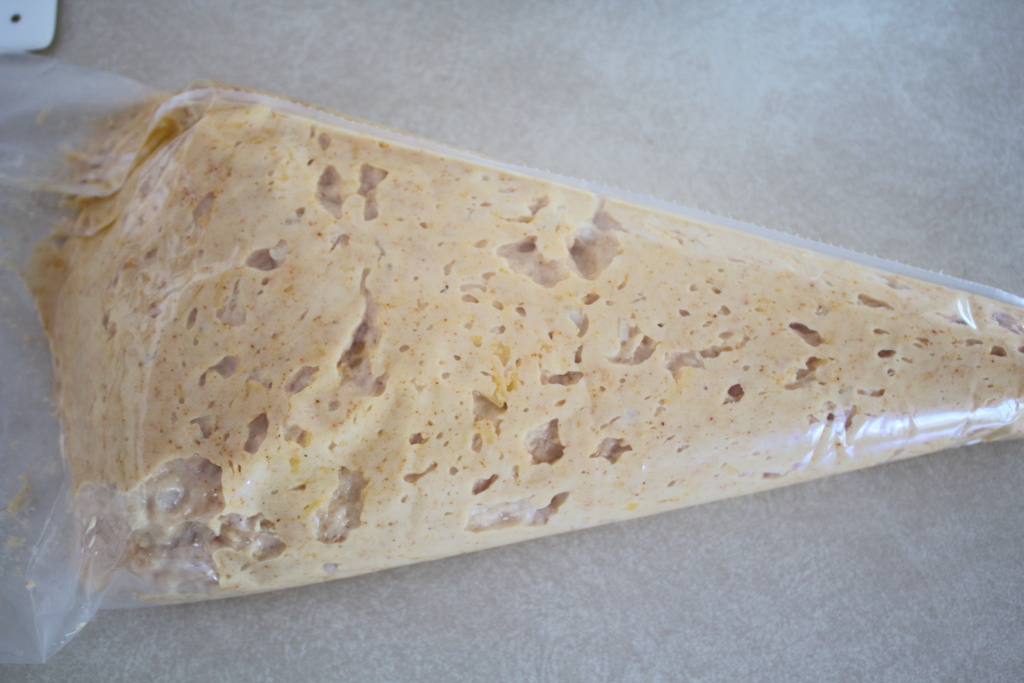
Transfer to a piping bag. For mini-muffins we can’t recommend highly enough using a piping bag. It would be a real pain to fill all those cups using a spoon, and we think you’d spill bits of batter everywhere. With a piping bag, it’s just squeeze, release, squeeze, release, and, before you know it, your muffin cups are all 3/4 full. If you’re making regular-sized muffins, then feel free to use a spoon.
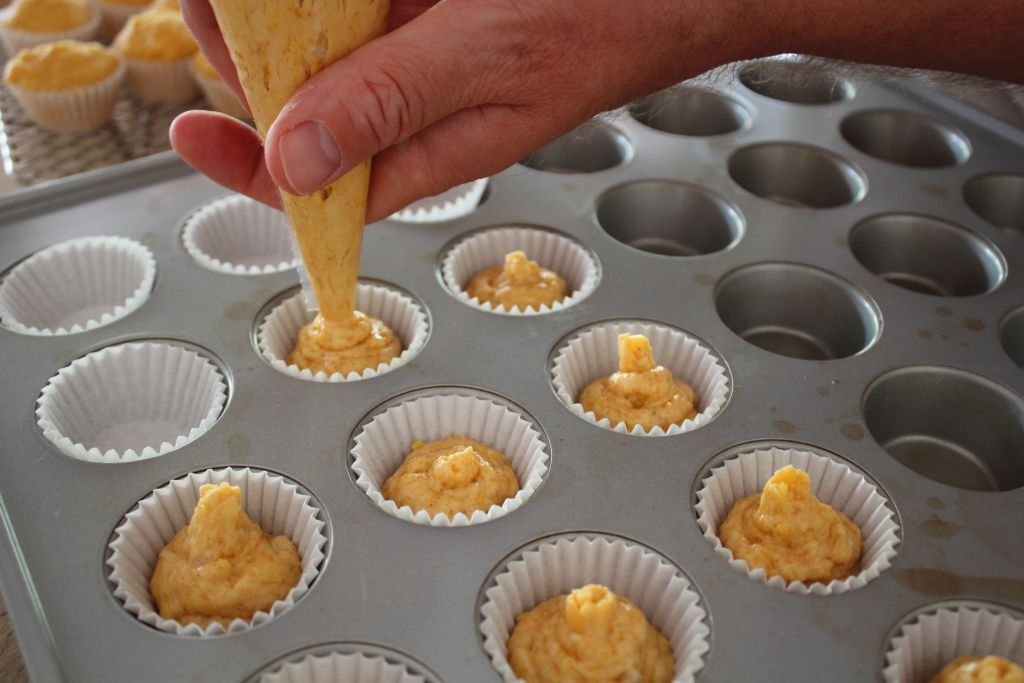
Pipe. Once the piping bag is full, simply pipe the cups 3/4 of the way full. We find it easiest to use a disposable piping bag without a tip; we simply press our fingers together and close off the hole in the tip before moving the bag from one cup to the next. That means fewer spills and less mess. Yay!
Bake. Into the oven for 16 minutes, rotating the pans from top to bottom and front to back about halfway through. Rotating in this way means that your muffins will bake uniformly. No sense in having some burnt muffins right next to a few that are underdone, right? Especially since rotating takes only a few seconds. At the 16-minute mark, use a skewer to test if the muffins are done. Simply stick the skewer into the center of the largest muffin you see, and, if it comes out clean, it’s done.
Cool. Transfer to a rack and let cool completely, or serve warm; your muffins, your choice.
We generally make these up the day before, and, once cooled, we place them in plastic bags and freeze. The next day, we let them warm and thaw in the bags — sometimes we leave them in the car during church service, so they seem as if they just came out of the oven. We thought these were a really tasty muffin and will probably make them again; perhaps a basil and feta muffin recipe will come up next. Who can say? Four stars.

