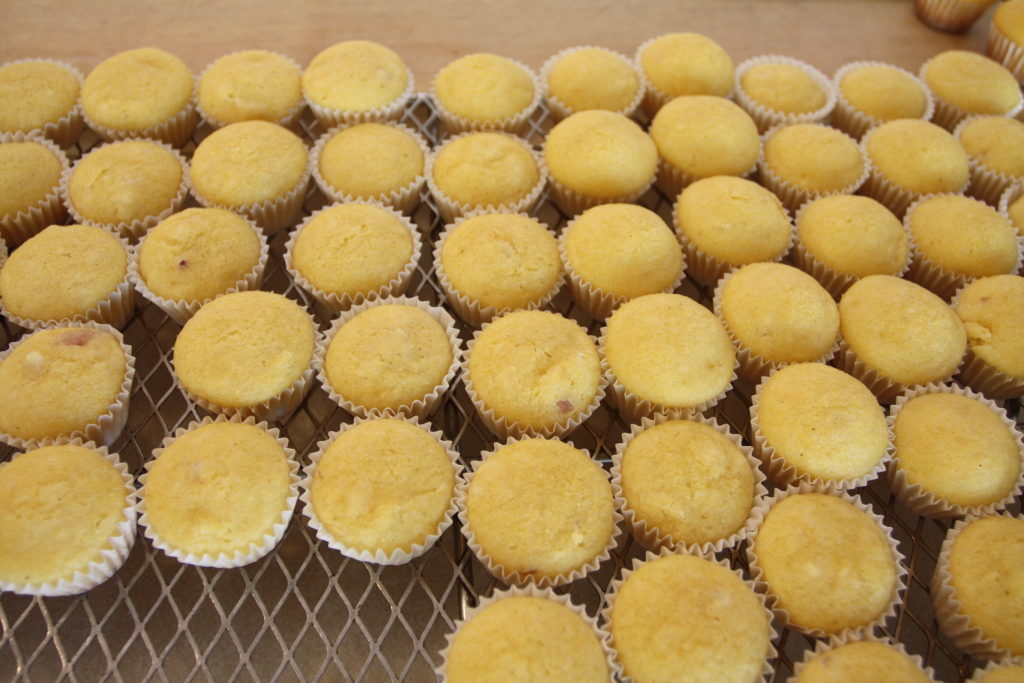

While we’ll be making mini muffins in this post, you can use this recipe to make larger corn muffins, too. Just use larger muffin pans, and bake a little longer. To let you know right up front, these are not sweet muffins, not like blueberry or maple. These are really intended as a small snack item or a bite to have along with some soup. Which is something to keep in mind as the weather turns colder.
Now, if you’re a keen reader, you might notice that this recipe is pretty much the same as the recipe we use for corn bread, but, there are a couple of changes that make it better for muffins. The easiest is lowering the baking temperature. This will give you a bit more leeway on when to pull the muffins from the oven, and help the muffins bake evenly — no burned bottoms. The second is a change in how we mix the muffins, adding the dry ingredients to the liquids to make for a more tender texture and a better muffin. Both are things to keep in mind when you’re scratchin’ out baked goods.
One note: we’re making a double batch of muffins in the photos; if you follow the recipe, you’ll have half the muffins.
Mini Corn Muffins
Ingredients
- 105 g corn meal (3/4 cup)
- 175 g all-purpose flour (1 1/4 cup)
- 2 tsp baking powder
- 1/2 tsp salt
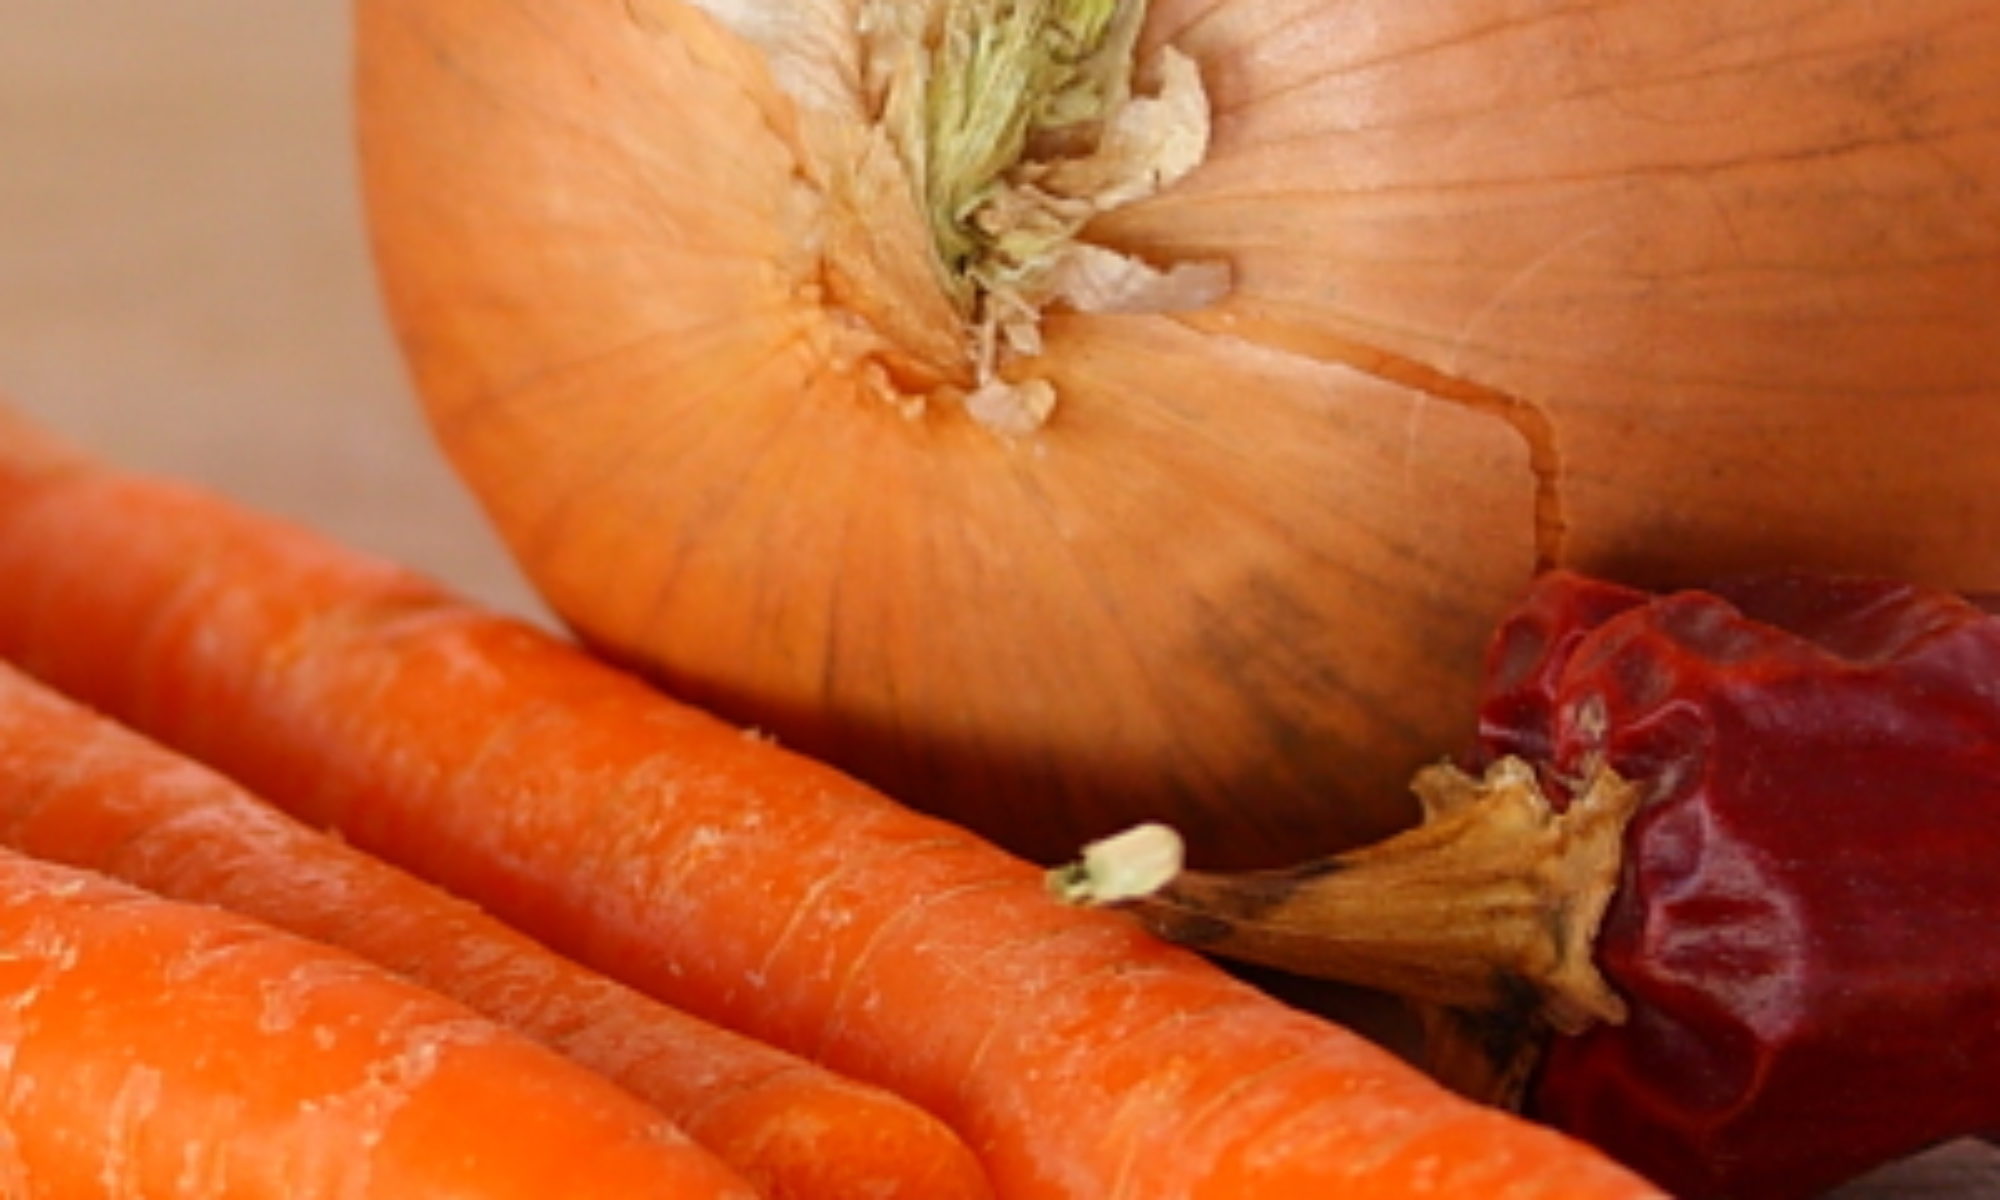
- 1/4 tsp garlic powder
- 1-2 Tbs finely diced onion
- 1 egg
- 50 g sugar (1/4 cup)
- 60 g vegetable oil (1/4 cup)
- 240 g buttermilk (1 cup)
Instructions
- Preheat oven to 350°F. Line mini muffin pans with baking cups.
- In a medium bowl, whisk together corn meal, flour, baking powder, salt, and garlic powder. Add onion and mix well.
- In a larger bowl, whisk together eggs and sugar until smooth and light, about 1 minute. Add oil, and whisk until oil is emulsified. Add buttermilk and whisk until uniform.
- Add the dry ingredients to the liquid ingredients and fold in until completely moistened.
- Transfer to a disposable piping bag with the tip cut to form a 1/4-inch hole. Pipe each cup halfway full.
- Bake for 13-14 minutes, rotating from top to bottom and front to back halfway through, or until a skewer inserted into the center comes out clean.
Ingredient discussion:
We make our own buttermilk — it’s really easy; try it some time and you’ll never go back to the stuff from the store. And, you have the option of using any milk you like: skim, whole, organic, anything. If you don’t have buttermilk, you can use regular milk, but the muffins won’t be as light and tender as they could be. All the other ingredients are pretty much staples, although we prefer unbleached all-purpose flour. Who need bleached flour? For oil, use a neutral one, such as canola. Oh, you’ll note that we list many of the ingredients by weight. If you have a scale, it’s easier, faster, and less clean up: just scoop or pour directly.
Procedure in detail:
Preheat oven to 350°F. Line mini-muffin pans with baking cups.


Mix dry ingredients. In a medium bowl, whisk together the corn meal, flour, baking powder, salt, and garlic powder until uniform. Next, add the onions and mix thoroughly. Why add the onions separately, you might ask? Let’s say we did that and they fell right on top of the baking powder. The baking powder would stick to the onions, and wouldn’t get mixed in properly, making for some flat muffins with weird- tasting onions. So whisk and mix, it is.
Mix eggs and sugar. In a larger bowl (all the ingredients will end up in here), whisk together the eggs and the sugar until smooth and light in color. This will ensure that the sugar dissolves and helps make for a lighter muffin. The whisking incorporates air into the liquid, which will expand during baking.
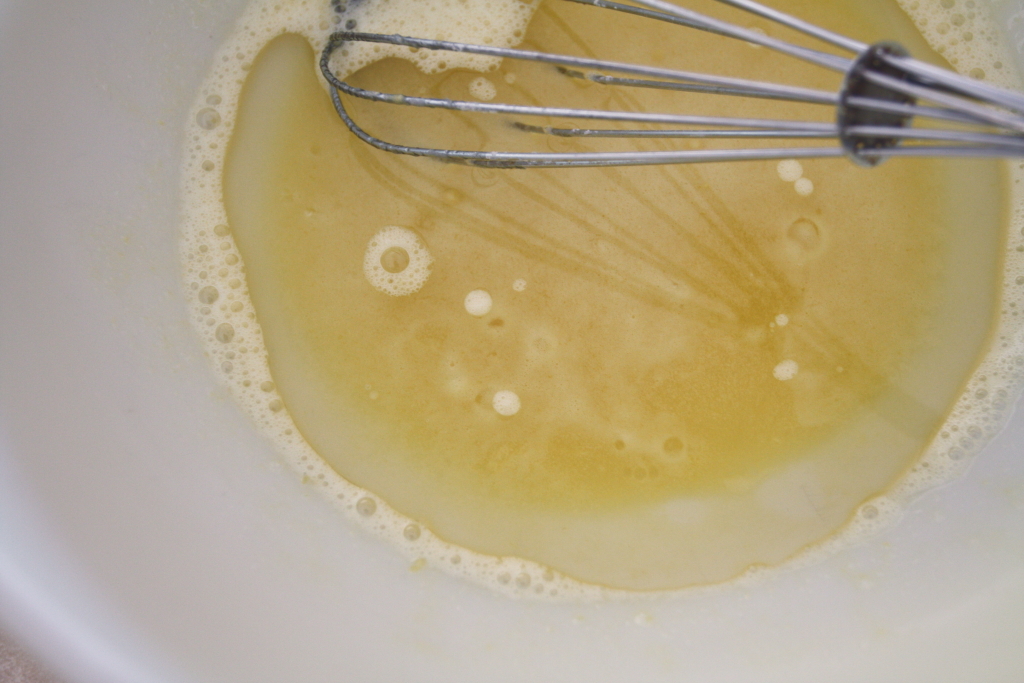
Whisk in oil. Pour the oil on top and whisk like crazy. Keep whisking until all the oil is mixed in and the liquid has the consistency of thin mayonnaise. Technically, we created an emulsion of oil and eggs, just like mayonnaise, and it shouldn’t separate. That means that every bit of muffin gets some egg, and every bit gets oil. The egg will help the muffin hold its shape, and the oil will keep it moist.
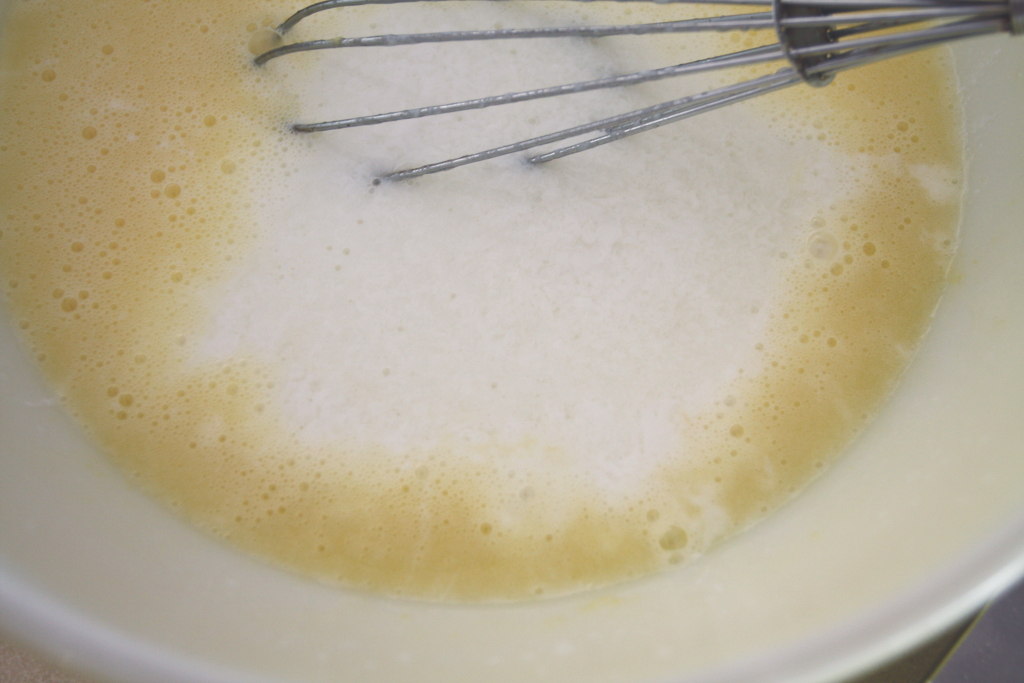
Whisk in buttermilk. Finally, whisk in the buttermilk until the mixture is uniform in color. You’ll see that the oil didn’t separate from the other liquids. Perfect.

Fold ingredients together. Add the dry ingredients to the liquid ingredients and fold in until everything is moistened and you have a batter. It’s okay if some parts of the batter look a bit dryer than others, just as long as you don’t have pockets of dry stuff here and there (a few wouldn’t hurt much). Try to minimize the mixing so the gluten in the flour doesn’t develop — that makes the muffins slightly tougher.

Pipe batter. For mini muffins, a piping bag is a godsend. Especially if it’s a disposable piping bag. Just fill the bag, and, if it’s disposable, cut off the tip to make a 1/4-inch hole (this is better than using a tip, as sometimes onion bits get stuck and have to be squeezed out). If you don’t have a piping bag, you can use a zip lock freezer bag with a corner cut off. Failing either of these, you’ll be scooping tiny amounts of batter. So, either pipe, or scoop, the muffin papers halfway full of batter.
Bake. Bake for 13 to 14 minutes, rotating from front to back and top to bottom halfway through, or until a skewer inserted into the center of the muffins comes out clean. The muffins won’t brown very much, and, if you wait for browning on top, the bottoms will burn. Trust us on that.
Cool. Once baked, remove the muffins from the pan and let cool completely.
The only thing we don’t like about these muffins is that they stick to the papers, especially on the bottom. They taste really good, but it seems as if you leave a quarter of the muffin stuck to the paper. We wish we had the cups made from baking parchment — nothing sticks to those — but they do cost more. Because of the sticking, we’ll say four stars.

