
Once a month, the Loft Cinema, Tucson’s local art house cinema, hosts a free screening of a movie for members. We really like going to the screenings, as we get to see some interesting movies, not to mention the free popcorn, but there’s one thing that we almost always have trouble with: the timing.
Maybe we’re on a different schedule than everyone else, but we find it frustrating that the free member screenings always start at 7 or 7:30. Since these are always packed, we like to get there around a half-hour prior to get a good seat, meaning 6:30 or 7, which means we need to leave the house about 20 minutes prior to that, which means we needed to clean up after dinner before that, and eat before that, and so on. Basically, we need to eat dinner around 5, and it needs to be an easy dinner with easy cleanup. Enter Lemon Pepper Fettuccine.
The other day, we made up a batch of pasta that had thyme mixed in, and thought about something a bit more flavorful like lemon. Perhaps lemon and thyme, or lemon and black pepper, both good combinations. By making pasta with the flavors built right in, we’d need to add just a bit of olive oil, a hit of Parmesan cheese, perhaps a bit of vegetables, and we’d have a tasty, quick meal.
Lemon Pepper Fettuccine
Ingredients
- 1 cup all-purpose flour (140 g)
- 1/4 tsp salt
- 1/2 tsp freshly ground black pepper
- 1 lemon
- 1 egg
- 1 Tbs olive oil
For serving
- 1/2 cup frozen peas
- grated Parmesan cheese
- Extra-virgin olive oil
Instructions
- Zest and juice lemon.
- In a small bowl, mix together flour, salt, lemon zest, and pepper. Add egg, olive oil, and lemon juice, and stir until a dough forms. If needed, add more water or flour to make a pliable, but not sticky, dough.
- Knead 5 to 10 minutes. Wrap in plastic and let rest at least 30 minutes.
- Roll to desired thickness using either a pasta machine or rolling pin. Cut into desired shapes and let dry for at least 15 minutes.
- Bring a large kettle of salted water to a boil. Add pasta and peas and cook until tender, 2 to 6 minutes.
- Place pasta in warmed bowls and top with cheese and a drizzle of olive oil.
Ingredient discussion:
If we could have, we would have purchased an organic lemon as we have no idea what pesticides are used on conventional lemons. Then once picked they are covered in wax to make them look shiny. Neither of which do we care to ingest, so we wash ours thoroughly, with dish detergent and rinse with hot water before zesting and juicing. We went with all-purpose flour in this recipe as we though that a more assertive flour, such as whole-wheat, would wash out the flavors that we were adding to the pasta. As ever, eggs are from free-range hens. Better raised hens means better eggs.
Procedure in detail:
Zest and juice lemon. You can do this many ways. We used to use a sharp chef’s knife for cutting off the zest and mincing it, or sometimes we used an ordinary grater, but then we got a microplane and never looked back. It finely grates the zest as it cuts it off the lemon and avoids the pith. You just need to be careful as it’s razor-sharp. For juicing, we use one of those old-fashioned glass juicers — easy to clean and efficient — but using a fork and squeezing works, too.

Mix dry ingredients. In a medium bowl combine the flour, salt, lemon zest, and black pepper. Give it a good stirring so that everything’s evenly distributed and make a well in the center.
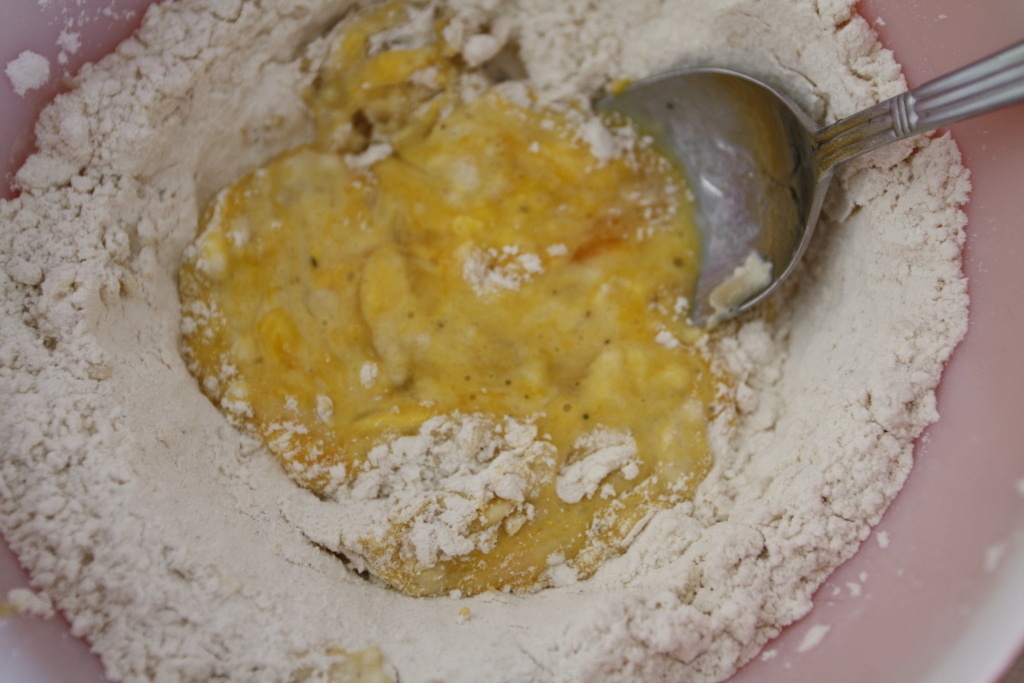
Add liquid ingredients. Add the egg, olive oil, and lemon juice, and stir to combine into a pliable but not tacky dough. You’ll have just about the perfect amount of liquid, but if your dough is too dry, add a bit of water and mix it in. Similarly, if your dough is sticky, add more flour.
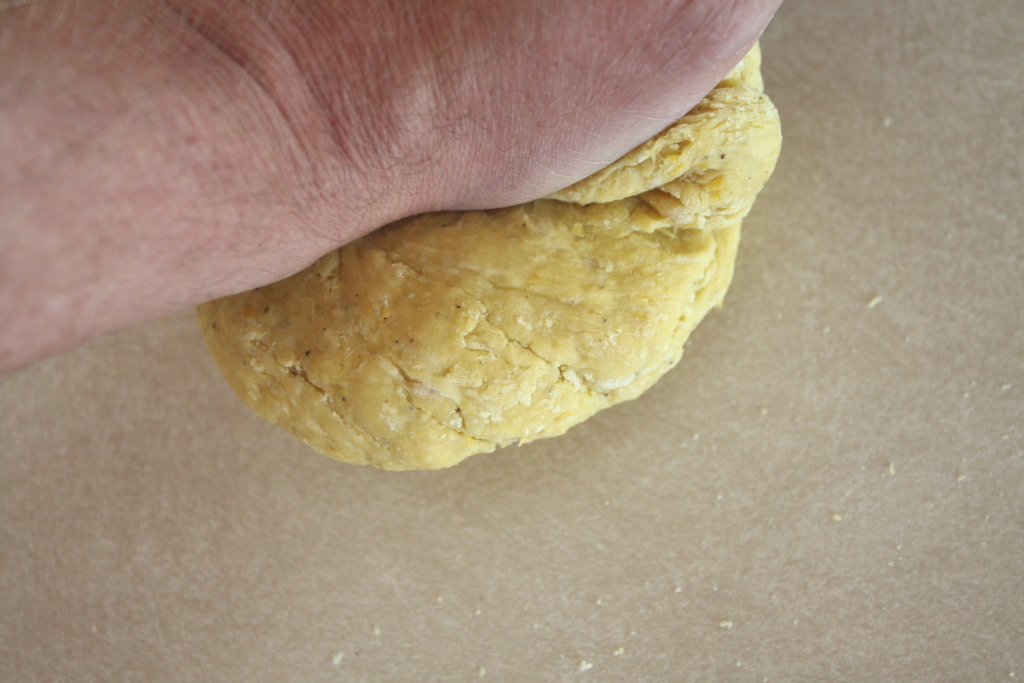
Knead. Once the dough is the right consistency, place it on a work surface and knead it for 5 to 10 minutes. You can’t really knead this dough too much, so have at it. After kneading, your dough should be smooth and feel uniform throughout, no lumps, grainy, or floury spots.
Rest. Wrap the dough in a piece of plastic and let rest for about 30 minutes. Longer is fine, but, if you’re going to let it rest for more than an hour, place it in the refrigerator and bring it out to warm about an hour before you plan to roll it out.

Roll. Working with about 1/4 of the dough at a time, roll it to whatever thickness you like. You can do this using a rolling pin or a pasta machine. We’ve do it both ways, and either way will make great pasta, but, we’ll have to admit, using a hand-cranked machine goes faster. Either way, you’ll probably need to dust the dough with a bit of flour as you work it.

Cut. You can cut the pasta into whatever shape you want using a cutting wheel, bench knife, or chef’s knife, or, if you have a pasta machine, you can feed it through the cutting blades. We still use both methods, depending on the shape of pasta we want.
Dry. Place the cut pasta on a rack covered with a clean dish towel. We like to let the pasta dry for an hour or so, as it makes it a bit easier to handle, but it’s not necessary. You can boil it up as soon as you cut it.
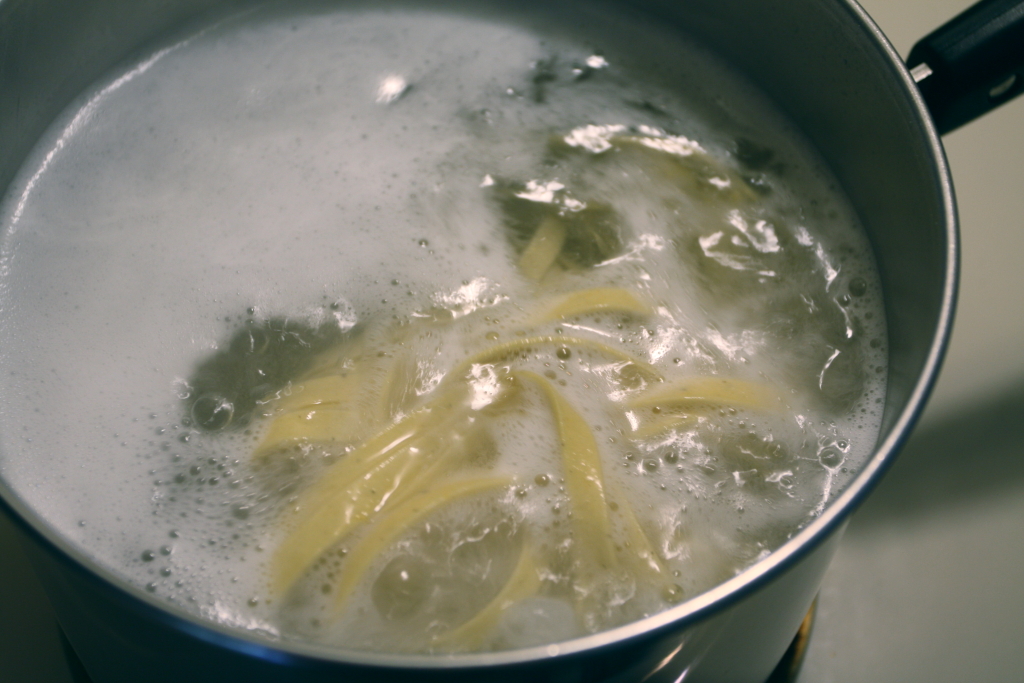
Boil pasta and peas. Bring a large kettle of salted water to a rolling boil. Add the pasta and the peas and cook until the pasta is done. How long? Well, it can be as quick as 2 minutes or as long as 6 minutes, depending on the thickness of your pasta and the length of time it dried. Once boiled, drain thoroughly.
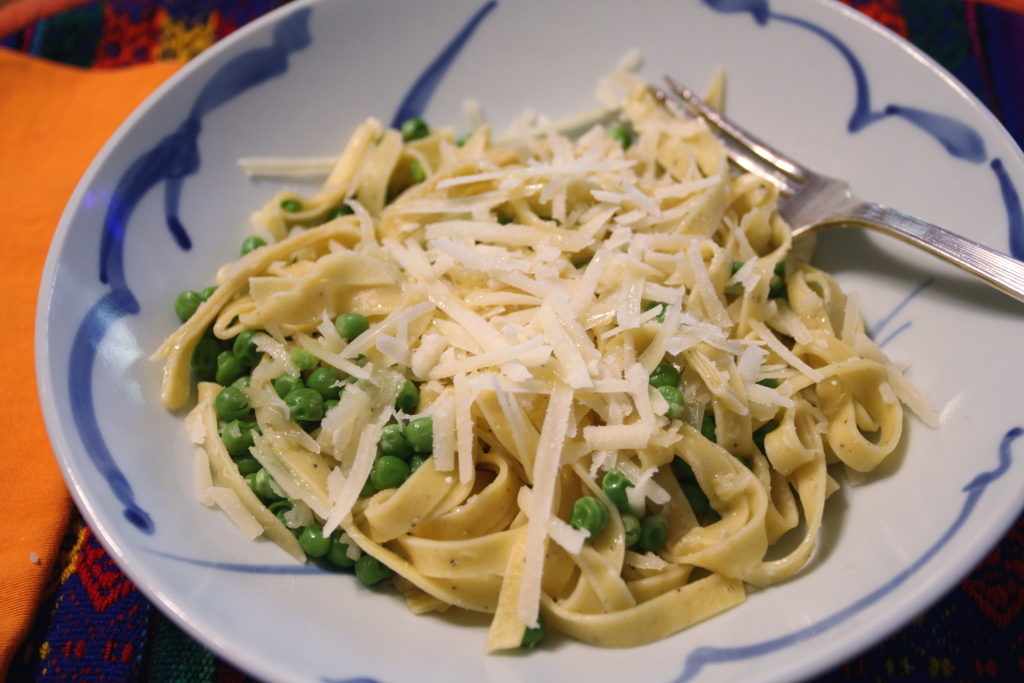
Serve. Place the pasta and peas in warmed bowls (we pop the bowls into a 200°F oven while boiling the pasta; it makes for a nice touch without any real effort), and sprinkle Parmesan cheese on top, followed by a drizzle of oil.
This pasta had a nice, light lemon taste, but the pepper flavor was a bit muted (we had only used about 1/4 tsp of black pepper), so we increased it for the recipe above. Of course, you, dear scratcher, can use whatever you like, even switching to thyme or garlic powder. No matter what you use, you’ll love having hand-scratched pasta for dinner, and, once you get in the habit, it’s not much harder than making store-bought pasta. Five stars.
