
No, we’re not Mennonites, but we did find a recipe for these in Eat Drink Delta, by Susan Puckett, and thought we’d try it out. The book isn’t really a recipe book at all; we guess that we’d best describe it as part travelogue, part travel guide, part reviews of establishments, with a few recipes scattered throughout. Whatever it is, it made us want to go explore the back of the roads Mississippi Delta (hint: it’s not south of New Orleans).
Eat Drink Delta made it sound as though you could find great home-cooking on nearly every corner in every town, and that you’d be able to sit a spell, perhaps listen to the blues, and watch the traffic flow by. It’s fun to read through, and it would be invaluable on any trip to that region.
We start with recipe just as is; we’ll give some of our suggestions at the end. We’re making a brioche dough and shaping it a bit. If we already had a favorite brioche dough recipe we would have used that, instead.
Makes 16 butterhorns.
Mennonite Butterhorns
Ingredients
- 1 cup milk
- 1/2 cup light vegetable oil such as canola
- 1 Tbs active dry yeast
- 2 tsp sugar
- 1/4 cup warm water 105°F to 115°F
- 1/2 cup sugar
- 1 tsp salt
- 3 large eggs
- 5 to 6 cups all-purpose flour
- 4 Tbs butter melted
Instructions
- In a small saucepan, combine milk and oil, and heat until bubbles form around the edges. Remove from heat and let cool to lukewarm.
- In a small bowl, mix together warm water, sugar, and yeast. Set aside until foamy, about 10 minutes.
- In a large bowl, whisk together salt, sugar, and eggs.
- Add milk and yeast mixtures to the egg mixture and whisk until well combined.
- Add flour 1 cup at a time and stir. A dough will form after about 5 cups.
- Turn out onto a floured work surface and knead, adding flour as needed, until the dough is smooth and no longer sticky, about 10 minutes.
- Shape into a ball, dust with flour and place in a large bowl. Cover with a damp towel and let rise until doubled, about 1 hour.
- Press down dough, knead several times and let rise a second time, covered with a damp towel, until almost doubled, about 1 hour.
- Turn dough onto a clean work surface, separate into two pieces and roll one out to a diameter of about 14 inches. Brush with butter and cut into 8 wedges.
- Starting on the wide edge, roll up each wedge and place 2 inches apart on a buttered baking sheet, with the point on the bottom.
- Brush tops with remaining butter, cover with a damp towel, and let rise until about doubled in size, about 45 minutes.
- Preheat oven to 375°F
- Bake 12 to 15 minutes or until light brown.
Ingredient discussion:
Eggs: free range, you’ll end up with a dough that looks more buttery. Butter, unsalted, please. Milk, we used skim from cows that say nooo to rBST. If you are wondering why, you might want to read about what it does to the cows. Wikipedia is a good place to start. We feel that you’ll only get the best and healthiest milk with the best and healthiest cows.
Procedure in detail:
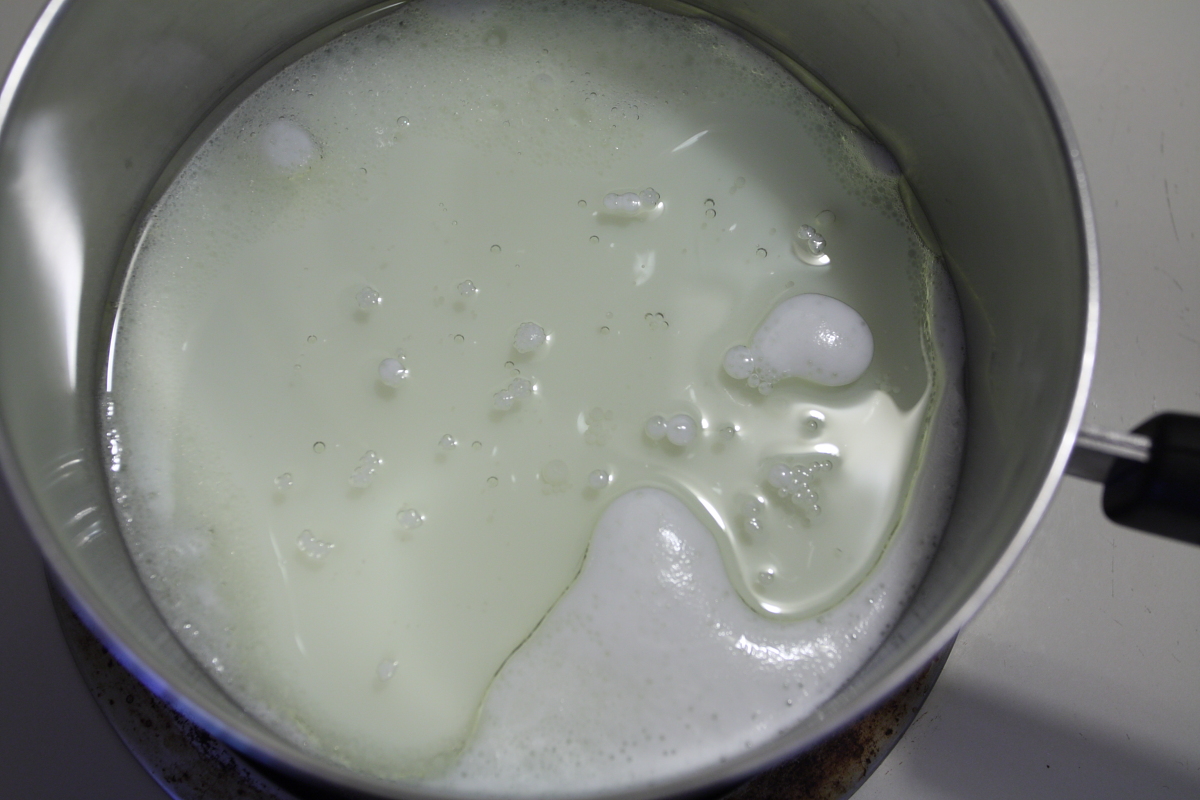
Scald milk. Place the milk and oil in a small saucepan. Heat over medium heat until it begins to bubble around the edges. Remove from heat and let cool to lukewarm.
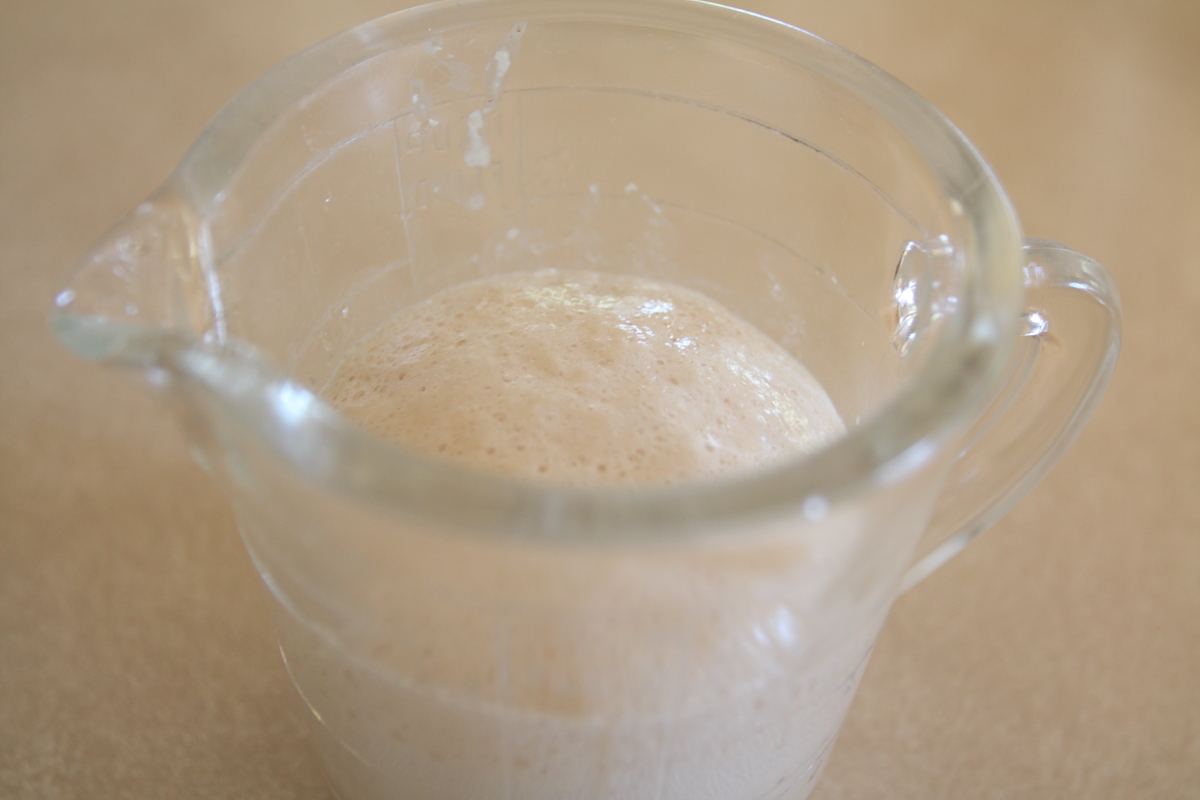
Proof yeast. Heat the 1/4 cup of water in the microwave (20 seconds was perfect for us), and check that it is the right temperature. If you’ve done this several times, you get a feel for how hot the water should be, so we check by putting our finger in the water. We suggest you learn to test the water by feel, too. It’s easier than getting out a thermometer, and, that way, you can whip up a batch of dough pretty much anywhere. Once your water is just right, add the sugar and yeast and set aside until foamy, about 10 minutes. If it doesn’t foam, your yeast might be dead; if the dried yeast is years old, you might need fresh. If it’s new, you might have misjudged the water temperature. Just try again.

Mix sugar and eggs. In a large bowl (you’ll use this for all the dough, so use about a 4-quart size), whisk together the salt and sugar. Crack in the eggs and whisk until well combined. The original recipe said to use a separate bowl, which we did; however, we ended up with another bowl to wash. We now know better.

Mix liquids. Now, add the yeast mixture and milk and oil. Whisk everything together, but get out a spoon for the next steps.
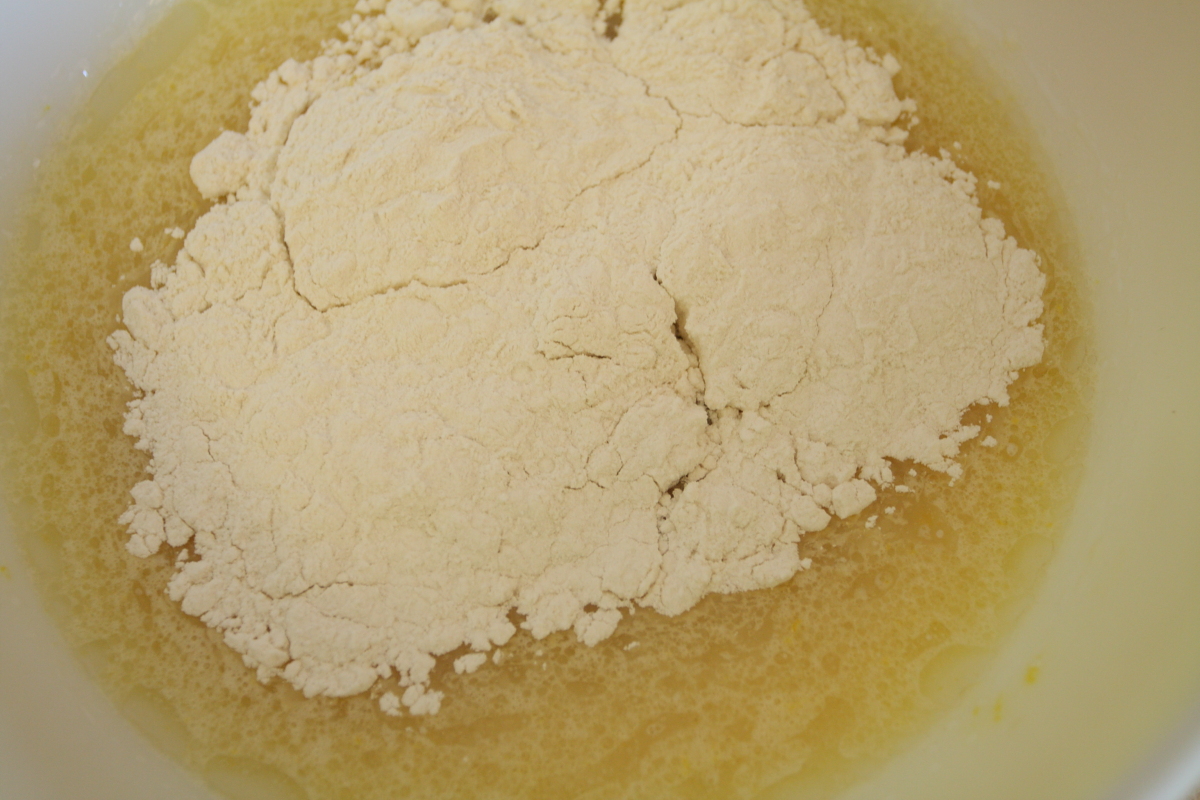
Add flour. Add the flour a cup at a time, stirring between additions until well combined. About the time you’ve added the fifth cup, the mixture will have changed from a batter to a dough, and will be ready for kneading. It will be a soft dough, so don’t be surprised.
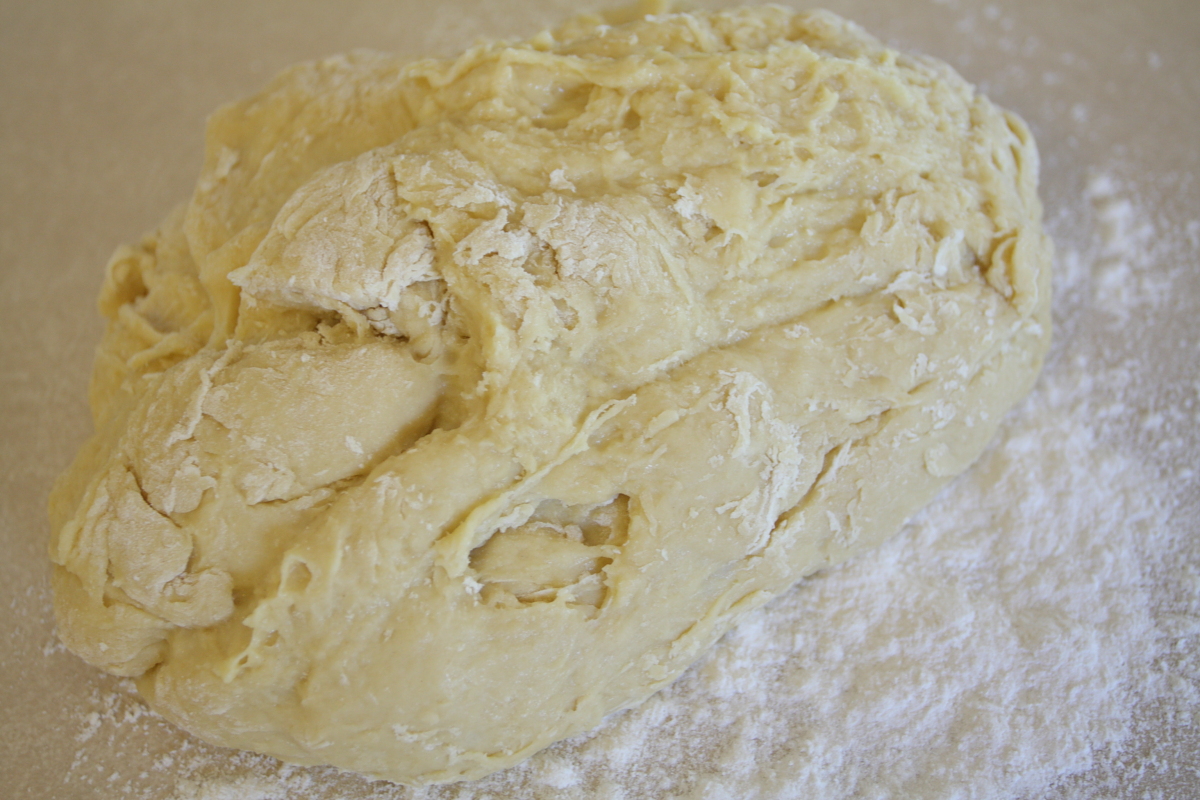
Knead. Turn the dough out onto a well-floured counter and knead, adding more flour as necessary, until the dough is smooth and supple and no longer sticky. This will take about 10 minutes. You can rest for 5 minutes halfway through if you need to. The dough will wait patiently for you to recover.
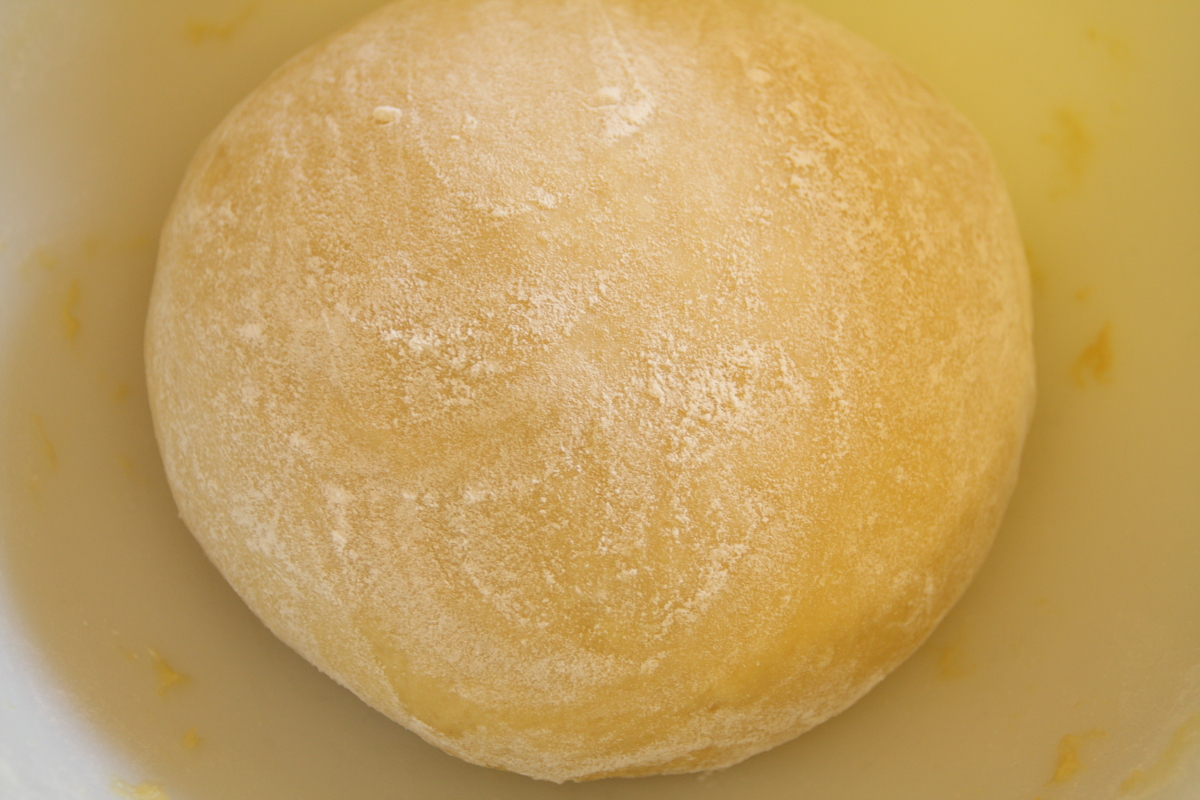
First rise. Shape the dough into a large ball, dust with flour, and set in a large bowl. We used the same bowl that we used for mixing; we just scraped it clean with a bowl scraper. Cover it with a damp cloth, set it off to the side, and do something else for around an hour, or until the dough is about doubled in size.
Punch down. Don’t do it — don’t actually punch the dough down; instead, using your fists, press the dough down, then knead it a couple of times so that it’s back to its original size. Place it back in the bowl, and cover with a damp cloth.
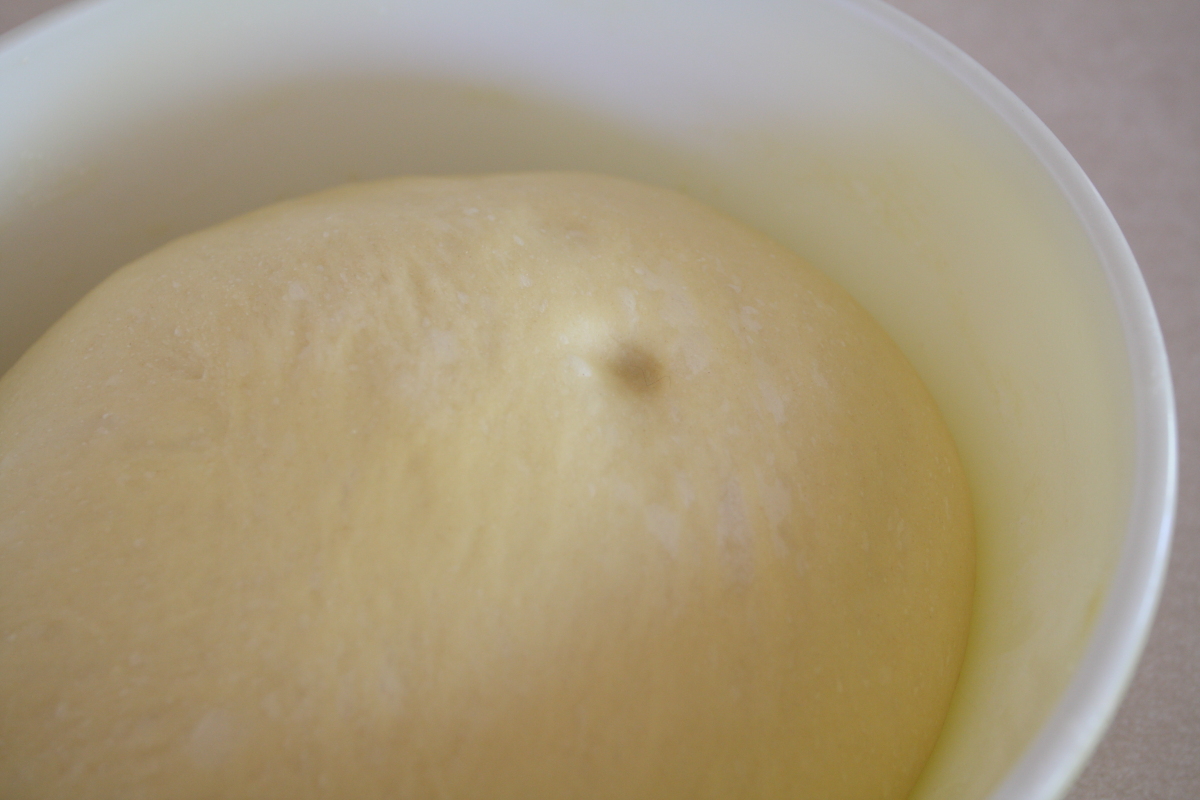
Second rise. This one might be a bit faster than the first rise, but let the dough sit until doubled in size, about an hour. The dough will be ready if an indentation made with your finger doesn’t spring back.
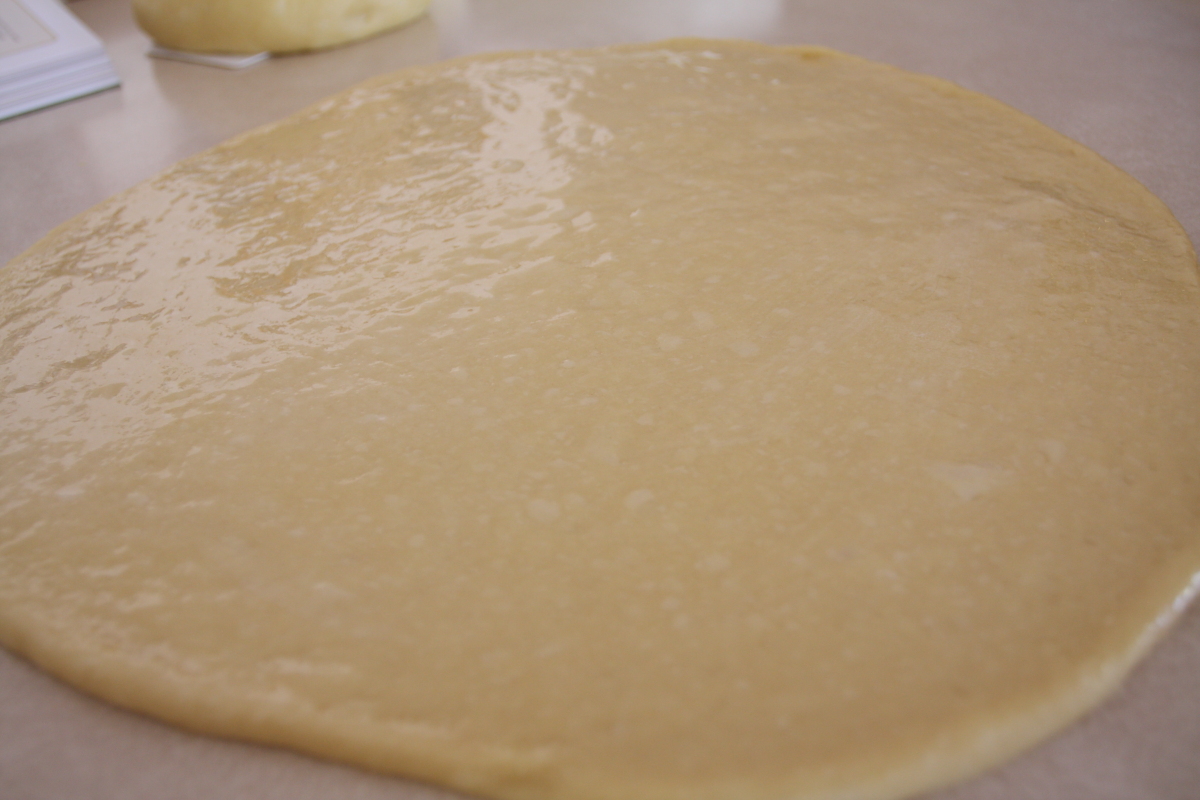
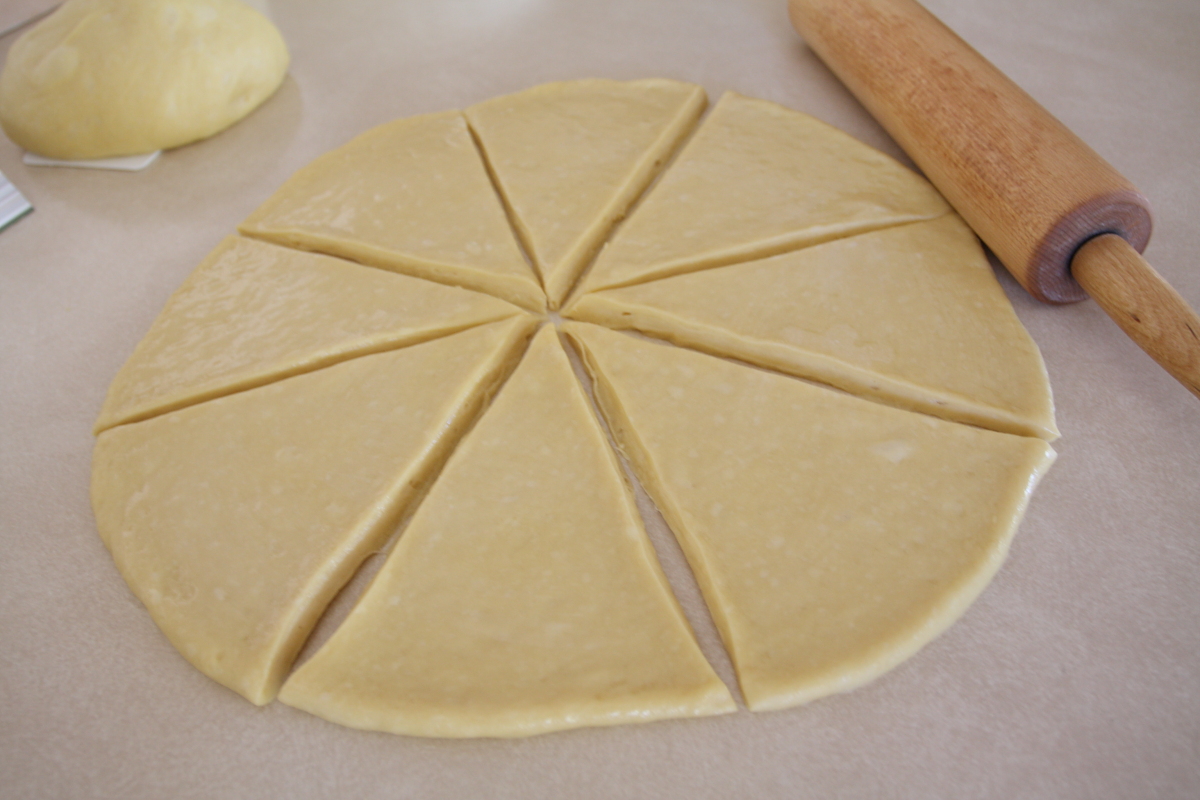
Divide and shape. Divide the dough into two pieces and shape each into a ball. Working with one ball at a time, roll out to form a disk about 14 inches in diameter and 1/4 inch thick. Brush the disk with melted butter, then slice into 8 wedges, much like you were slicing a pizza. Starting from the wide edge, roll up each wedge, stretching the dough a bit as you work. Pinch in the tip, and place horns about 2 inches apart on a buttered baking sheet (or use a silicone baking mat), with the tip turn down. Continue until you have 16 rolls. Then brush each with the remaining butter.

Proof. This is really the third rise for the dough, but you don’t want the butterhorns to double in size. You need to get them into the oven just before they reach that size, so they can puff up even more when the oven heat hits them (oven spring). So, cover with a damp towel, and let rise for about 30 to 45 minutes.
Preheat oven to 375°F.
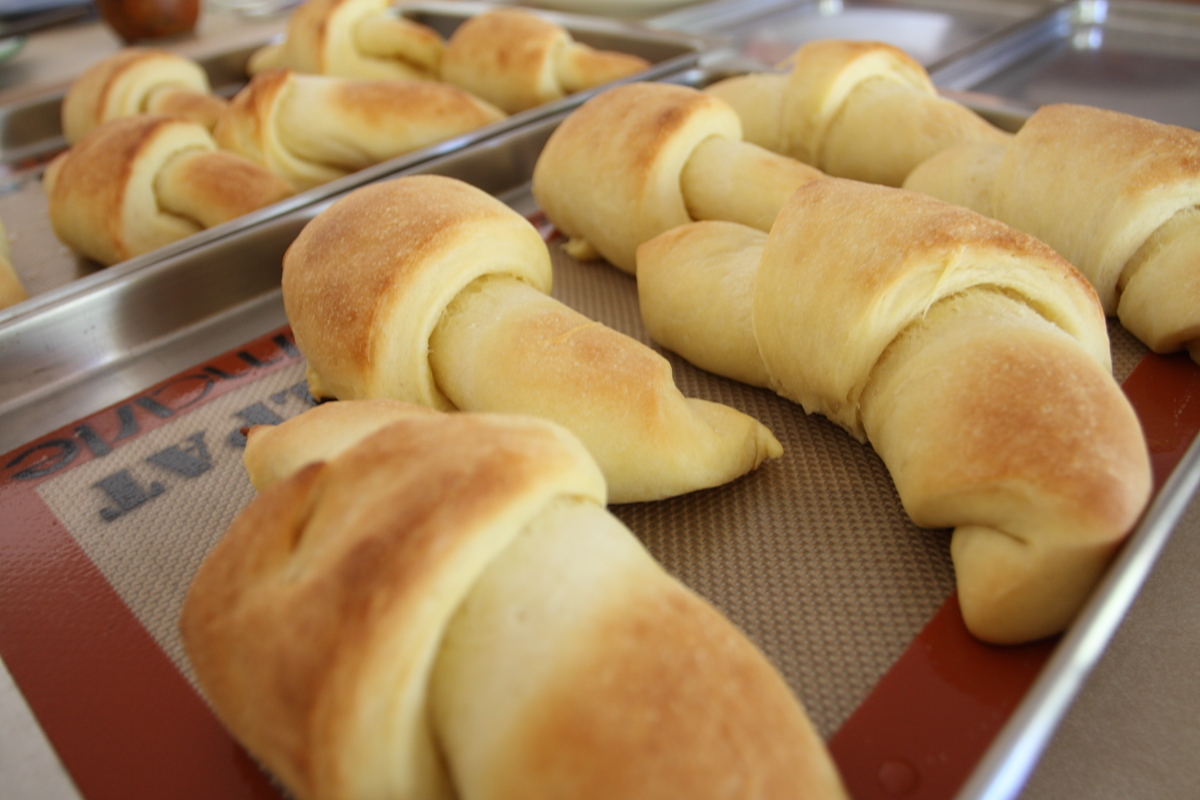
Bake. Bake the butterhorns for 12 to 15 minutes or until golden brown.
Cool. Remove for baking sheets and cool on a rack. If everything goes well, you have 16 super-light, croissant-shaped rolls.
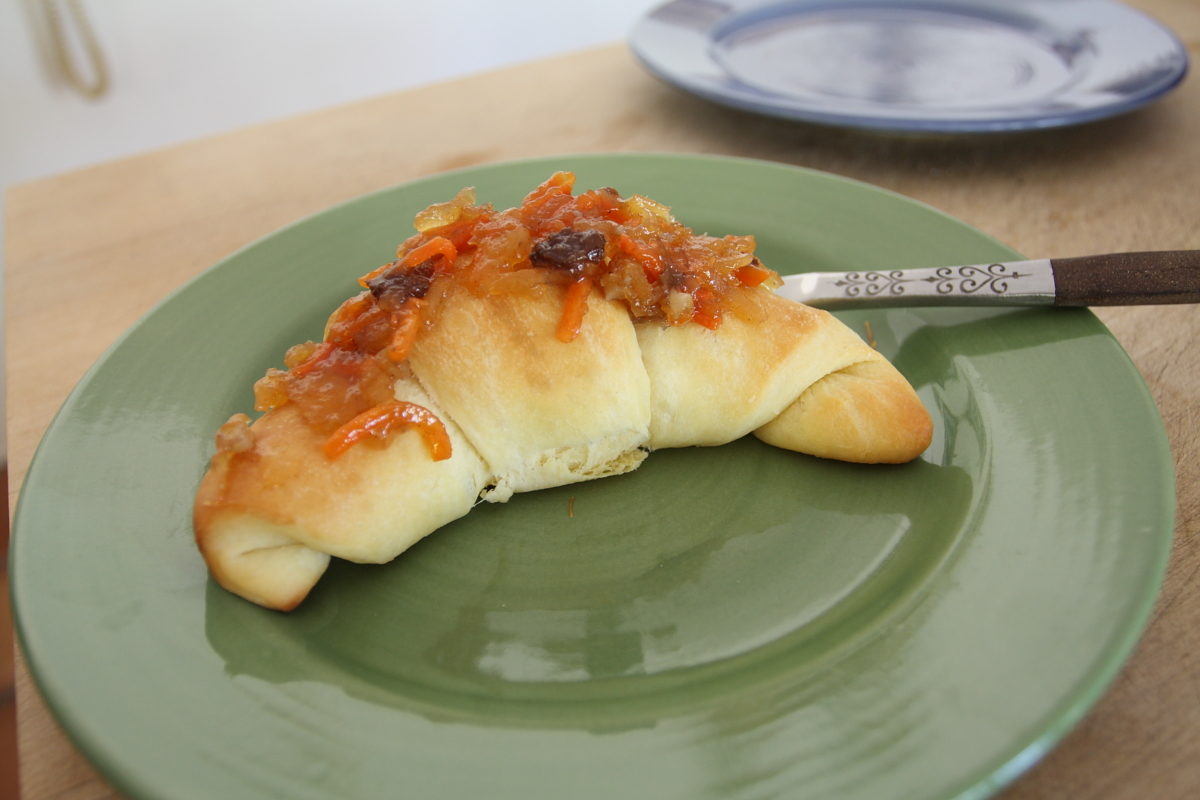
Brioche dough is wonderful stuff, isn’t it? Turns out light and airy, and it’s pretty good-tasting, too. We used these for quick cheese sandwiches and had one topped with Carrot Cake Conserve, and we would say that the latter was by far the best. Brioche dough is really tender and light in flavor, so it ends up a bit smushed and overwhelmed by sandwiches (still good, though). With a jam or conserve, though, it really shines. We give these four stars, mainly because we think they could be improved with two simple changes: 1) use melted butter instead of the 1/2 cup of oil, and, 2) we’d turn this dough into 32 rolls instead of 16, so they would be a better size for snacking.

