

Yes, easy wheat bread. We don’t claim that it’s whole-wheat bread, because it isn’t (it’s about 50% whole-wheat), but we will say that this bread eliminates just about everything that most people find difficult about making bread at home: the kneading and kneading. Yet, it’s a great bread with some of the best texture that we’ve ever had in a wheat bread, and it’s become our weekly recipe for making bread here at Scratchin’ It Central.
One of our goals in bread baking is to increase the amount of whole grains that we use. Yes, you can just substitute whole-wheat flour for whatever flour you use, but we think you’ll be disappointed with the result. We are. You’ll get a loaf that tastes okay, but is crumbly inside with a small grainy crumb. The type of whole-wheat bread that gives whole-wheat bread a bad name. We wanted bread that you could use to make sandwiches, that would stand up to some serious buttering; basically, an artisan loaf that would stand out as the staff of life that it is.
So, we spent years, literally years, researching, reading, and chatting with an expert baker, and testing breads with increased whole-wheat content, breads that you can make with the least amount of effort. It paid off, as you’ll see.
When we first tried to increase the amount of whole-wheat flour, we tried more kneading — it didn’t work. We chatted with the best bread baker in Pima County, Don Guerra of Barrio Bread — he said to increase the hydration. We did that; better. Then we read that whole-wheat flour needs a “soaking stage;” even better. With the longer soak and increased hydration, we kneaded less; easier, too. We tweaked and tested, and finally came up with something we could release to all the Scratchin’ It bakers out there. But, don’t be surprised, as we’ll still be tinkering and might one day have something even better.
Easy Wheat Bread
Ingredients
- 750 g water
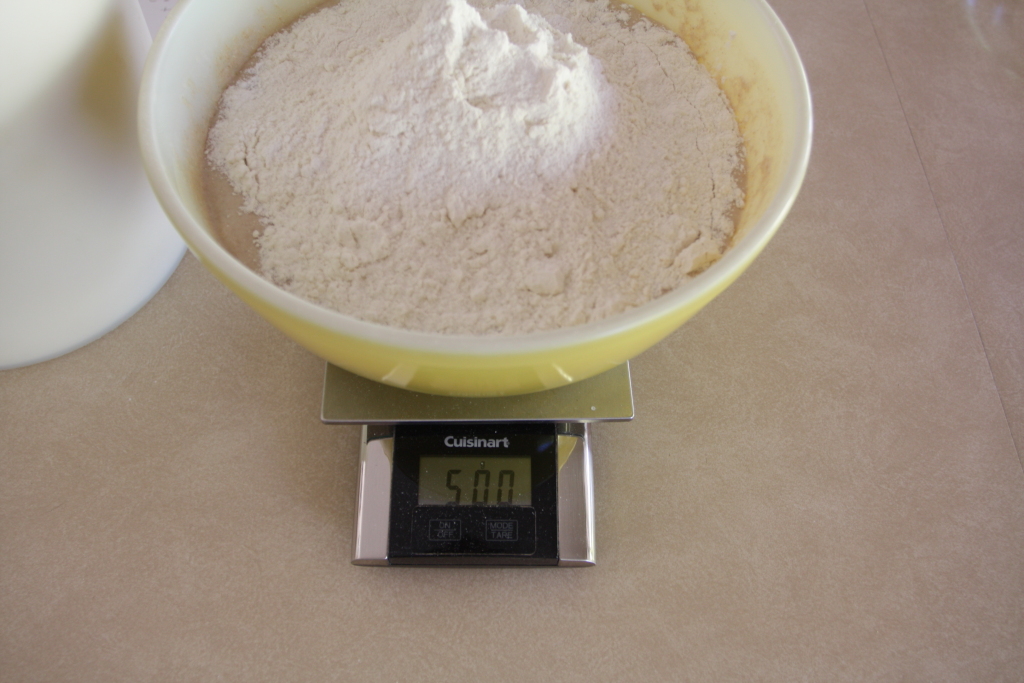
- 500 g white whole-wheat flour
- 360 g starter or 180 g bread flour, 180g water, and a pinch of dried yeast
- 500 g bread flour
- 22 g salt
- Pinch vitamin C powder optional
Instructions
- In a large bowl, mix together water and wheat flour. Cover and let stand several hours.
- Add starter and mix until combined. Cover and let stand until bubbling, about 2 to 3 hours.
- Add bread flour, salt, and vitamin C, if using. Use a bowl scraper to fold in and mix dough. Cover.
- For the next 2 hours, every 15 to 30 minutes, fold the dough over itself about 15 times. Replace cover.
- Refrigerate dough overnight, up to 15 hours. It will be about doubled in size.
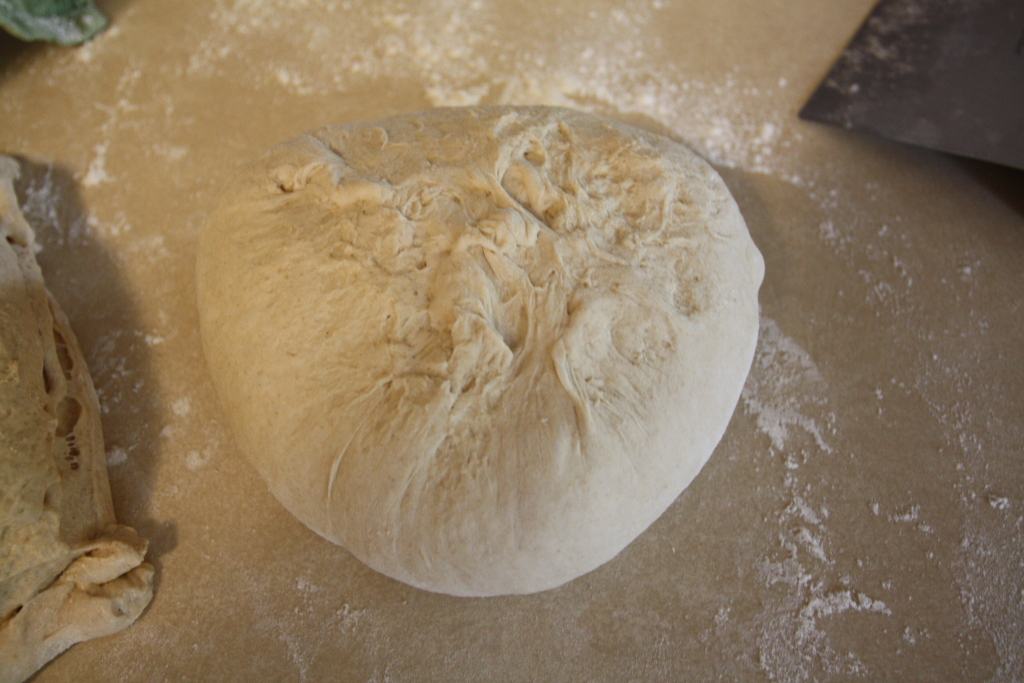
- Deflate dough and shape into a ball. Cover and let rise until doubled again, 3 to 5 hours.
- Prepare proofing baskets by lining with towels and sprinkling with flour.
- Carefully turn out dough unto floured surface, divide into 3 pieces and shape each into a ball, trying to minimize deflation. Set, rough side up, in proofing baskets. Proof until dough is very soft.
- Preheat oven and dutch oven or combo-cooker to 450°F.
- Place ball of dough on lid of dutch oven. Slash. Cover with dutch oven and bake 20 minutes. Remove cover and bake an additional 20 minutes. Remove to cool. Repeat with remaining loaves.
Ingredient discussion:
First up, starter. What is it? We have a starter culture that we’ve maintained for years. Each week we use some to make bread, and we feed the remaining starter so we’ll have some next week. It took a while to get used to making bread this way, but now it’s just about the only way for us. If you’re interested in starters, we suggest that you check out the book Tartine, by Chad Robertson, as he describes how to grow your own. We describe our process for feeding the starter in our Basic Bread recipe. Now, if you don’t want to deal with a starter, try this: mix together 180 grams of bread flour, 180 grams of cool tap water, and a pinch of dried yeast and let it sit on the counter until bubbly and nearly doubled. Then start your bread as below. For flour, we use King Arthur white whole wheat and King Arthur bread flour and we strongly suggest that you do, too. It’s simply the best widely-available flour. For water, we simply use tap water, which, in the US, is held to higher standards than any bottled water. There’s no need to use special salt, either; we just use Morton’s iodized table salt. Finally, we really, really suggest using a scale for baking; it makes a real difference.
Procedure in detail:
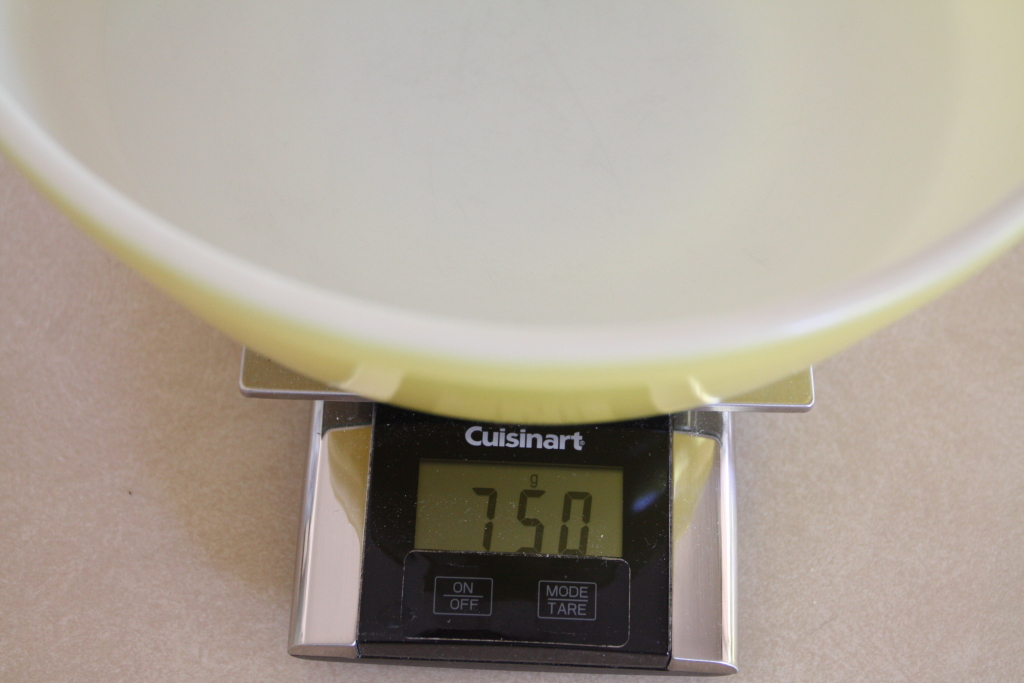
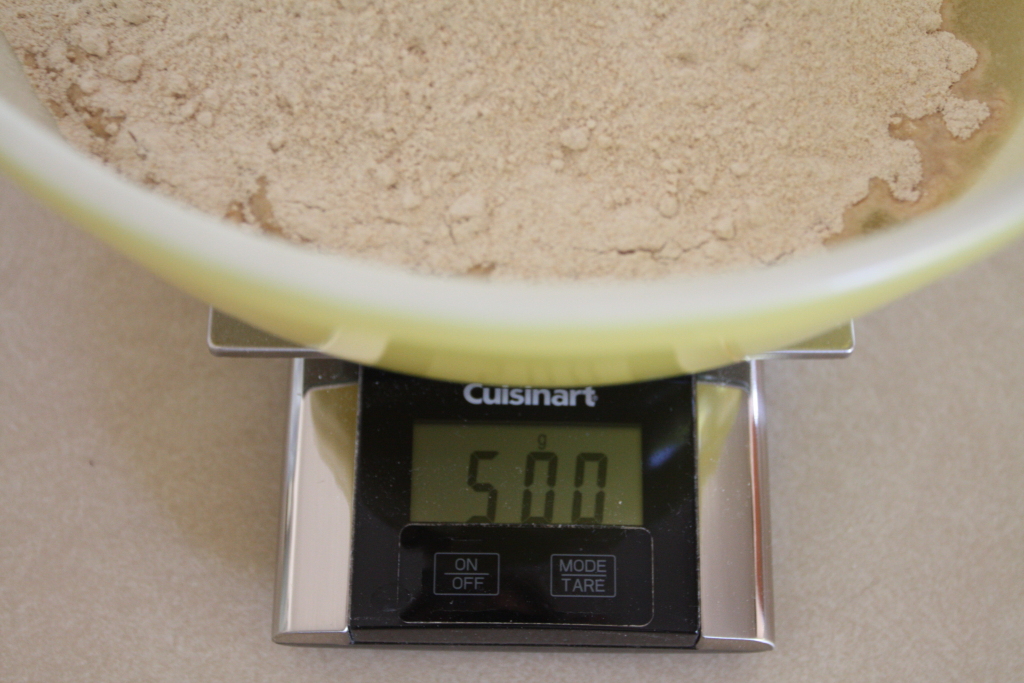
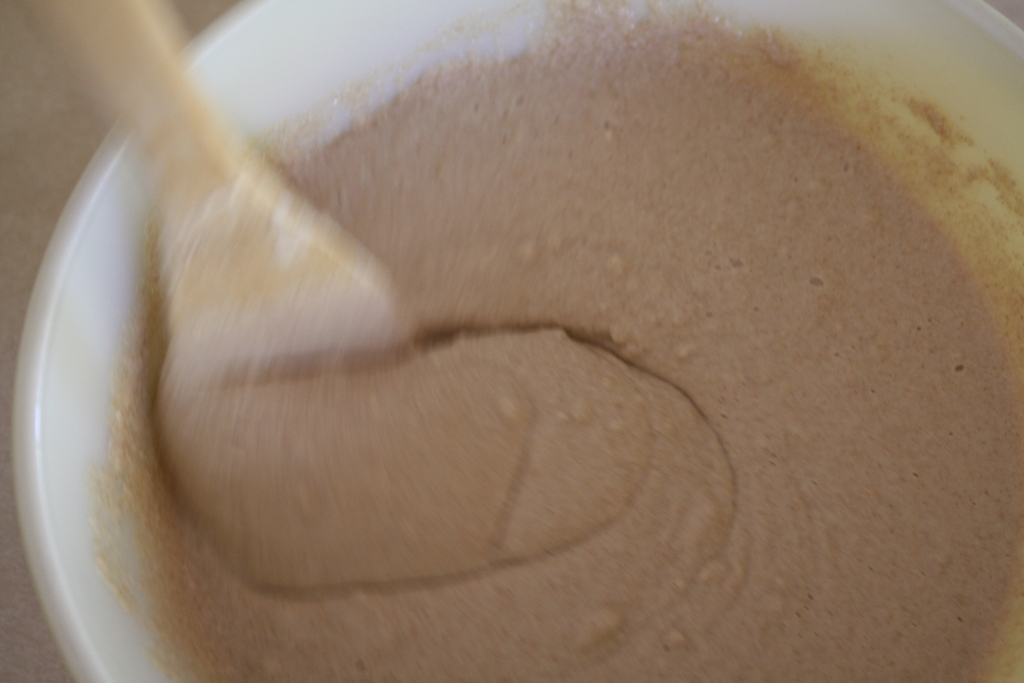
Soak whole-wheat flour. Measure 750 grams of water into a large (4-quart) bowl, followed by 500 grams of white wheat flour. Stir together until it’s like pancake batter. Cover and let soak for several hours. We often do other things during the soak time, so it could be 3 hours or it could be 5 hours. Just make sure it’s several hours. It’ll be okay.
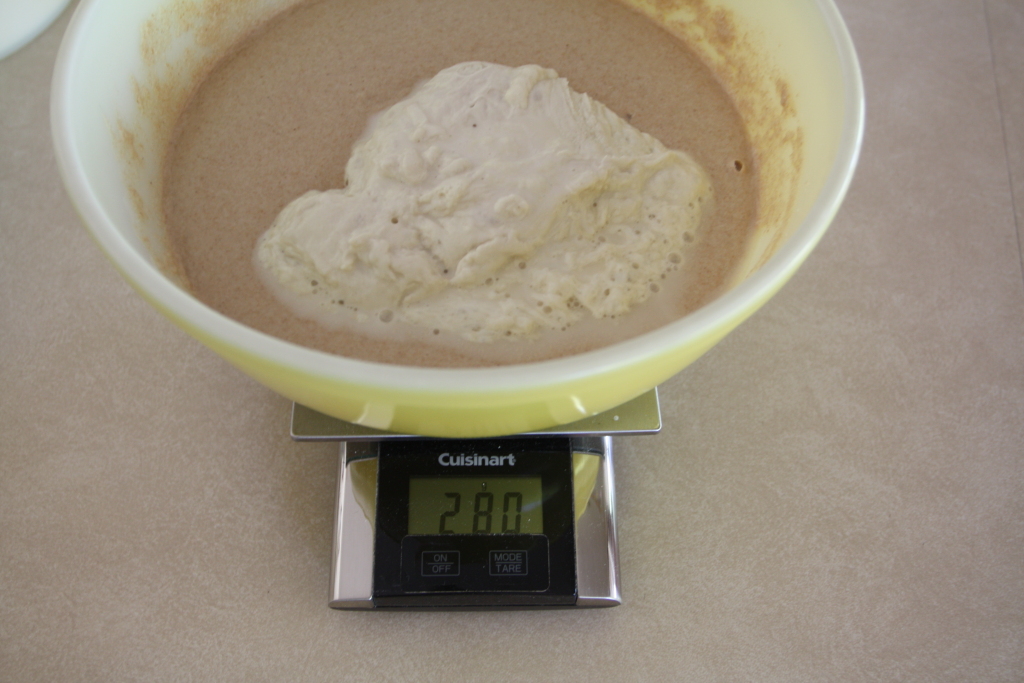

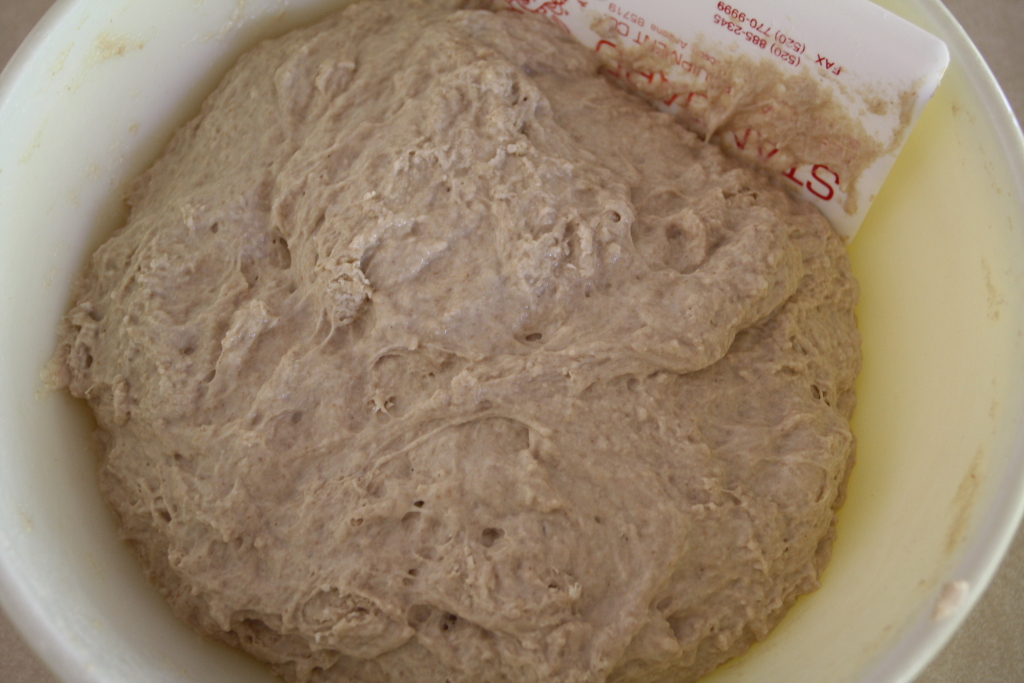
Add starter. Several hours have gone by, and you suddenly remember that you’re making bread, so stir in the 360 grams of starter. If you don’t have exactly 360 grams of starter, that’s okay, but you do need to compensate so that it seems as if you’ve added 360 grams of starter. In our case, we added 280 grams of starter, which is 80 grams short. Now, starter is just half water and half flour by weight. Thus, we added 40 grams more bread flour (half of the missing starter) and 40 grams more water (the other half of the starter that we were short), putting everything back on track. Stir in the starter, and, once again, let your dough sit, covered, until it’s bubbling a bit. This can take several hours, too. Just check every 30 to 45 minutes, and, when you see some bubbles, move on to the next step.


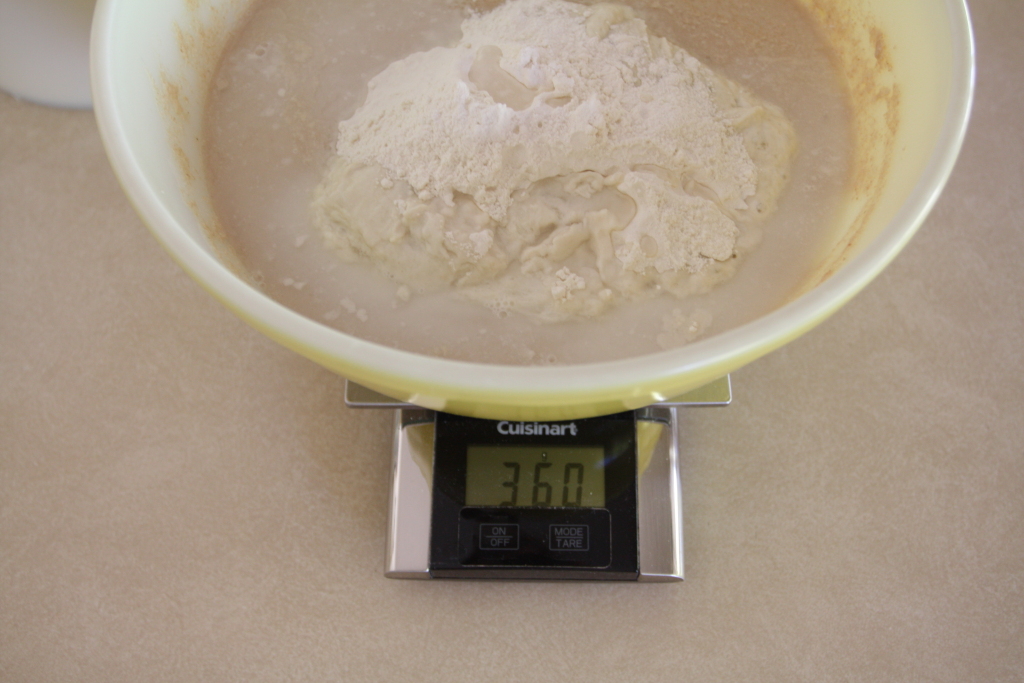
Add bread flour and salt. Add the remaining 500 grams of bread flour and the 22 grams of salt. If you’re using vitamin C powder — it’s a dough conditioner, making the dough smoother, and it helps keep the bread from getting stale — add that now, too. The vitamin C is completely optional; we add it if we remember. Now for the hardest part: use a bowl scraper to mix in the flour by scraping the edges of the bowl and folding the dough over the flour. You need to do this until the flour is all mixed in and you have a dough, not a mixture of dough and flour. But, the best part is that the dough can be shaggy and rough. Once mixed, cover.
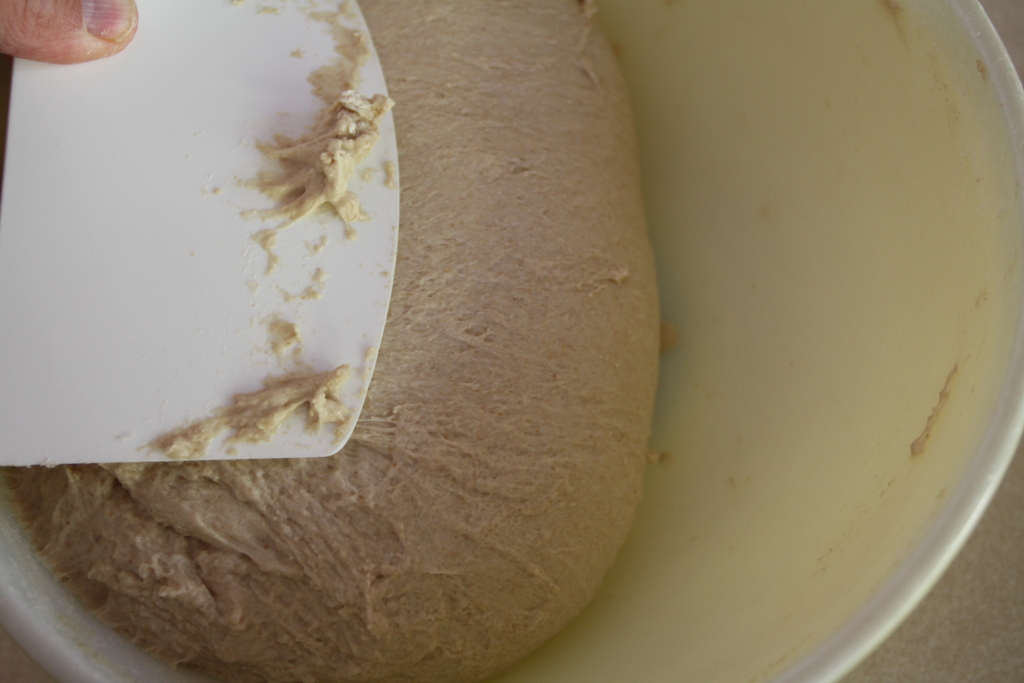
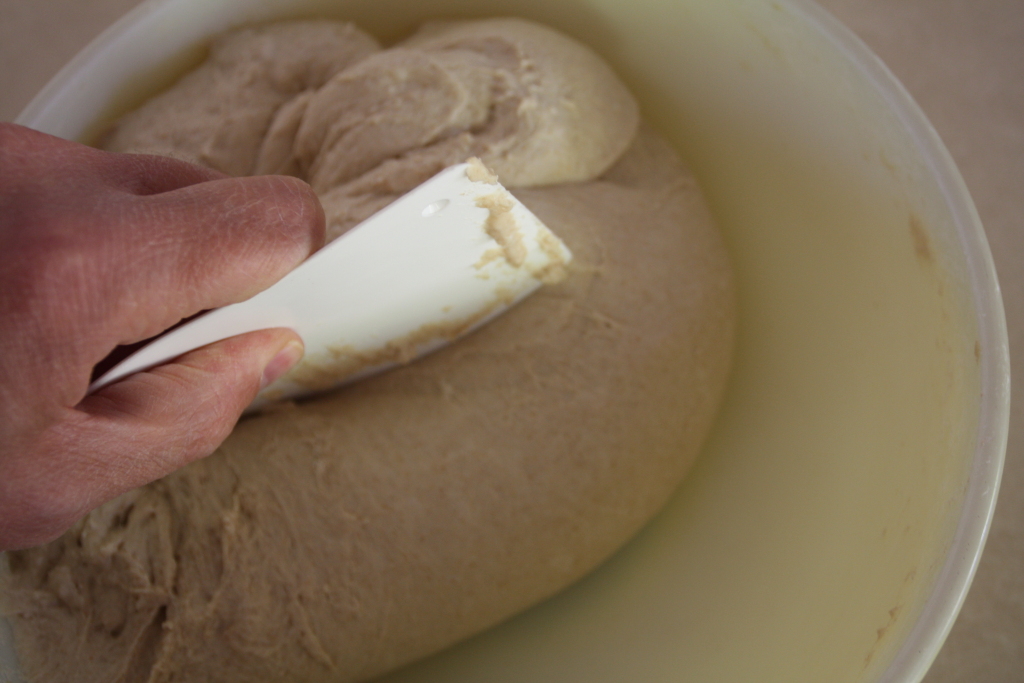
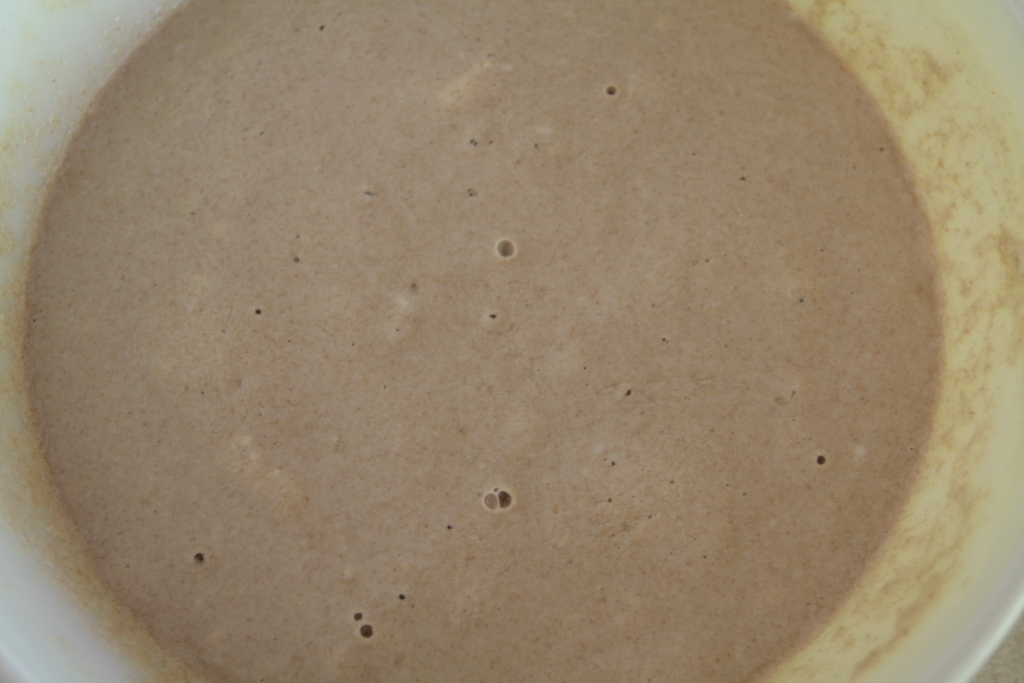
Fold dough. Here’s the secret: for the next couple of hours, uncover the dough every 15 to 30 minutes and use your bowl scraper to fold the dough away from the edges of the bowl and over itself. You only need to do about 15 folds, then flip the dough over, cover back up and go about your business. After 2 hours or so, your dough should be pretty smooth and look, well, like bread dough.

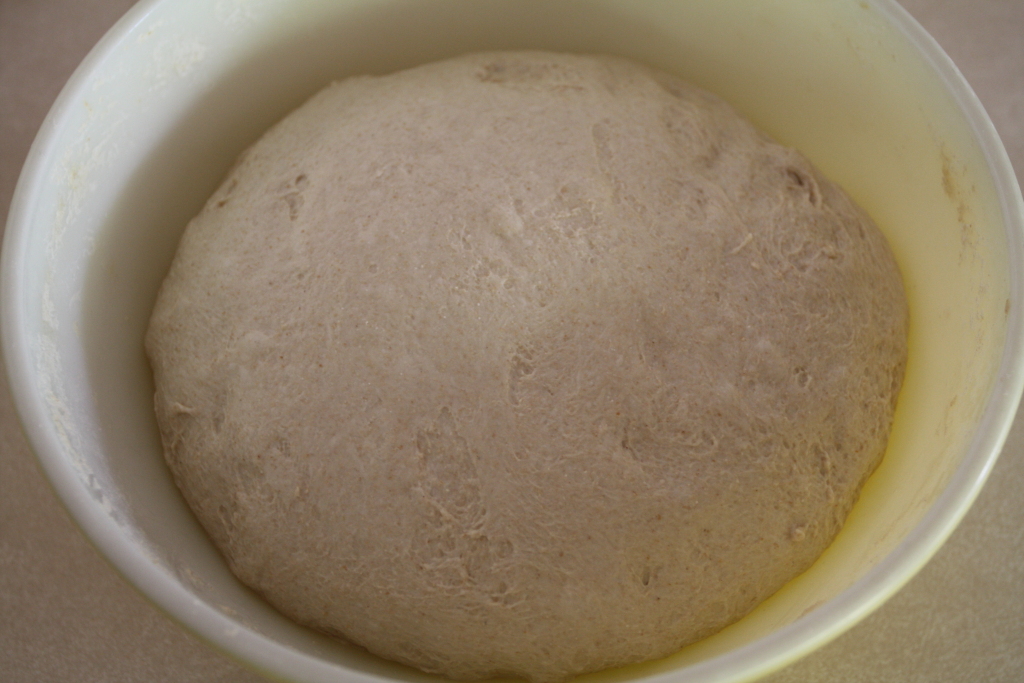
Refrigerate. Yep, leave the dough in the bowl, leave it covered, and place it in the refrigerator overnight. You’ve done all the hard work, so you should rest and you need to let those little yeast cells do some work. By the next day, your dough should have doubled in size.

Deflate dough. Using your hands (the dough won’t be sticky when it’s cold), gently deflate the dough, folding the edges of the dough under to form a ball. You can pick up the dough if it’s easier; the only real thing that’s important is that you try not to break the gluten coat that has formed on the surface. Once the dough is deflated, put it back into the bowl and cover so it can rise again, this time at room temperature.
Let dough rise. Leave the dough alone for the next 3 to 5 hours — we went to see a play — and let those yeast cells do all the work, until the dough has doubled in size.
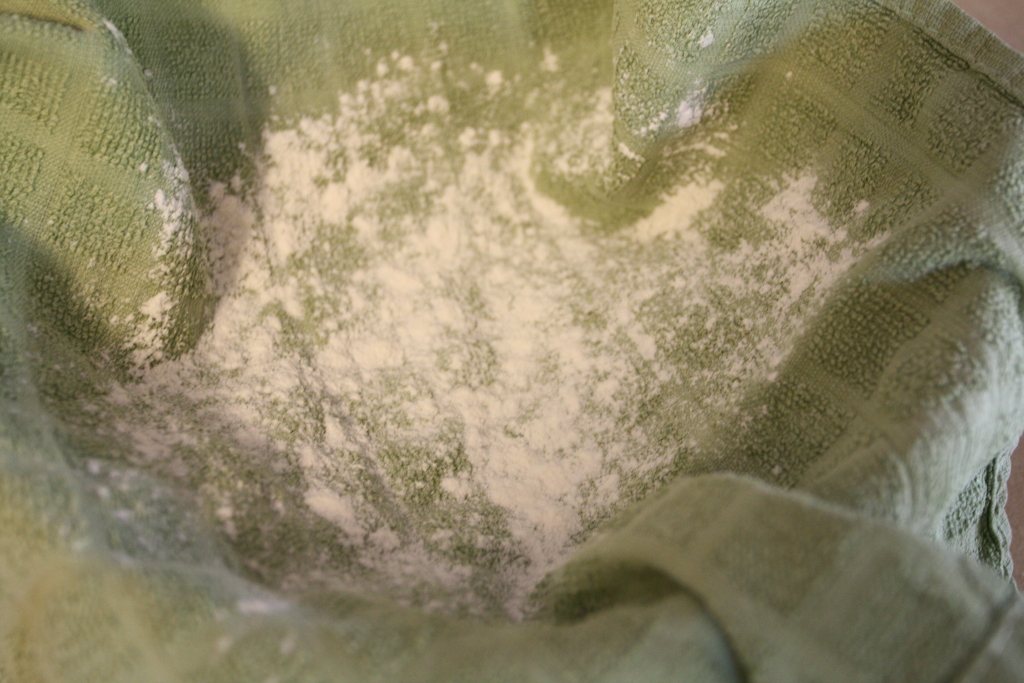

Prepare baskets. We’re going into the final stages of bread making, so prepare three baskets by lining them with clean towels dusted with flour. If you don’t have three baskets, bowls will do, or colanders, or you can get wicker banneton baskets. They’re traditional, but somewhat pricey.

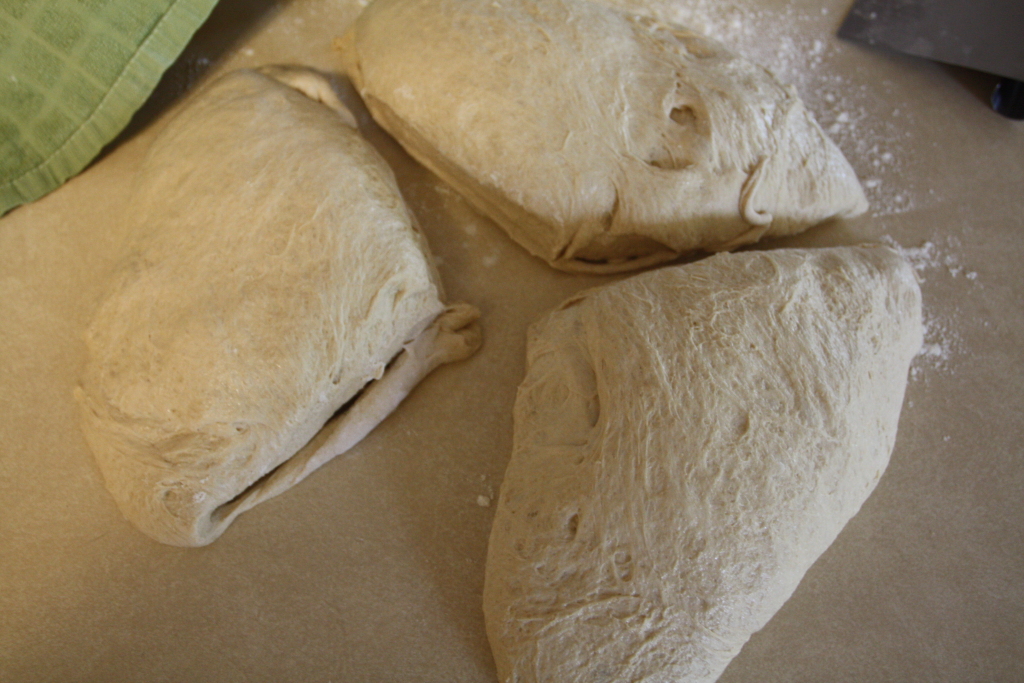
Divide dough. Turn the dough out onto a floured work surface, trying not to deflate the dough. Cut the dough into three equal-size pieces and gently fold up the cut edges — again, try not to deflate the dough much — together so you keep that smooth gluten coat intact. Place each ball of dough into a basket with the rough side up; this will be the bottom of the loaf.
Proof. Let the dough rise in the baskets for an hour or two, or until the dough is quite soft and has risen to fill each basket almost all the way (well, that really depends on the size of your basket). The dough should slowly spring back when pressed with a finger. About 30 to 45 minutes before you think the dough is ready, you need to be preheating everything as described in the next step.
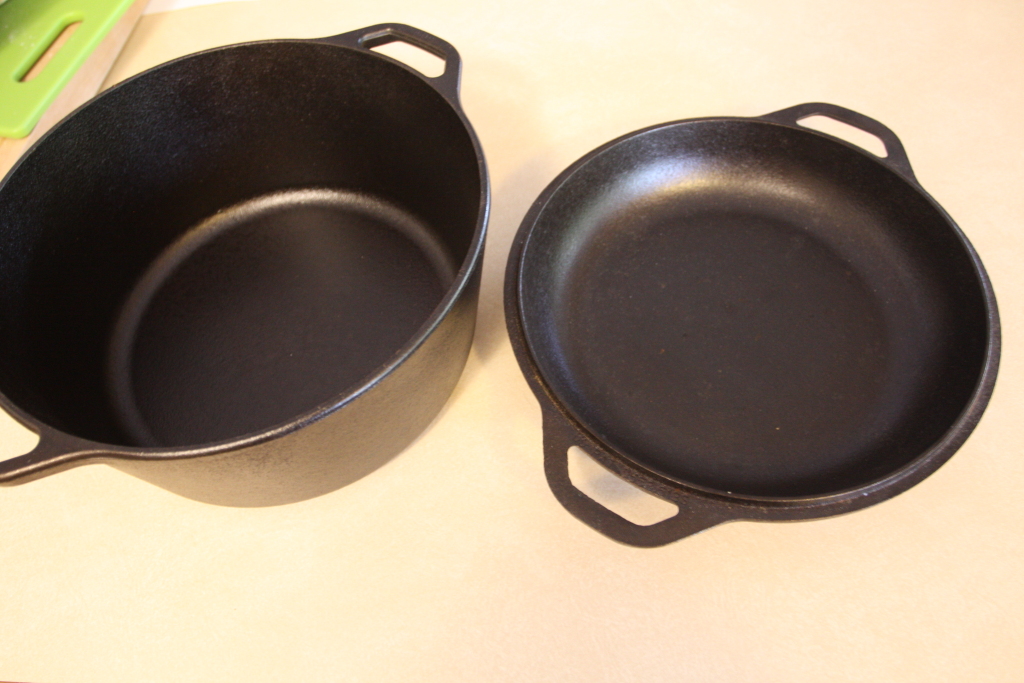
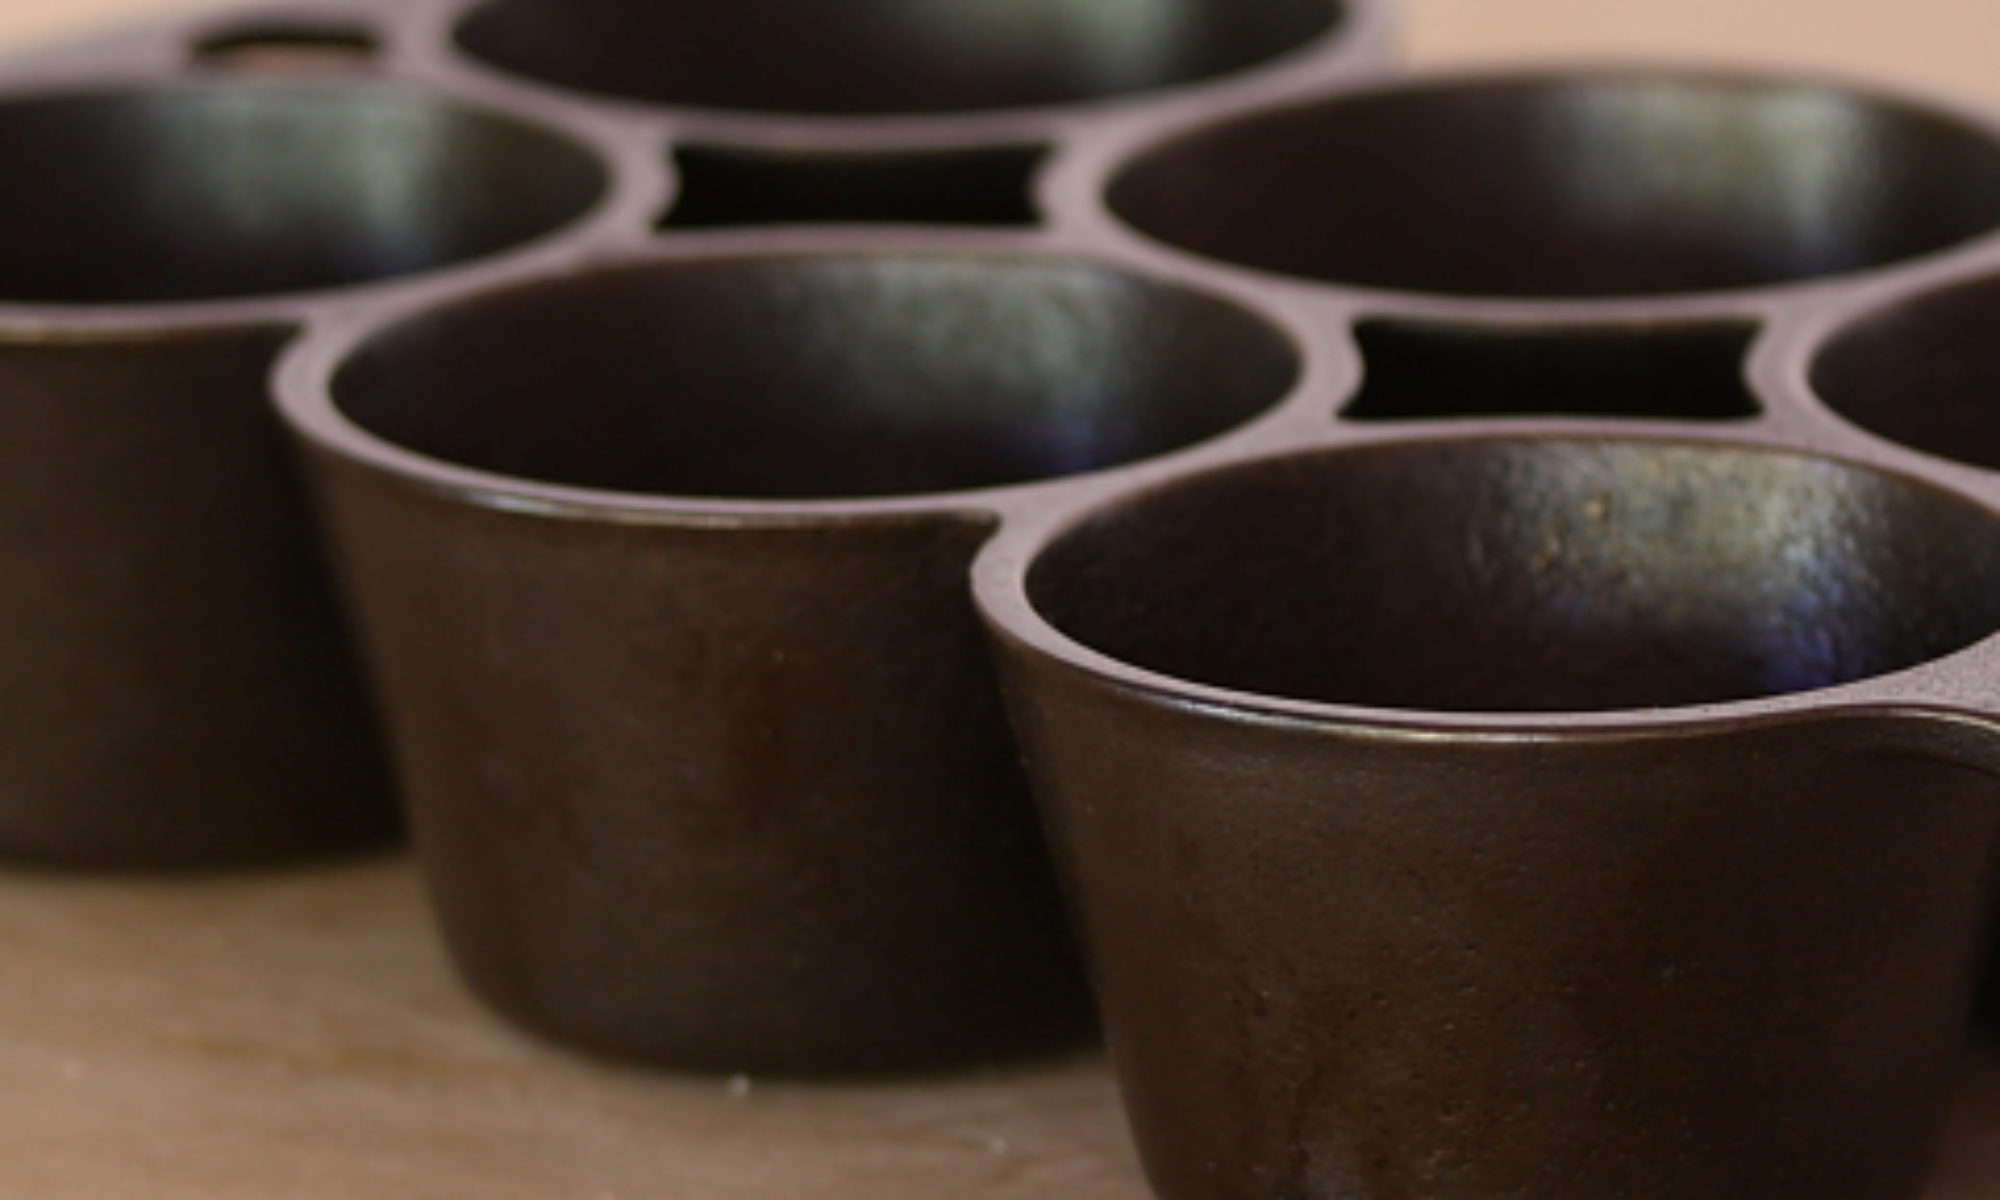
Preheat baking equipment. Here’s the secret of baking great bread: a cast-iron dutch oven. Lodge sells one that they call a “Combo Cooker,” and another they call a “5-Quart Double Dutch Oven.” We have the latter, and bought it specifically to bake bread. Both can be used upside-down, which is the key point. Now, if you don’t have a dutch oven, fear not; you can bake on a baking stone, or even a baking sheet. Your bread won’t have as good a crust, but, hey, it’s still homemade bread, so it’ll be better than anything you can get at a store. Place the dutch oven and lid (or baking stone) in the oven and preheat it to 450°F. Yes, that hot! And let it get really hot. Let that oven heat for about 30 to 45 minutes.
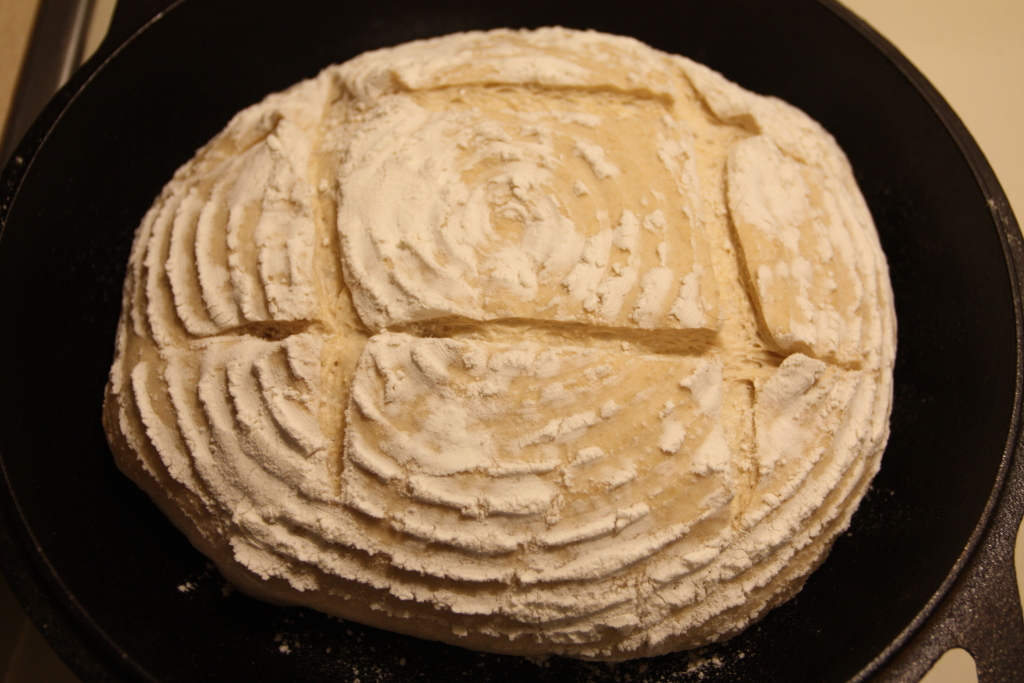
Bake. Never forget how hot that dutch oven is. So, carefully remove the lid of the dutch oven — remember, the dutch oven we use upside-down, so the lid is the bottom and the bottom will be the lid — and set it in a heat- proof and safe place. Uncover a ball of dough and flip over one of your baskets, dropping the dough into your hand. Carefully set the loaf into the lid. Now, if you wish, you can slash a design in the ball of dough with a razor or sharp serrated knife. The slashing helps control how the loaf will rise while baking, and it’ll release steam as the bread bakes, so we really recommend the slashing. Place the loaf in the oven and cover with the cast iron “lid” (really the bottom of the dutch oven). If you’re using a baking stone, place the loaf –preferably several loaves, if possible, right on the stone — no need to cover. Same with a baking sheet, although you’ll want a piece of baking parchment down to prevent sticking. Let the bread bake with the lid on for 20 minutes, then uncover and bake for an additional 20 minutes (keep the cover in the oven to stay hot if you have more loaves to bake). For the other methods, let the bread bake for a total of 40 minutes. Repeat with the remaining loaves.
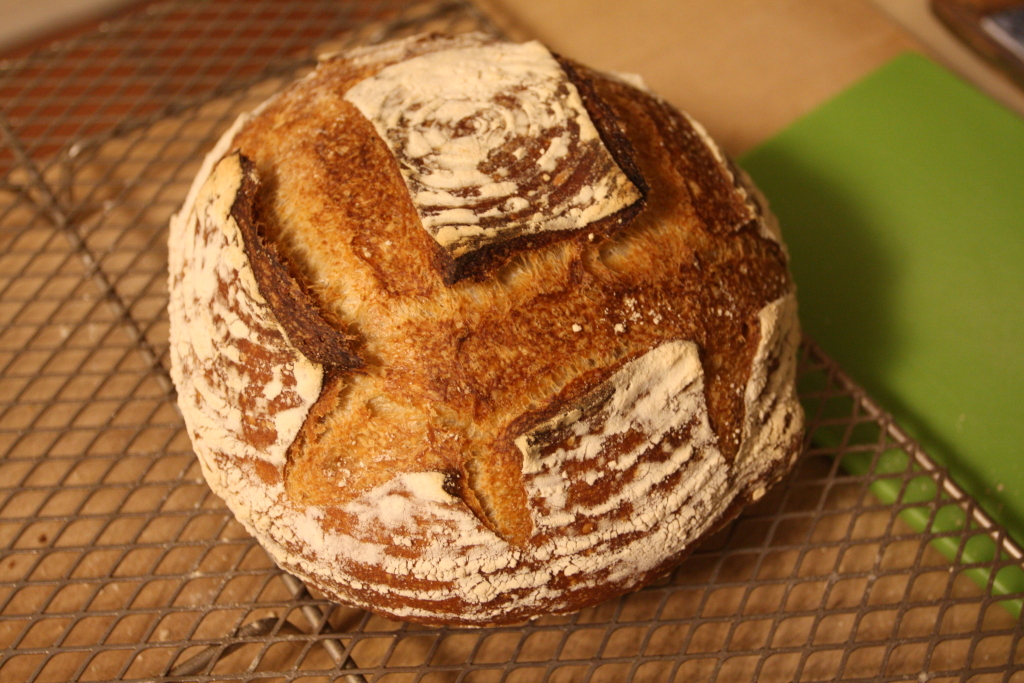
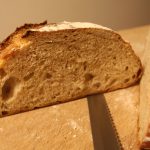
Cool. Remove the loaf and place it on a baking rack to cool. Resist the urge to cut into the loaf immediately or you’ll just crush it. Once cool, slice and enjoy.
As promised, an easy wheat loaf of bread. It takes time, but almost none of the effort. Instead, you let the yeast do all the work for you, and those yeast do a really, really good job. Sure, the bread takes two days, and you do have a couple of hours of baking on day two, but, sometime when you have a down weekend, take the time and make this bread. If you’re a scratcher, you’ll find this is the easiest, best bread you’ve made, and, once you get in the habit, you’ll find that, with all the time the dough just sits, you can work it in around anything else you’re doing. Five stars.
