

Making cheese at home seems unrealistic, doesn’t it? We mean, it just seems as though some sort of alchemy takes place that’s beyond the realm of mortals like us. Well, it may seem that way, but think about the names of some cheeses: farmer’s cheese, cottage cheese, for instance; both refer to where they were made. So, it’s obvious that at least some cheeses were made on farms or in cottages and probably at home, too. Let’s try scratchin’ out an easy one.
This particular recipe comes from Eating with the Chefs, by Per-Anders Jörgenson, and we wish we could remember which chef/restaurant provided this recipe. At this remove, all we can remember is that it might be from a place that makes bagels in NYC. Ah, well. You can only remember so much. We will note that we didn’t modify the recipe at all.

Home-Made Cream Cheese
Ingredients
- 1 1/2 cup milk
- 1/2 cup heavy cream
- 4 Tbs white vinegar
- 1 1/2 - 2 Tbs crème fraîche or homemade sour cream
- fresh lemon juice to taste
- kosher salt to taste
Instructions
- Line a colander with butter muslin.
- Heat milk and cream to 188°F. Remove from heat.
- Stir in vinegar. Let stand 15 minutes.
- Pour into lined colander and let drain for 2 hours.
- Add crème fraîche and stir until smooth. Add lemon juice and salt, to taste.
Ingredient discussion:
Do not use ultra-pasteurized milk or cream for this recipe. Sure, the producers say it’s the same, but the first time you try to make cheese from ultra-pasteurized milk, you’ll see it’s not the same. That high heat destroys some important protein molecules and curd will not form. You’ll end up with a gloppy mess. Also, try to find the freshest milk and cream you can. Vinegar can be just plain ordinary white vinegar; even the store brand is fine. You’re adding the lemon juice for flavor, so use juice that you squeezed yourself. We found that the juice from about 1/2 a lemon was just about right. Oh, and don’t use cheesecloth to strain the curds. The weave of cheesecloth is too coarse, and the curds will simply pour right through.
Procedure in detail:
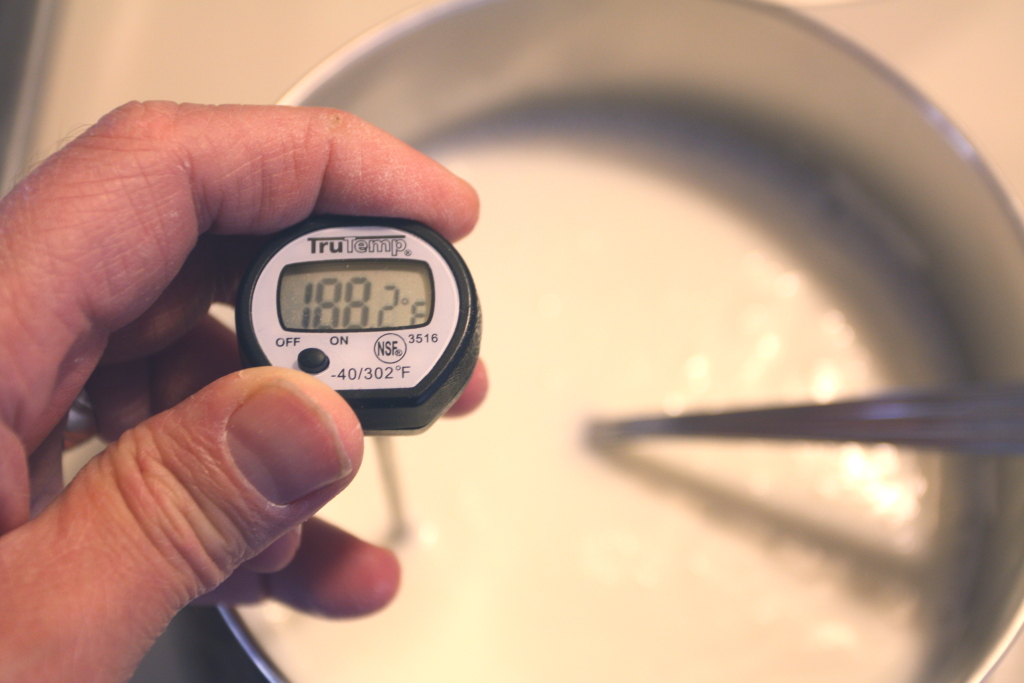
Heat milk and cream. Place the milk and cream in a small saucepan over medium heat. Insert a thermometer and cook, stirring all the while, until the temperature reaches 188°F. Remove from heat.
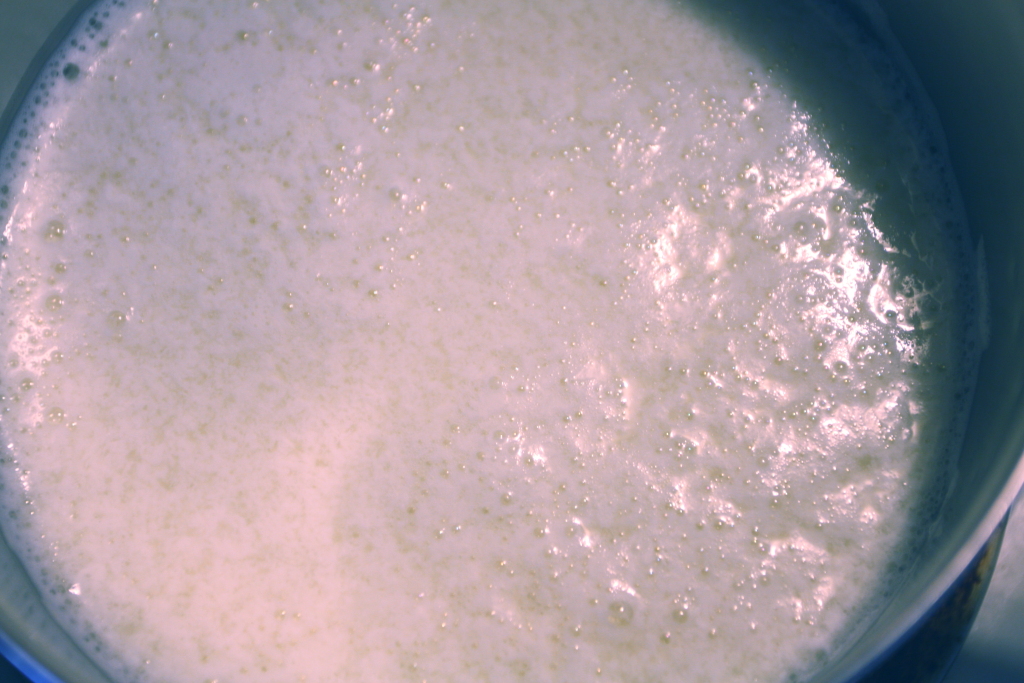
Add vinegar. Stir in the vinegar. Almost immediately you’ll notice that curds are beginning to form. This is good. Stop stirring and let stand for 15 minutes.
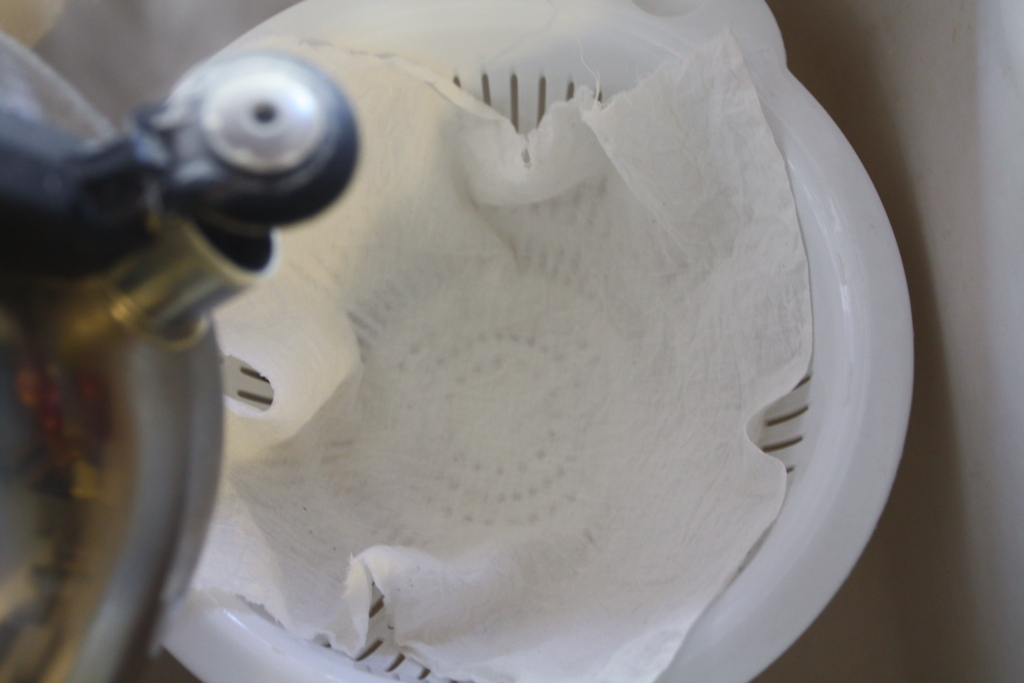
Sanitize. While you’re waiting for the dairy to finish curdling, place a piece of butter muslin into a colander in the sink. Bring a kettle of water to a boil and pour over the butter muslin and colander. While this won’t result in complete sterilization, it can’t hurt.

Drain. Carefully pour the curds and whey (that’s what you have now) into the lined colander. Much of the whey will pour right through, leaving behind fine curds. Let it drain for two hours.
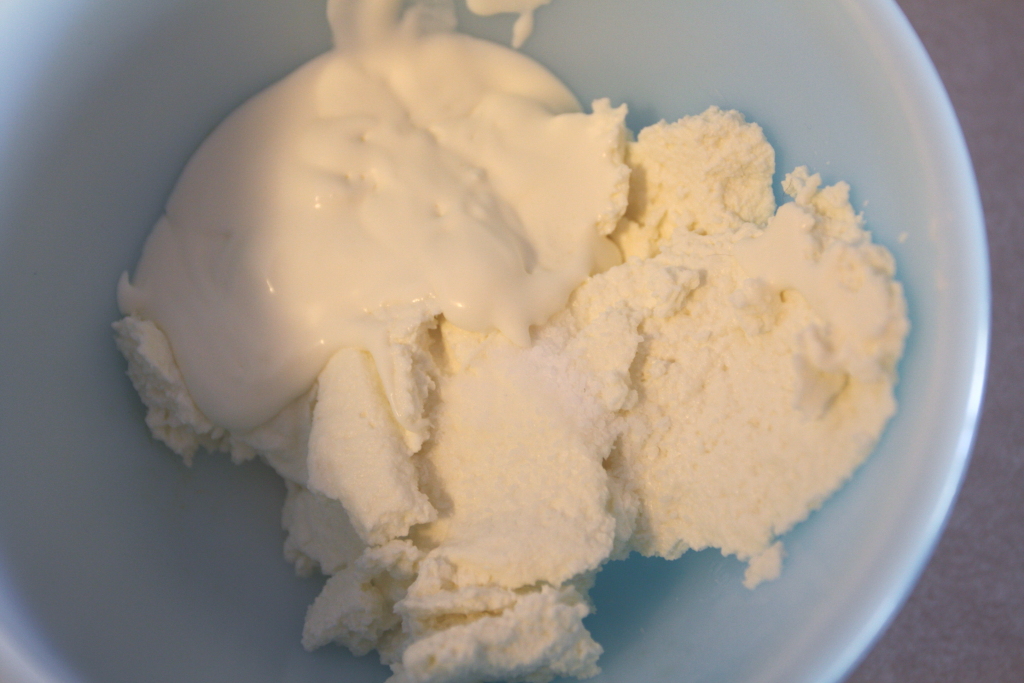
Mix. Place the curds in a small bowl, add the crème fraîche, and stir to combine.
Flavor. Add about 1/2 teaspoon of kosher salt, more or less to taste, of course, and about 1-2 teaspoons of lemon juice, and stir, smashing with the back of a spoon to make a smooth mixture. Taste and adjust.
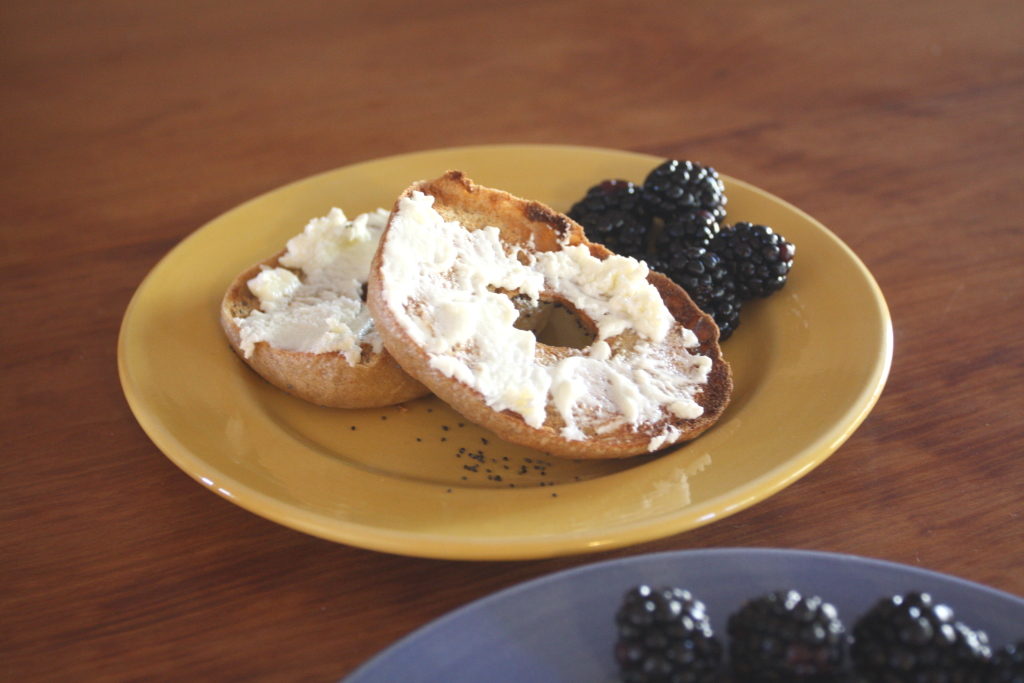
Since we made the cream cheese, we had to make up a batch of bagels to go along with it, and had them for breakfast. We will note that this cream cheese was a bit lighter than that sold in stores, and it had a slightly grainy texture, so we wouldn’t necessarily use it for a cheesecake. The taste, however, was almost identical to the store stuff and without things like xanthan gum. We originally thought four stars was about right, but this cheese is even better the next day, so it’s a five!
