

Well, yesterday we wrote up everything for making the various parts of this “plain and simple” chocolate cake, and today, we’ll show you how to finish it all up by assembling it into a masterpiece. Separating the instructions for the cake into two parts is only for our convenience. You really need to assemble the cake the same day that you make it; otherwise, it’ll get stale. And stale cake is not good cake. If you haven’t been following day-by-day, that’s okay; you’ll find navigation buttons at the bottom of this post.
So, let’s hop right in and get scratchin’.
We apologize in advance for the lack of photos in some of the important steps; we were just too excited about how well this was turning out!
Procedure in detail:
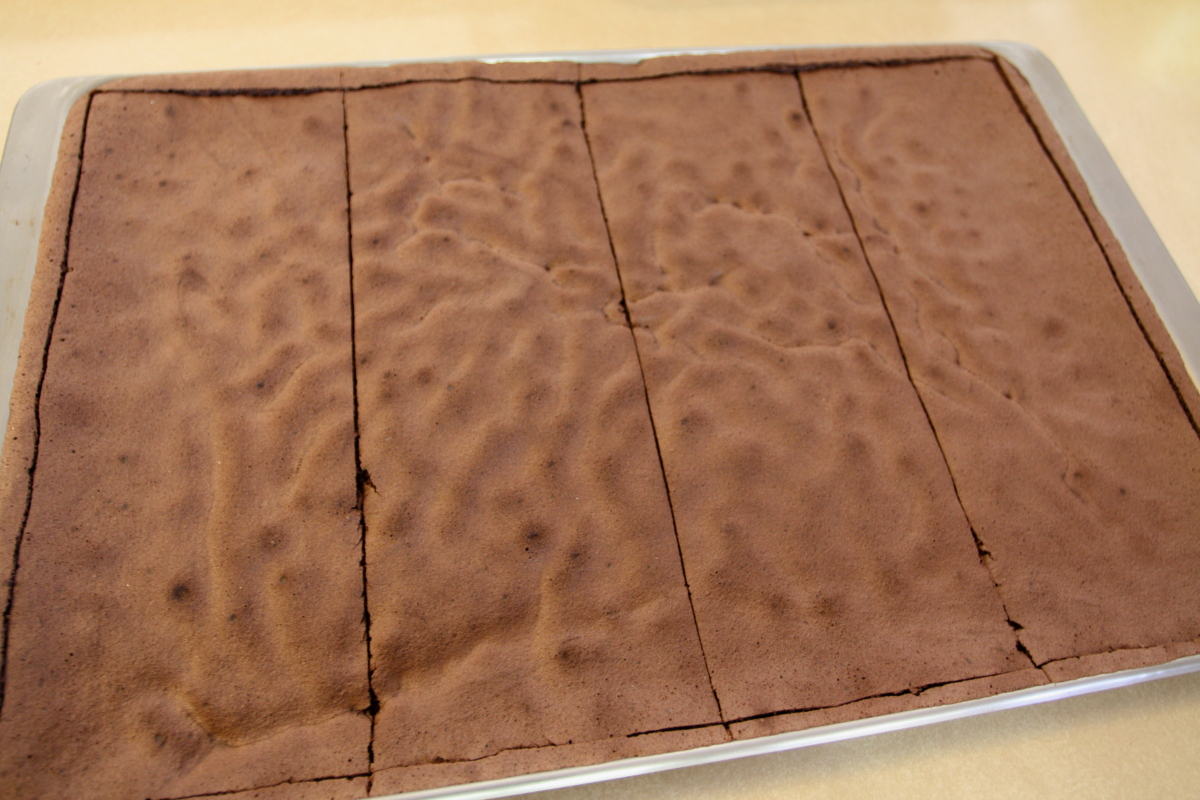
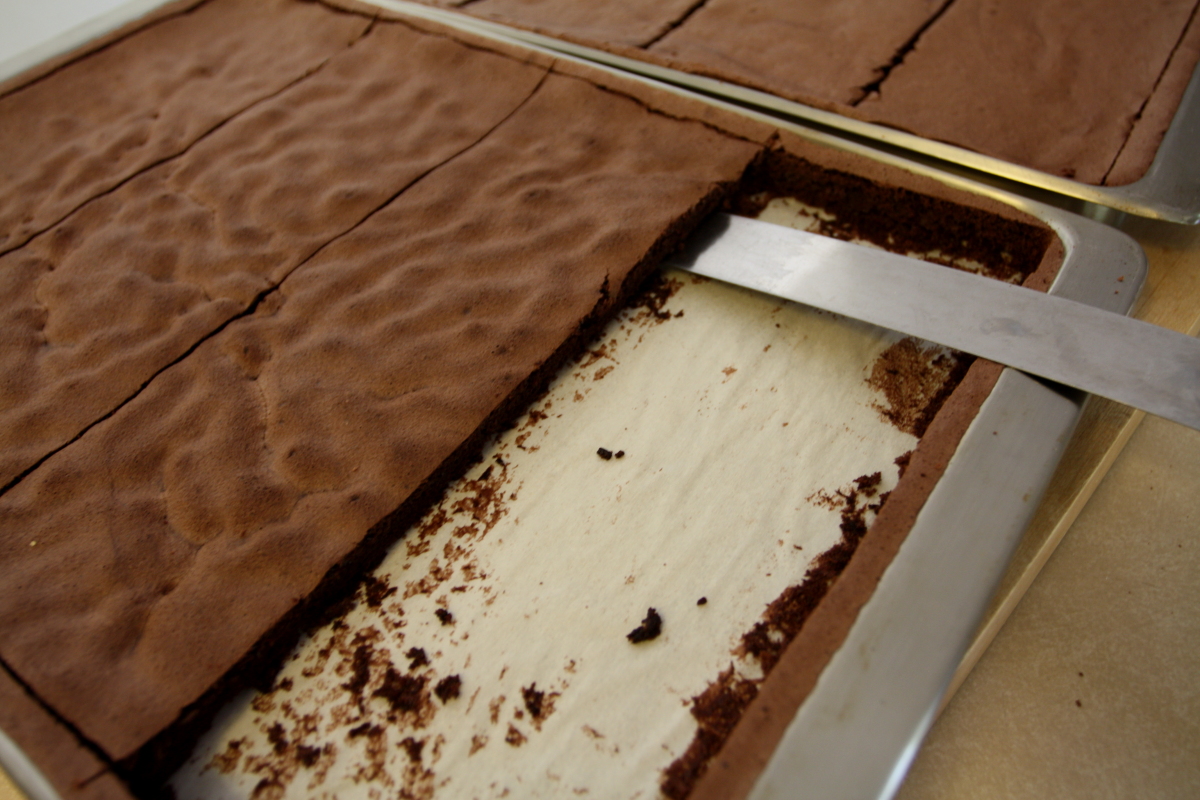
Cut cake. First, you need to cut eight cake rectangles from your two sheet cakes. Each rectangle should be 4 x 10 inches, and yes, use a ruler. You’ll be stacking the pieces one on top of another, and your cake will look funny if the rectangles vary in size. So, break out a ruler or tape measure and score your sheet cakes appropriately. Then double-check. Finally, slice all the way through the cake with a sharp chef’s knife. (Think check twice, cut once).
Prepare base. Find a sturdy support for your cake and cover it with a piece of waxed paper or baking parchment. We used the back of a small cookie sheet. Find something small enough to fit into your freezer, and sturdy enough to lift the cake. And, no, sorry, not your serving plate. That will be needed later.
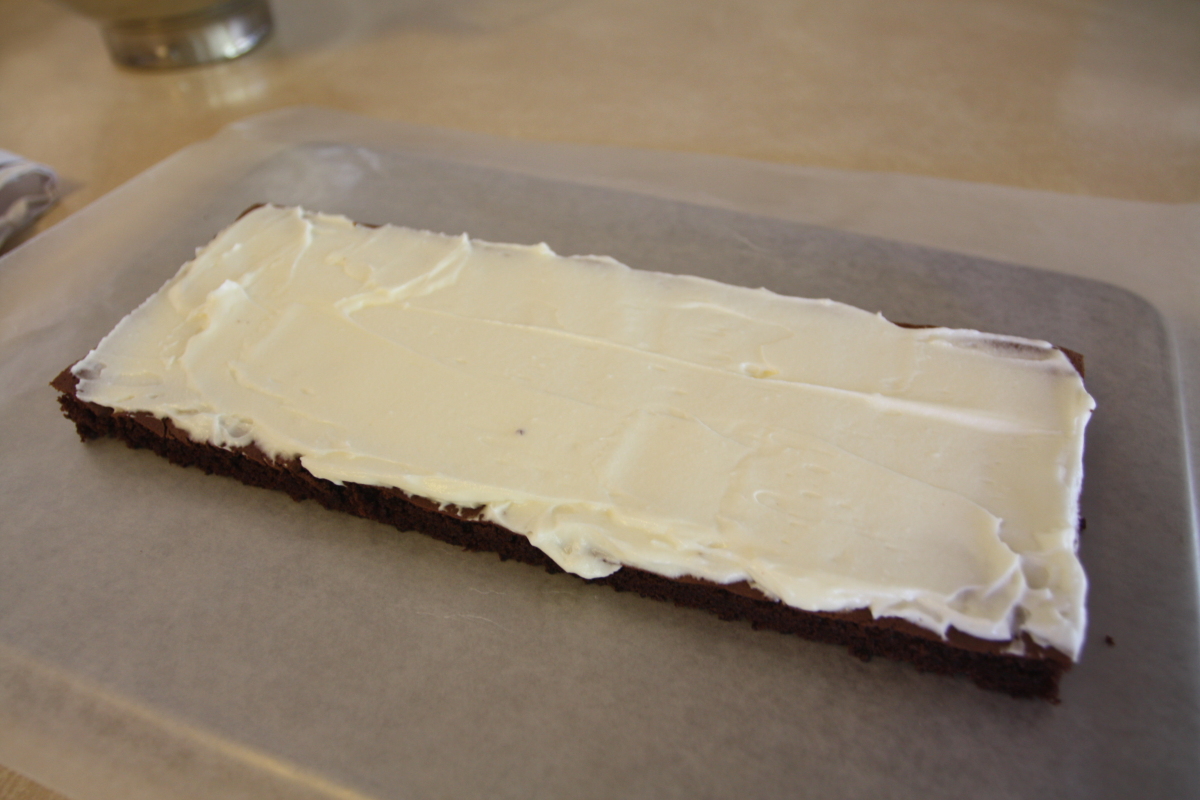
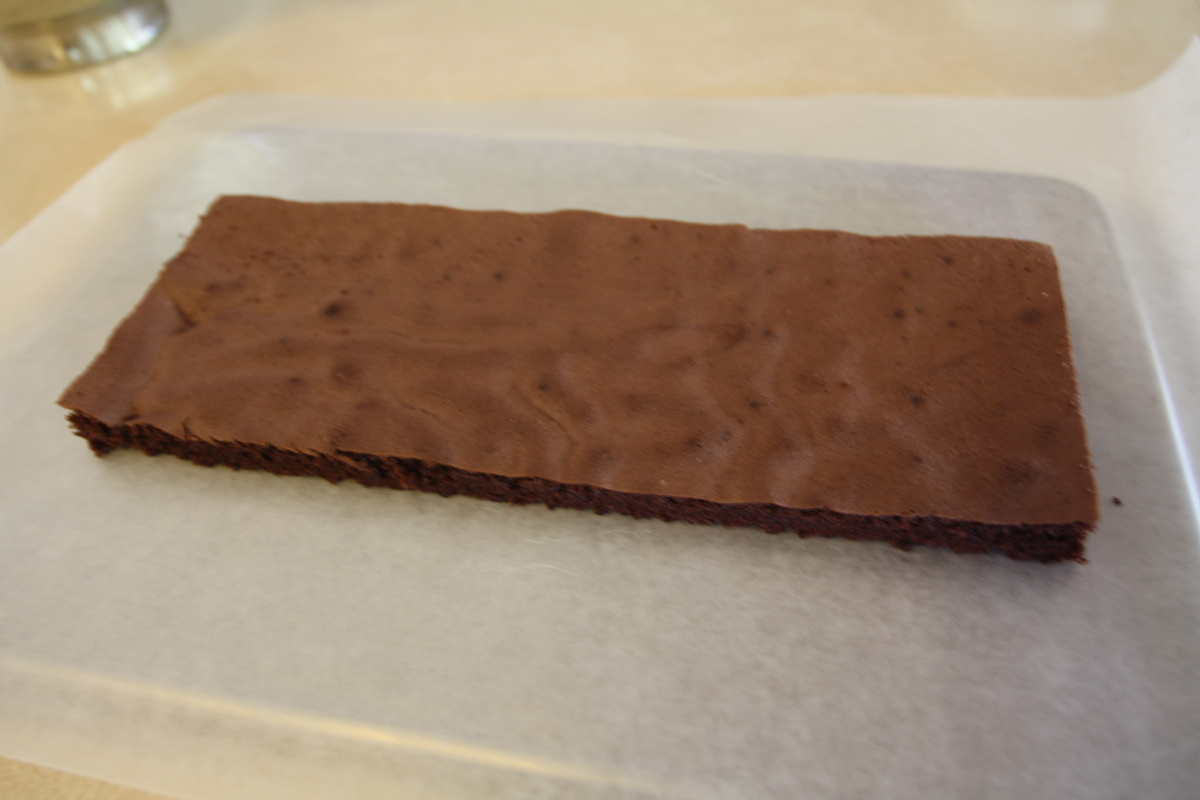
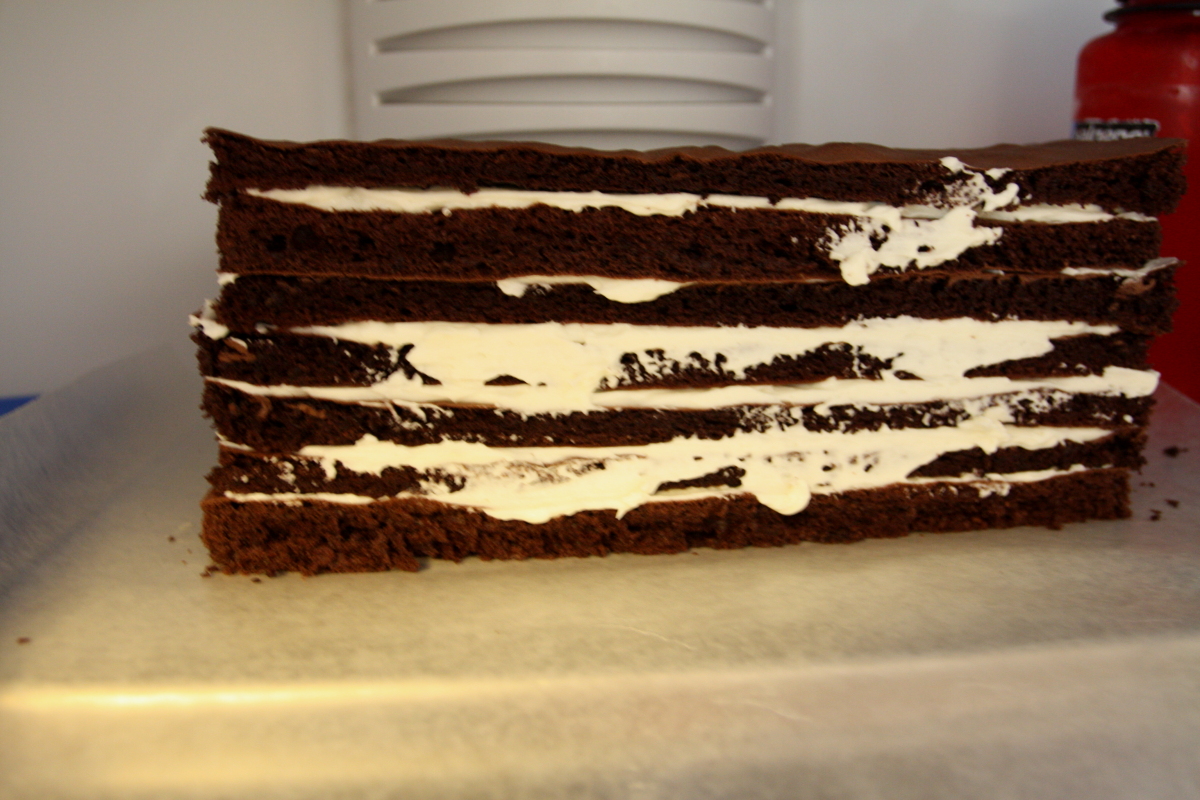
Layer cake. Work out one of the rectangles of your cake and place it right in the middle of the waxed paper. We found a nice, thin, flexible spatula to be of great help. Now, scoop up some of the frosting with a spatula and cover the entire surface. Don’t worry about the sides, and be careful that you don’t use too much. Aim for a smooth even layer about 1/8-inch thick. Place a second layer of cake on that. Add frosting, and continue layering until you have a stack 7 layers high. Don’t frost the top. That comes later.
Freeze. Here’s the secret to frosting and assembling cakes: your freezer. It stiffens the cake and the frosting, making both easier to work with. Use your freezer with abandon. Right now, place your seven-layer cake in the freezer for 20 minutes or so. That will give you just enough time for the next step.

Make cake crumbs. You noticed that our cake has only have seven layers, but there were eight possible, right? We’ll use that last piece, and any scraps, to make the crumb coating. Collect all the leftover cake pieces, take a small bite of one — mmm, tasty — and break the rest into pieces onto a parchment-lined cookie sheet. Bake at 200°F for about 20 minutes to dry out the cake pieces. They won’t be completely dry, just mostly dry. Pop them all into a food processor and pulse until you have finely ground cake crumbs.
Tip cake. Your cake should be stiff enough now, so take it out of the freezer, and tip it 90° onto your prepared serving plate. The horizontal stripes are now vertical; cool, huh? We like to place four pieces of waxed paper on the plate, arranged so that we can pull them out from under the cake after decorating. It keeps the serving plate clean.
Crumb coat. Here’s the second secret of cake decorating: use two layers of frosting. The first layer is a crumb coat that will keep crumbs (from the cake, not those you just made) from mixing in with the second layer, allowing for a nice professional look. So, apply a thin, smooth layer of frosting over the top and sides of the cake. Make this layer as smooth as you can, but don’t worry about crumbs in the frosting. We’ll cover up those later.
Freeze. Yep, go back to the first secret and slide the cake into the freezer for 10 minutes to firm up that first coating.
Tear parchment. While your crumb coating is setting up, take a piece of parchment paper and tear out ragged strips that look something like zebra stripes. It’s nice if there are no straight edges, since zebra stripes rarely have straight edges. You can really do this step anytime; we just thought it would give you something to do while the cake is freezing.
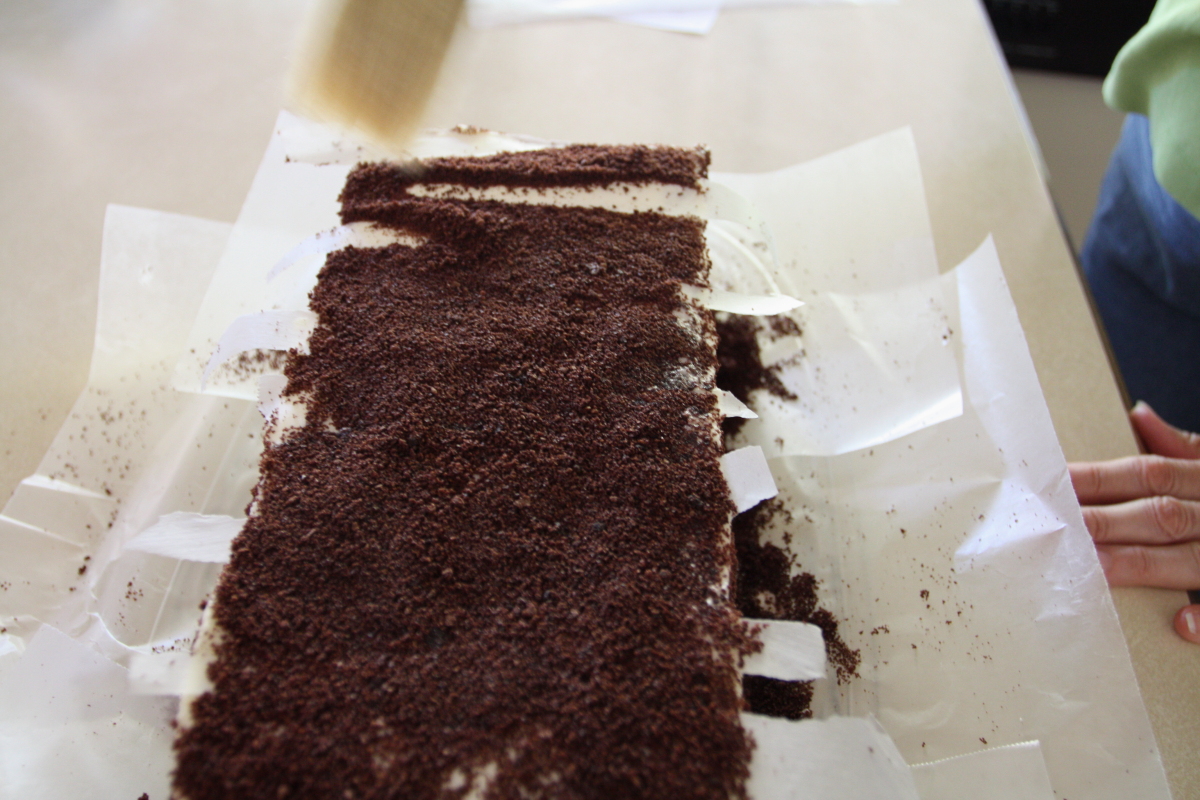
Frost. Take the cake from the freezer and apply a smooth layer of buttercream frosting all over the cake. Note how all the little pieces of cake are held in place by that crumb coat. Neat, huh? Once you have the cake looking nice, apply the parchment strips to the cake and press them into the buttercream. Just hard enough to stick.
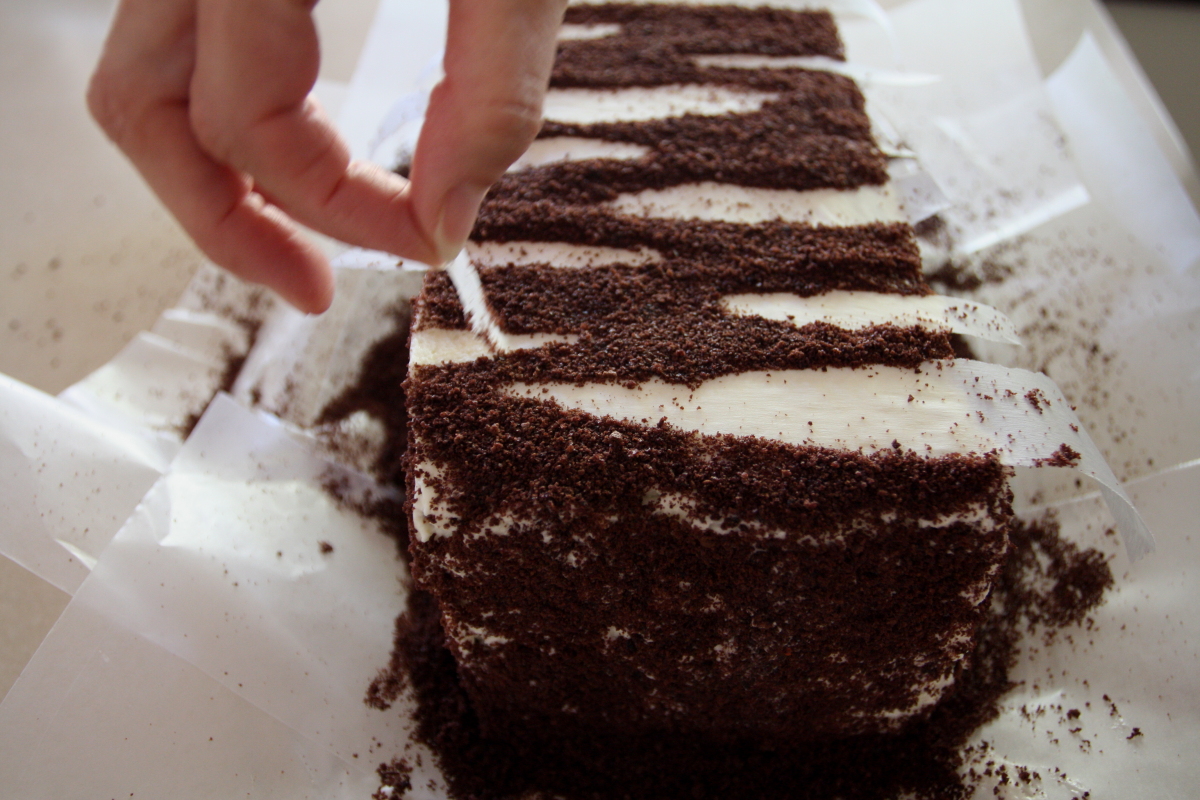
Apply crumbs. Okay, we admit it seems silly to have gone to the trouble of keeping the crumbs out of the frosting only to put them there deliberately, but how else are you going to get nice stripes? So, take those crumbs you whipped up in the food processor and press them into the frosting. Yep all over, on the top, on the sides (we wish we knew a trick for applying crumbs to the sides easily), until covered.
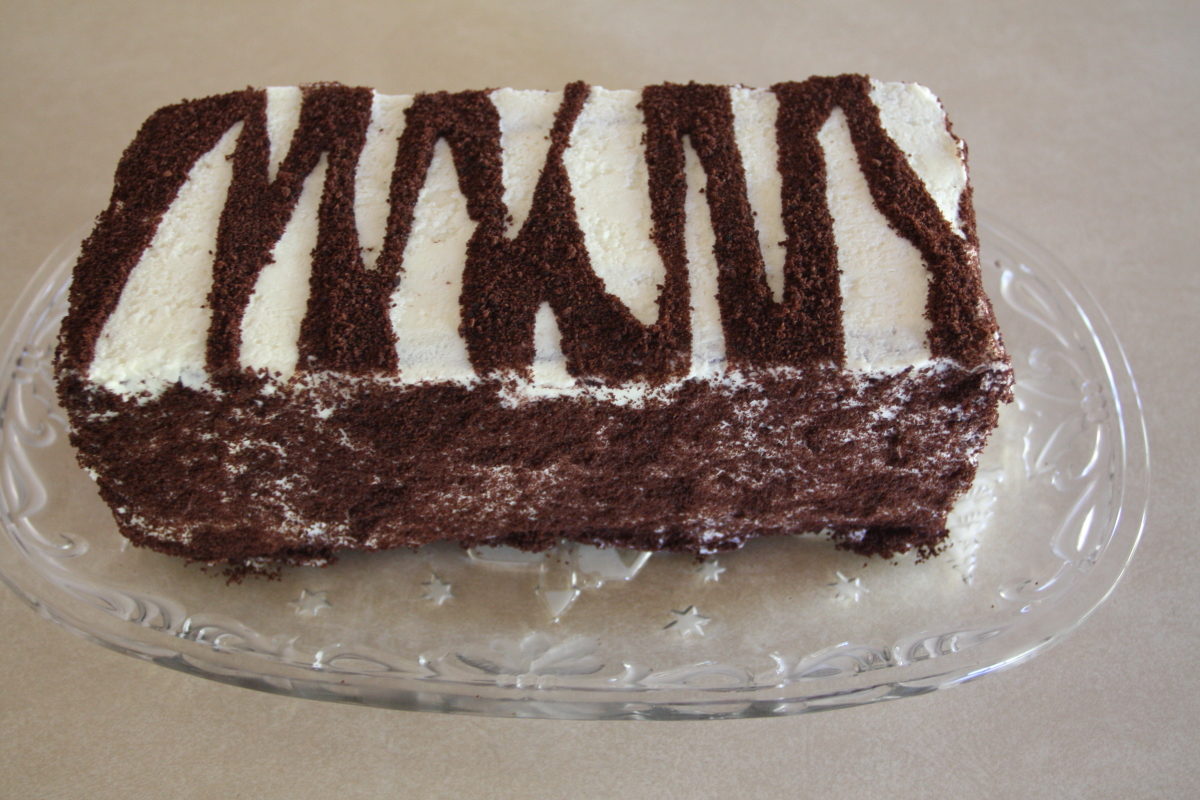
Remove crumbs. Using a pastry brush, carefully brush away the crumbs from the parchment strips. It’s starting to look like a zebra, right? Finally, carefully lift off the parchment strips to reveal your finished cake. Beautiful, isn’t it? Carefully pull out the waxed paper that protected the serving plate, too.
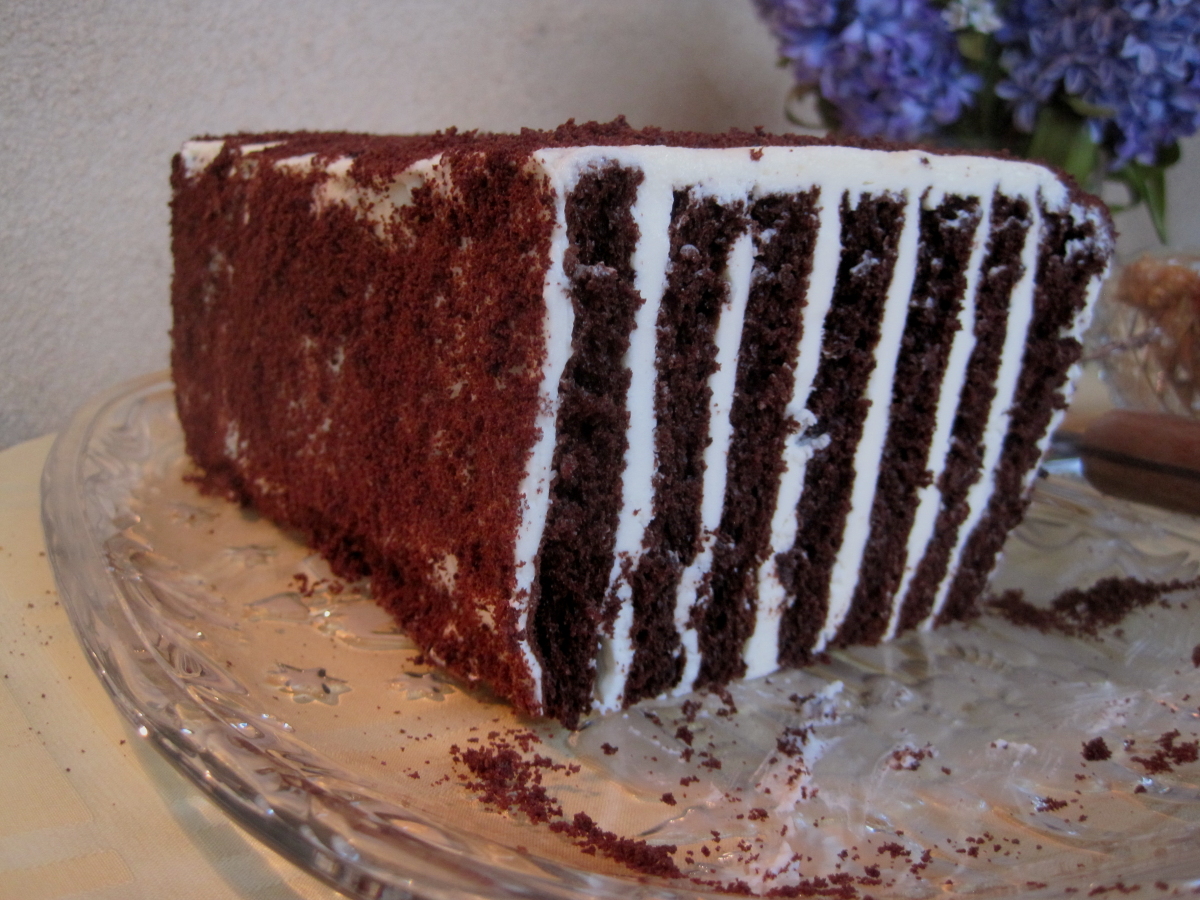
Slice. Not only does your cake have stripes on the outside, but on the inside, as well!
We took this cake to a party and it was very well received. At first, everyone thought that the stripes on the outside were really neat and perhaps somewhat impressive, but then, most people really, really, liked that the cake had stripes on the inside as well. It’s an impressive-looking cake, but how did it taste? In a word: great! The cake had a good chocolate flavor and was nice and moist (watching it like a hawk while baking helped) and super light (whipping the egg whites and folding them into the batter is key). The buttercream, too, was nice and light, closer to a whipped cream-like frosting than the more traditional heavy buttercream. Overall, it seemed to be a real hit; we only had a small piece left over to take home. We give it five stars just for the way it looks. And four stars for the way it tastes. But, thanks to that “new math” that was all the rage a number of years ago, it gets just a five (and not a nine).
